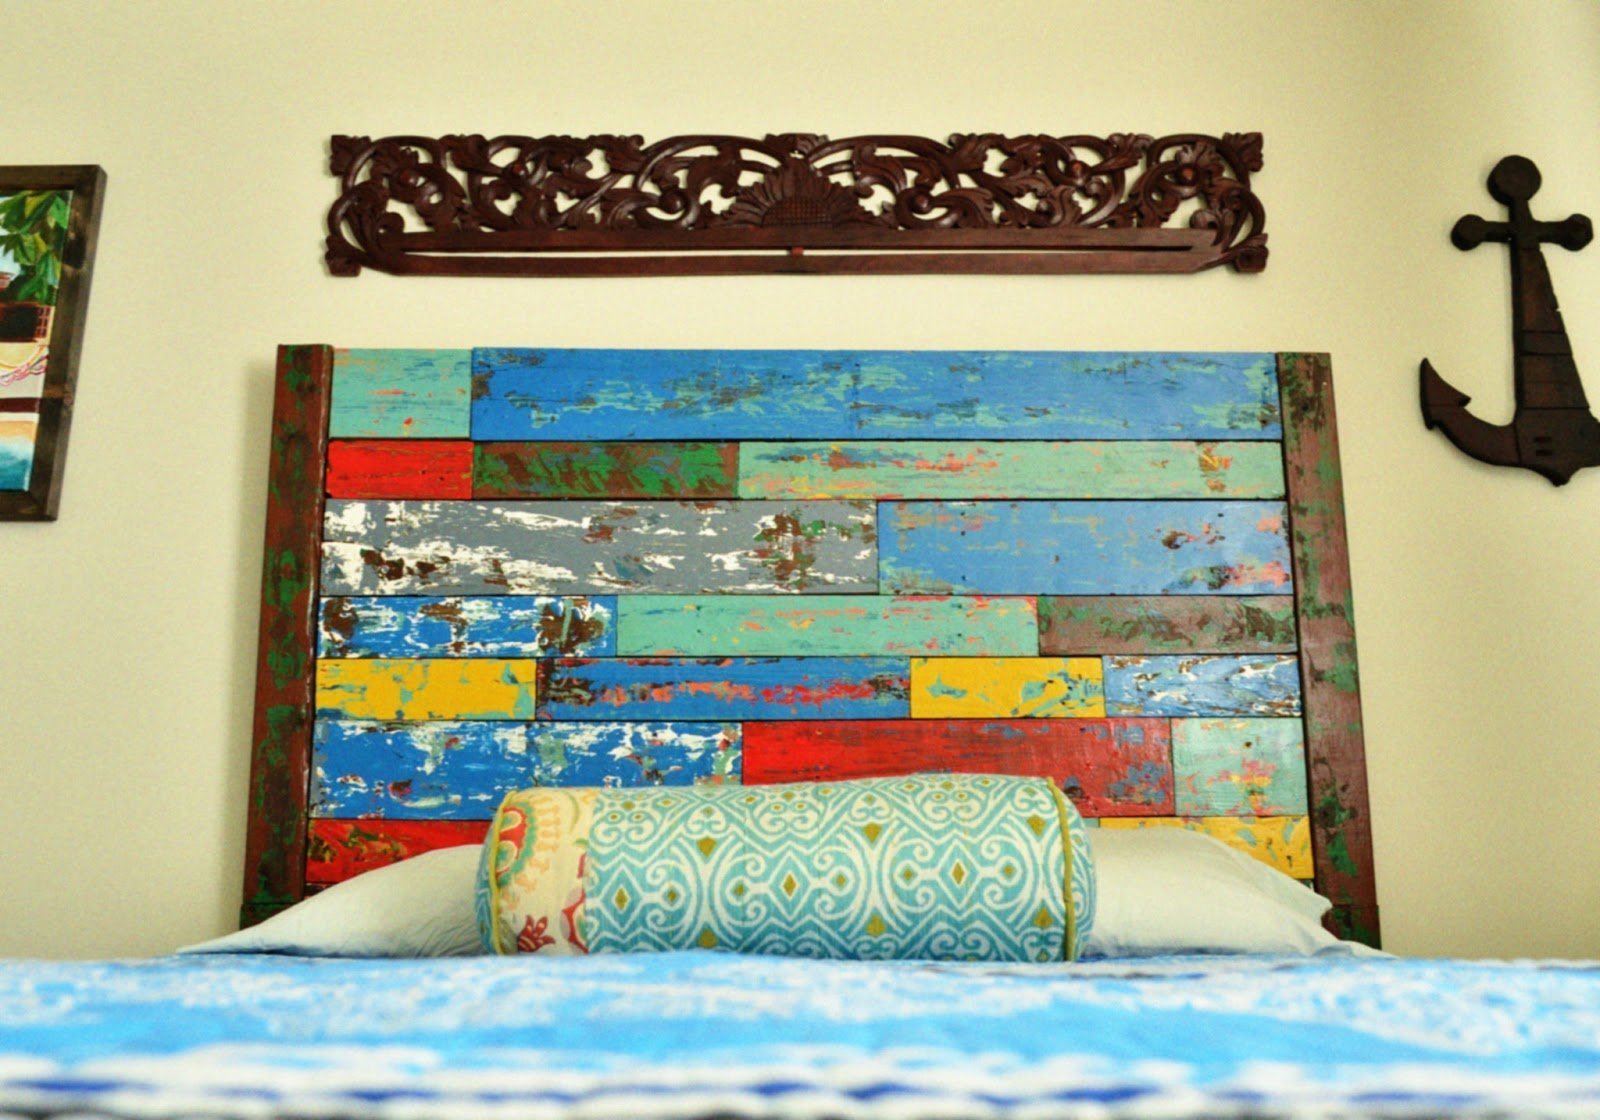

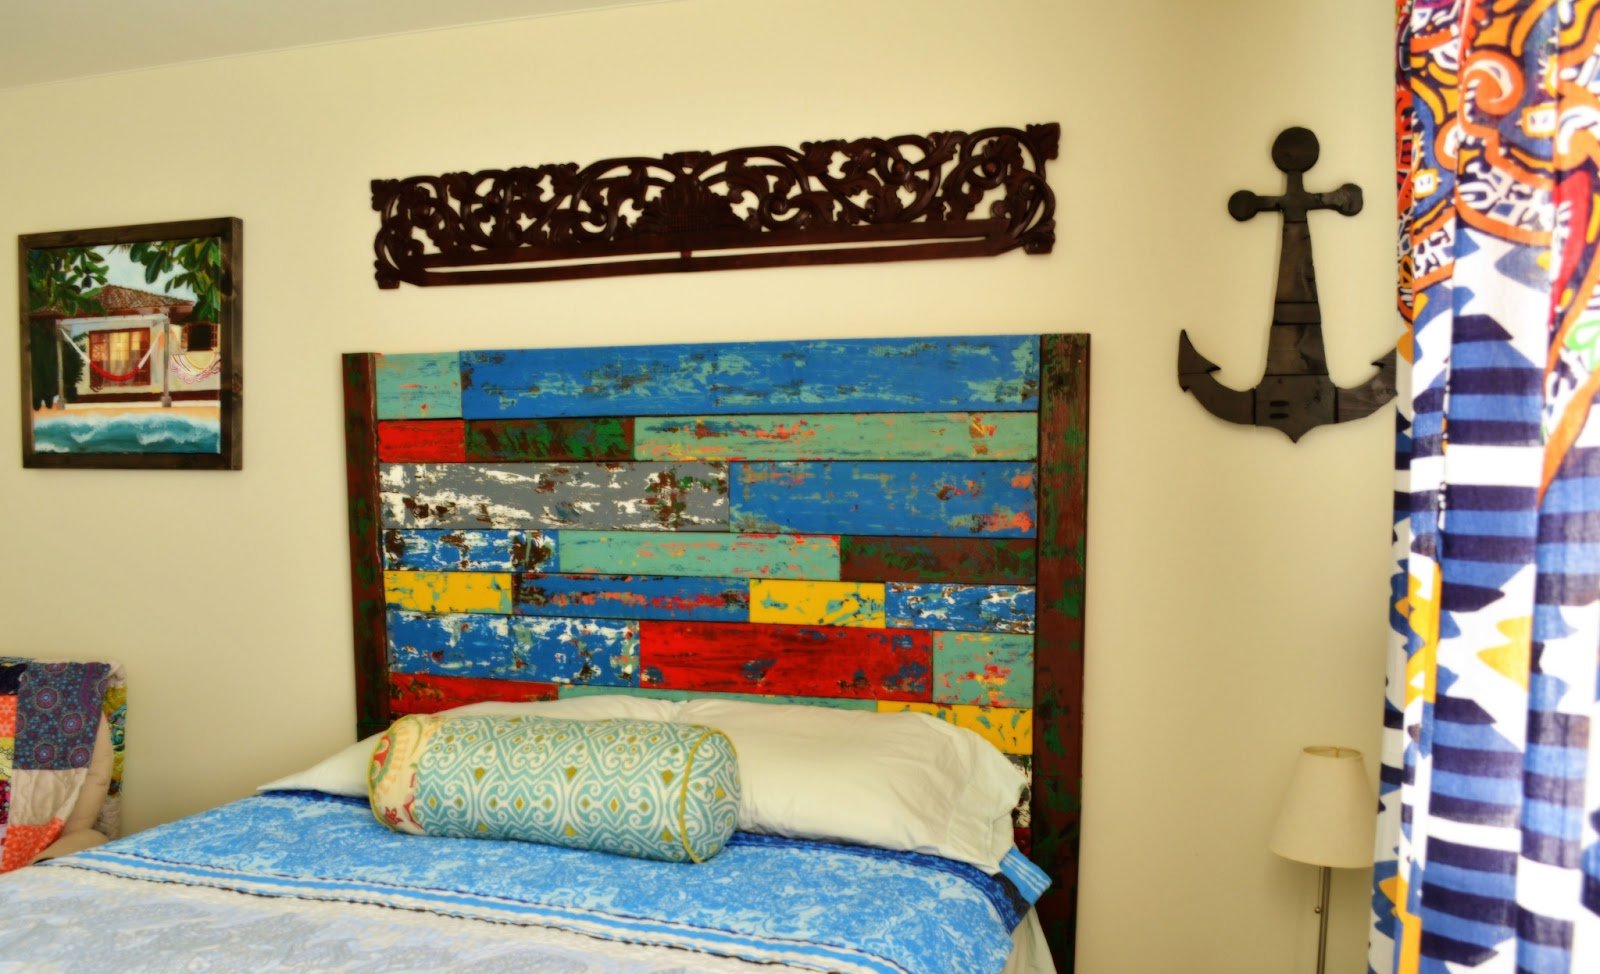
I have been in love with boat wood for a long time. The vibrant colors, texture, and the story – salvaged wood that’s been a part of countless voyages on the sea…it all appeals to my sense of style. Unfortunately, it’s really expensive. So, as the Officer and I were discussing our headboard options, I pointed out that I’d really looooooove a boat wood headboard. We studied several photos and realized we couldn’t think of any distressing method that would create the look we desired.
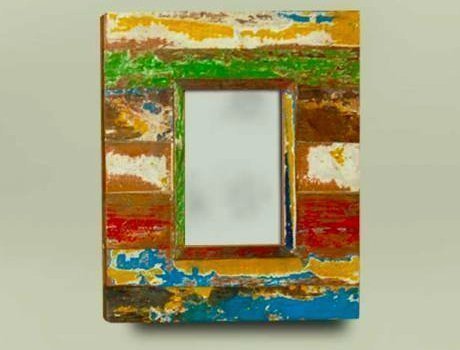
It doesn’t look sanded or faded.
It looks like it’s been chipped away. Now, for a moment I actually considered painting the wood then taking a chisel and chipping pieces off… it was a crazy DIYer moment.
Thankfully we did more research and came across a very simple technique that worked perfectly. Lucy of Lucy Designs demonstrates this method, and even though she’s not trying to emulate boat wood – it creates the same effect. And here’s the best part: the only tool you’ll need is a block of wood. I’m talkin’ a hunk of a 2×4. I think anyone can come across one of those.
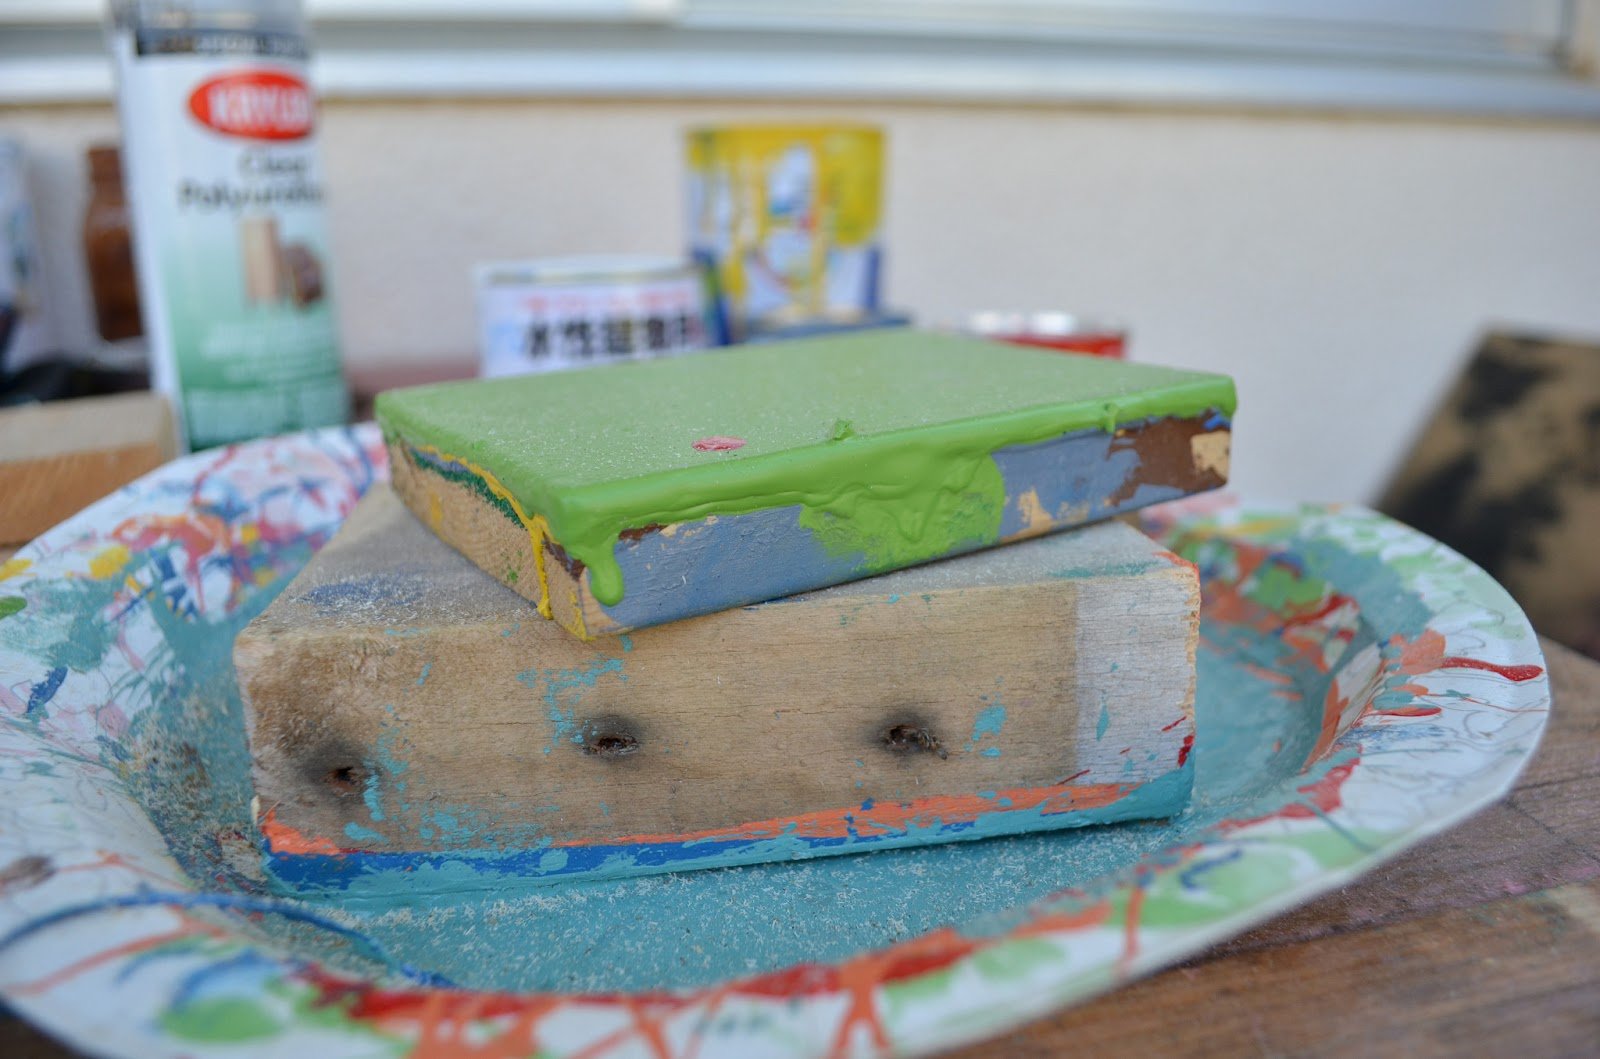
Once you’ve found a block of wood and selected your paint colors, simply pour one color of paint onto a paper plate, dip the wood block in it, and slide it across your wood in a long sweeping motion. Follow the length of the board. It will create this really cool weathered and chipped look. Once the first layer has dried, paint another layer – continue this method until you are happy with the results.
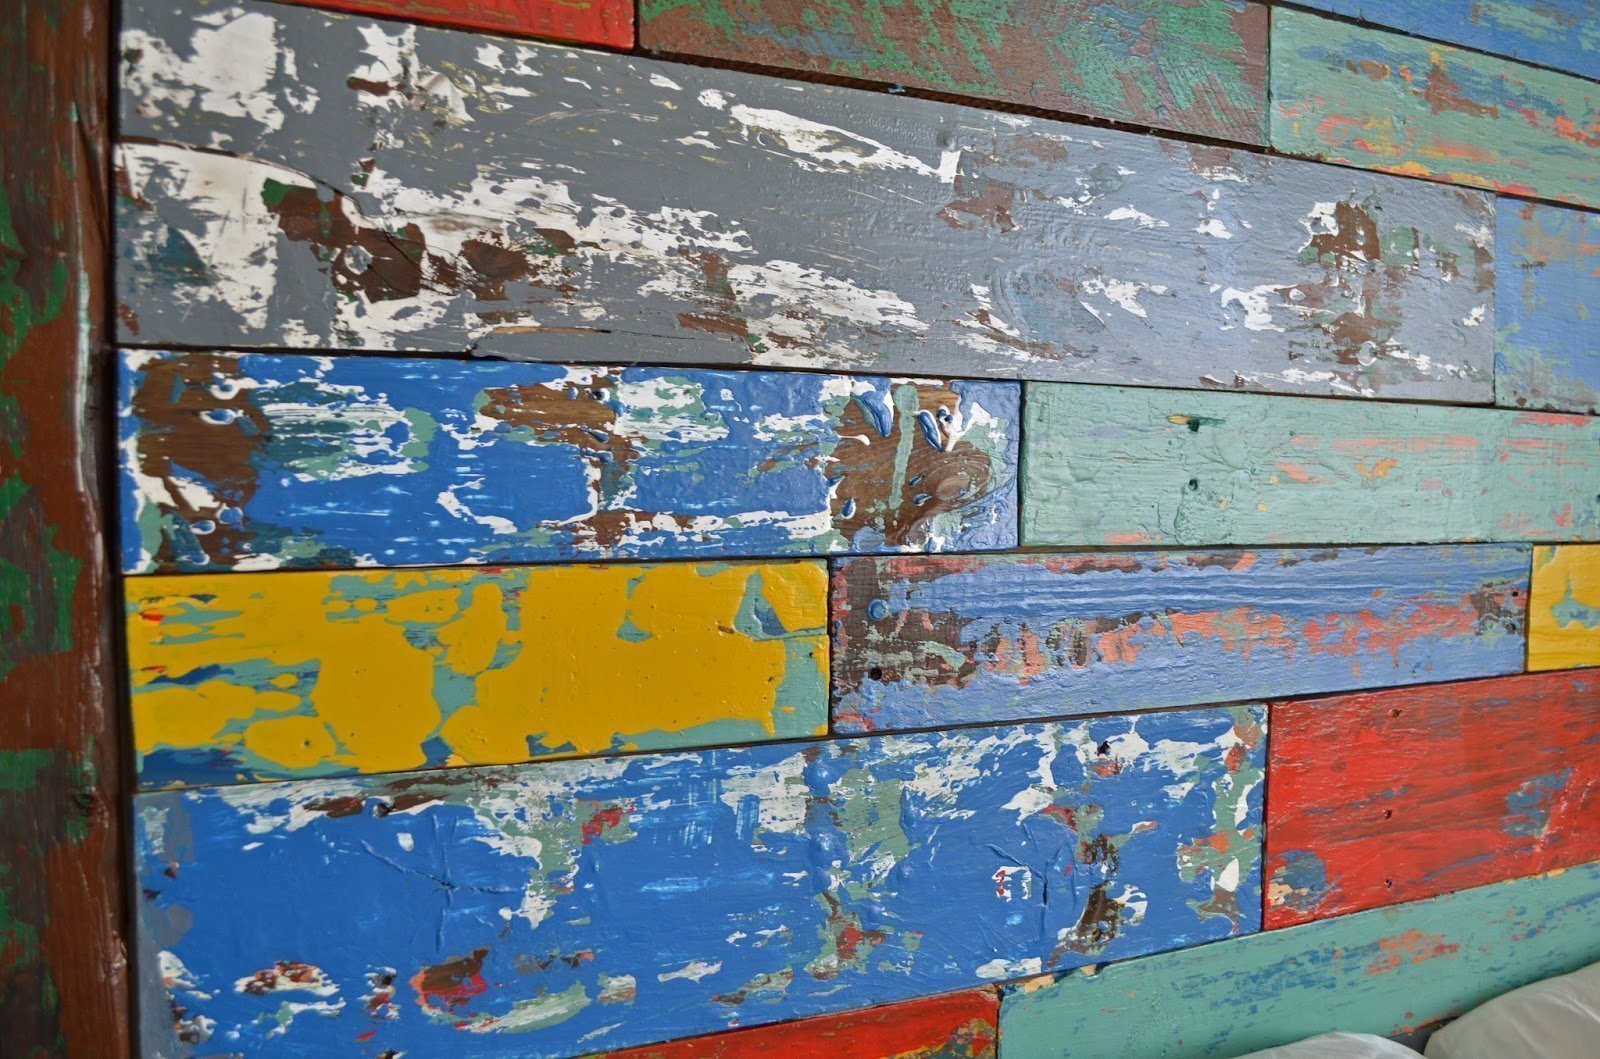
We painted the boards in groups of 3 or 4 so it would look like some of them came from the same boat. The entire project only cost us $20, because the wood we used was from reclaimed pallets.
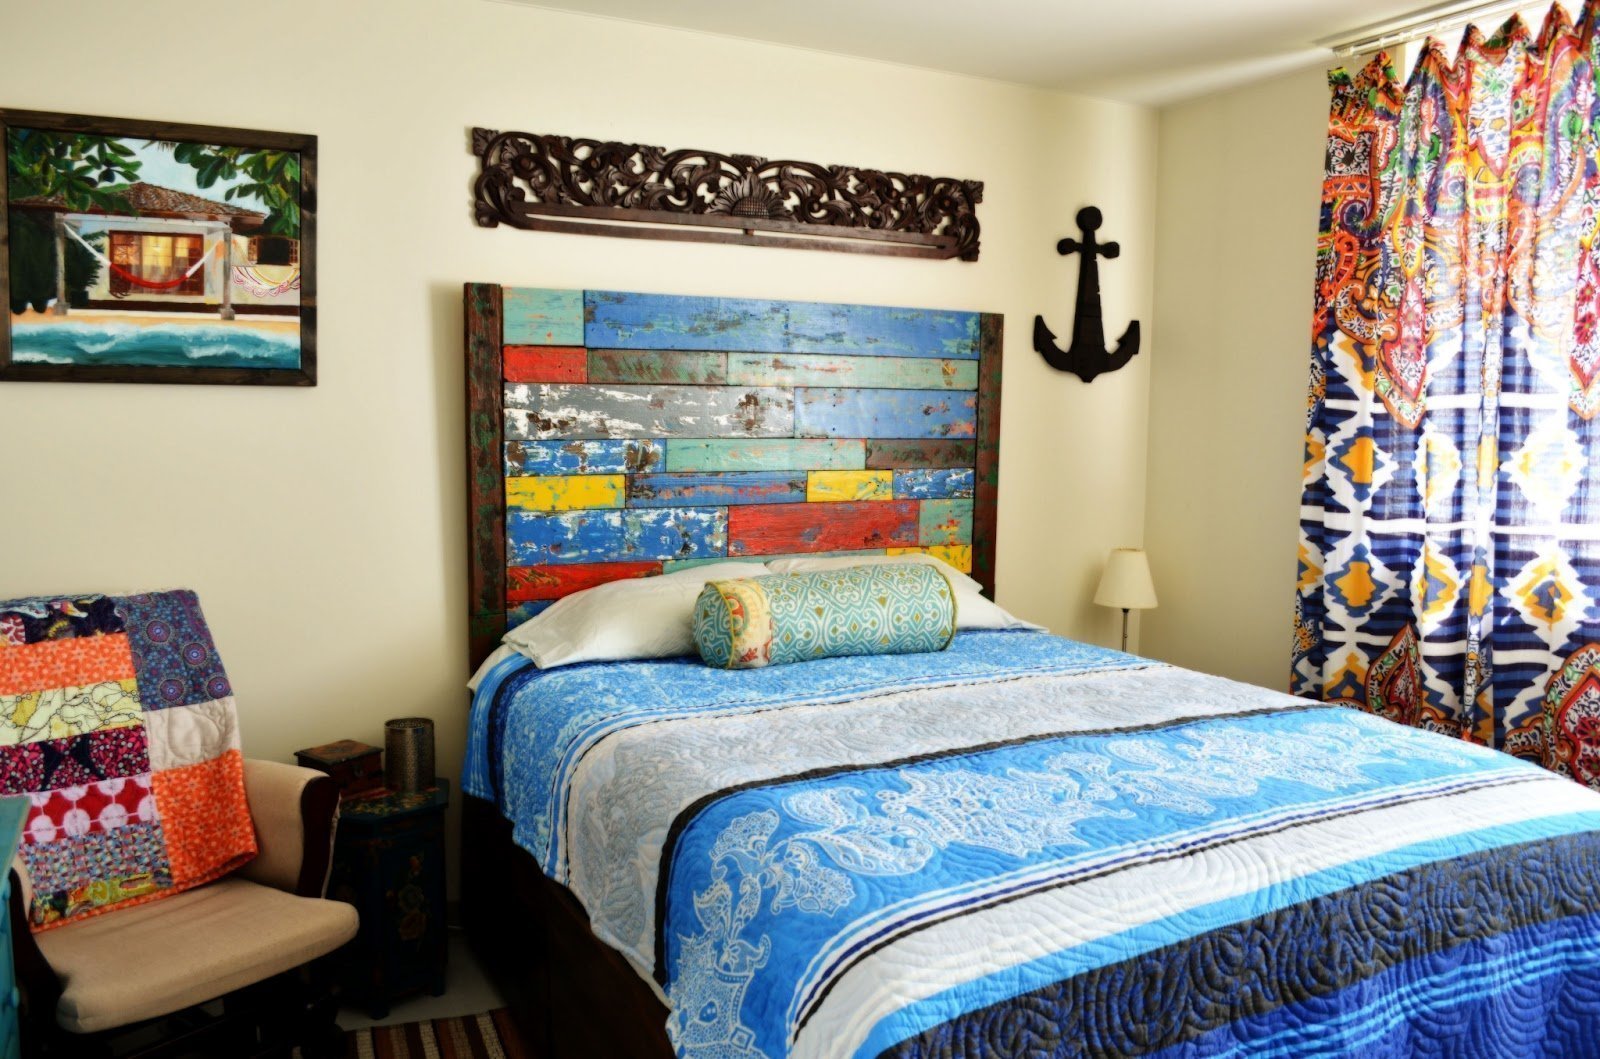
The Officer also fashioned that awesome anchor from some of the scrap wood – he’s amazing.
I know this style isn’t for everyone – but we really love our eclectic, beachy, colorful bedroom! Hope you had a great weekend!!
jessica


