Happy Friday friends!
Today I have the world’s easiest dress for you – and it is so comfortable
(and I had a coupon for the fabric so it only cost $13)!
and let me just say – modeling is hard.
That’s probably why those Anthro models always look so grumpy and tired.
So, I started out by making a top by Natalie at the Hungry Hippie.
It is super easy and I love it.
I was wearing that top one day, and talking with a friend,
and she said – why not just extend it and make it into a dress? So that’s what I did!
Check out Natalie’s tutorial for making the top, then come back here to see how I changed it into a dress.
(you will have to go see her’s because I don’t explain everything in my tute)
Supplies:
- 3-4 yards of jersey knit (depending on your height – I used about 3 1/2 yards)
- thread
- sewing machine
- scissors
- elastic thread
- yard stick
Step 1: Fold the fabric so that it is longer than it is wide. (mine was 1 1/4 yards long (folded) and 60″ wide).
Lay out a knit shirt that fits you – maybe one that is slightly baggy.
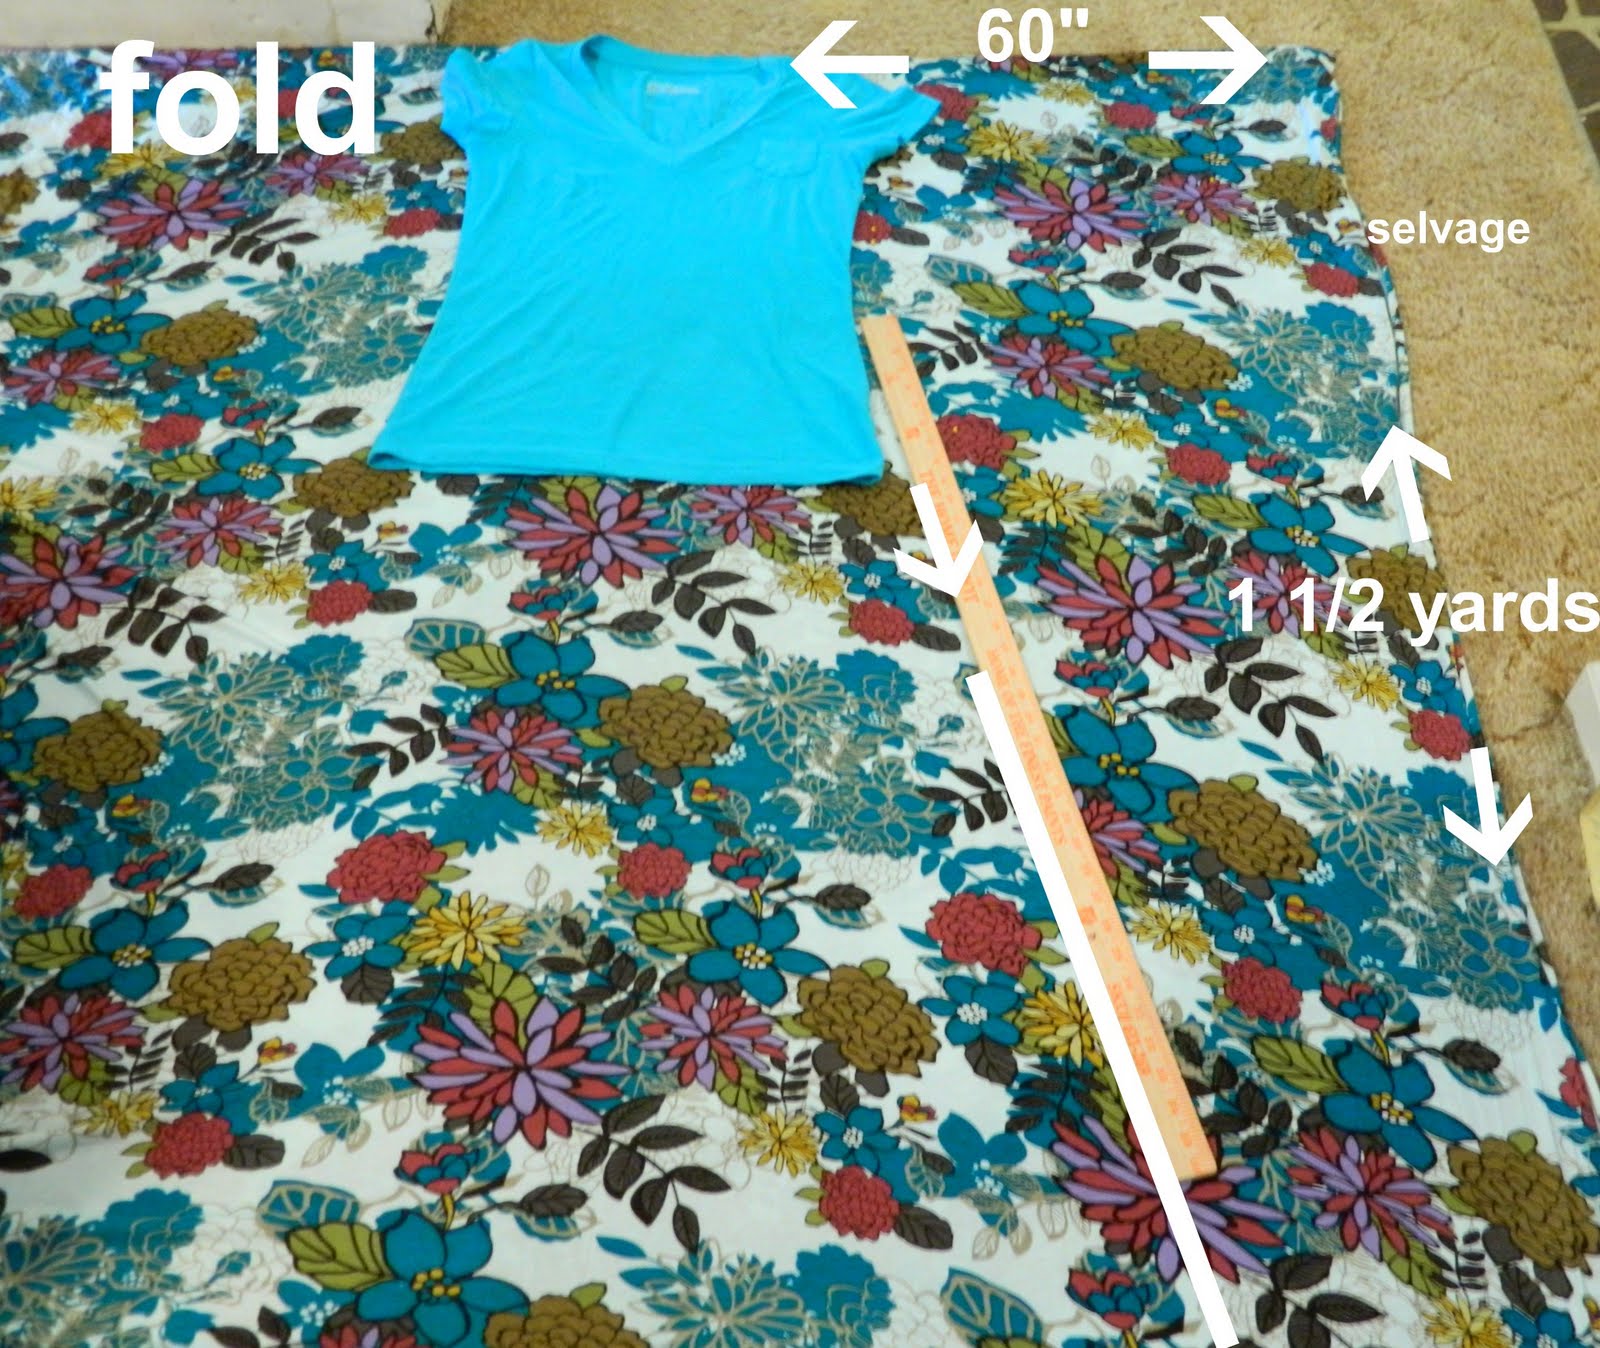
Draw one arm and one side – flaring out once you get to the waist.
Find the center top along the fold and then fold your cut half onto the uncut half. Make sure it is straight. Trim out the other side.
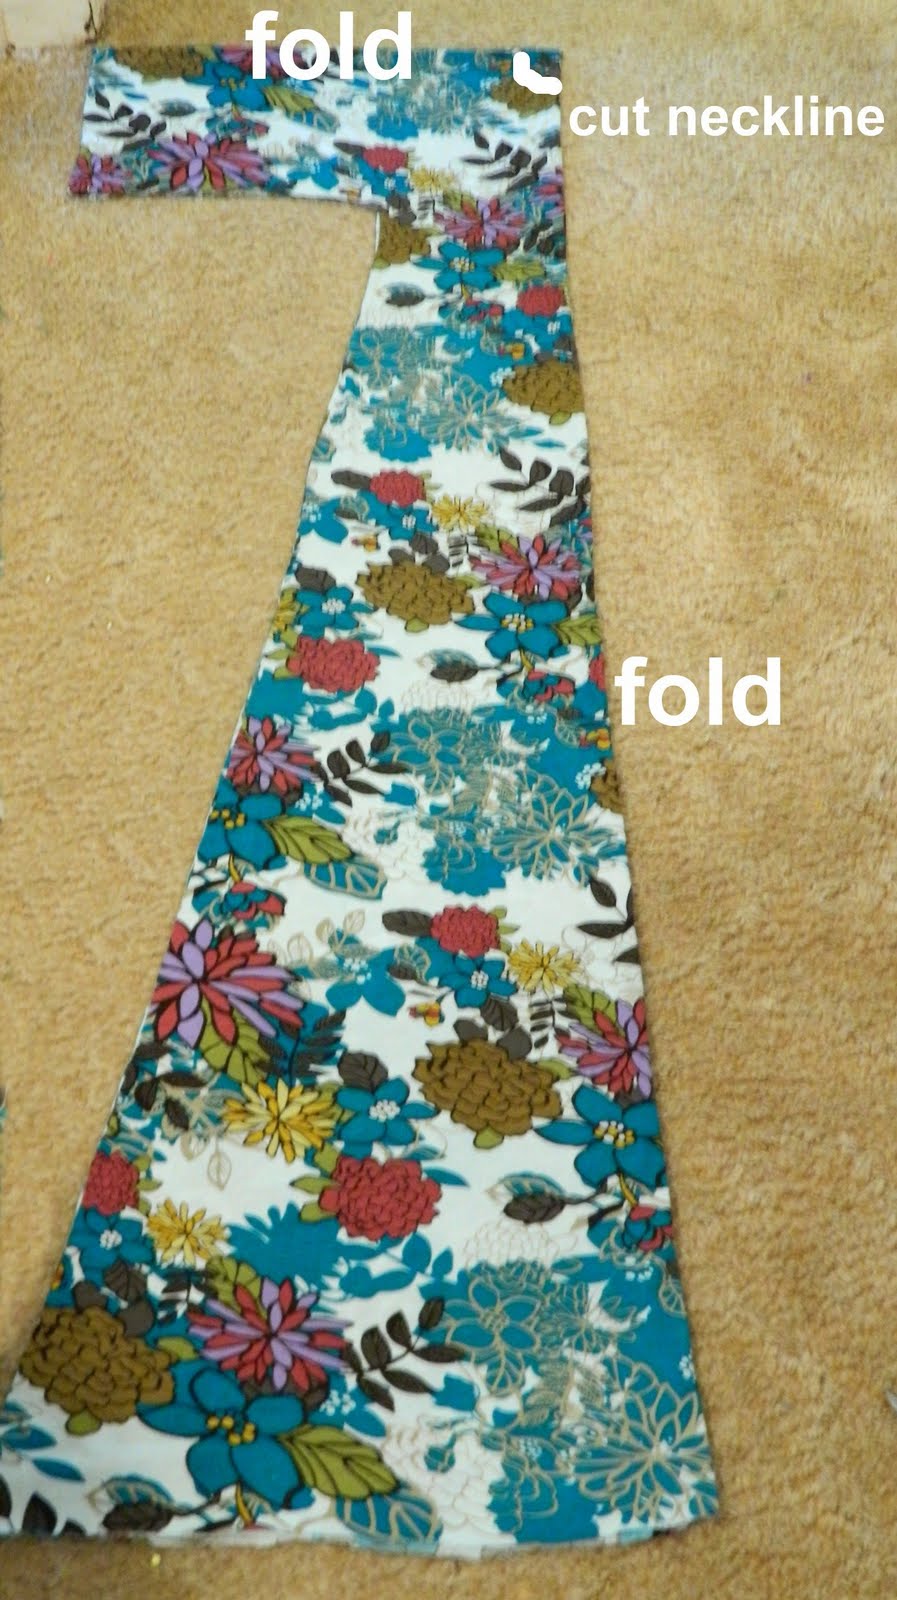
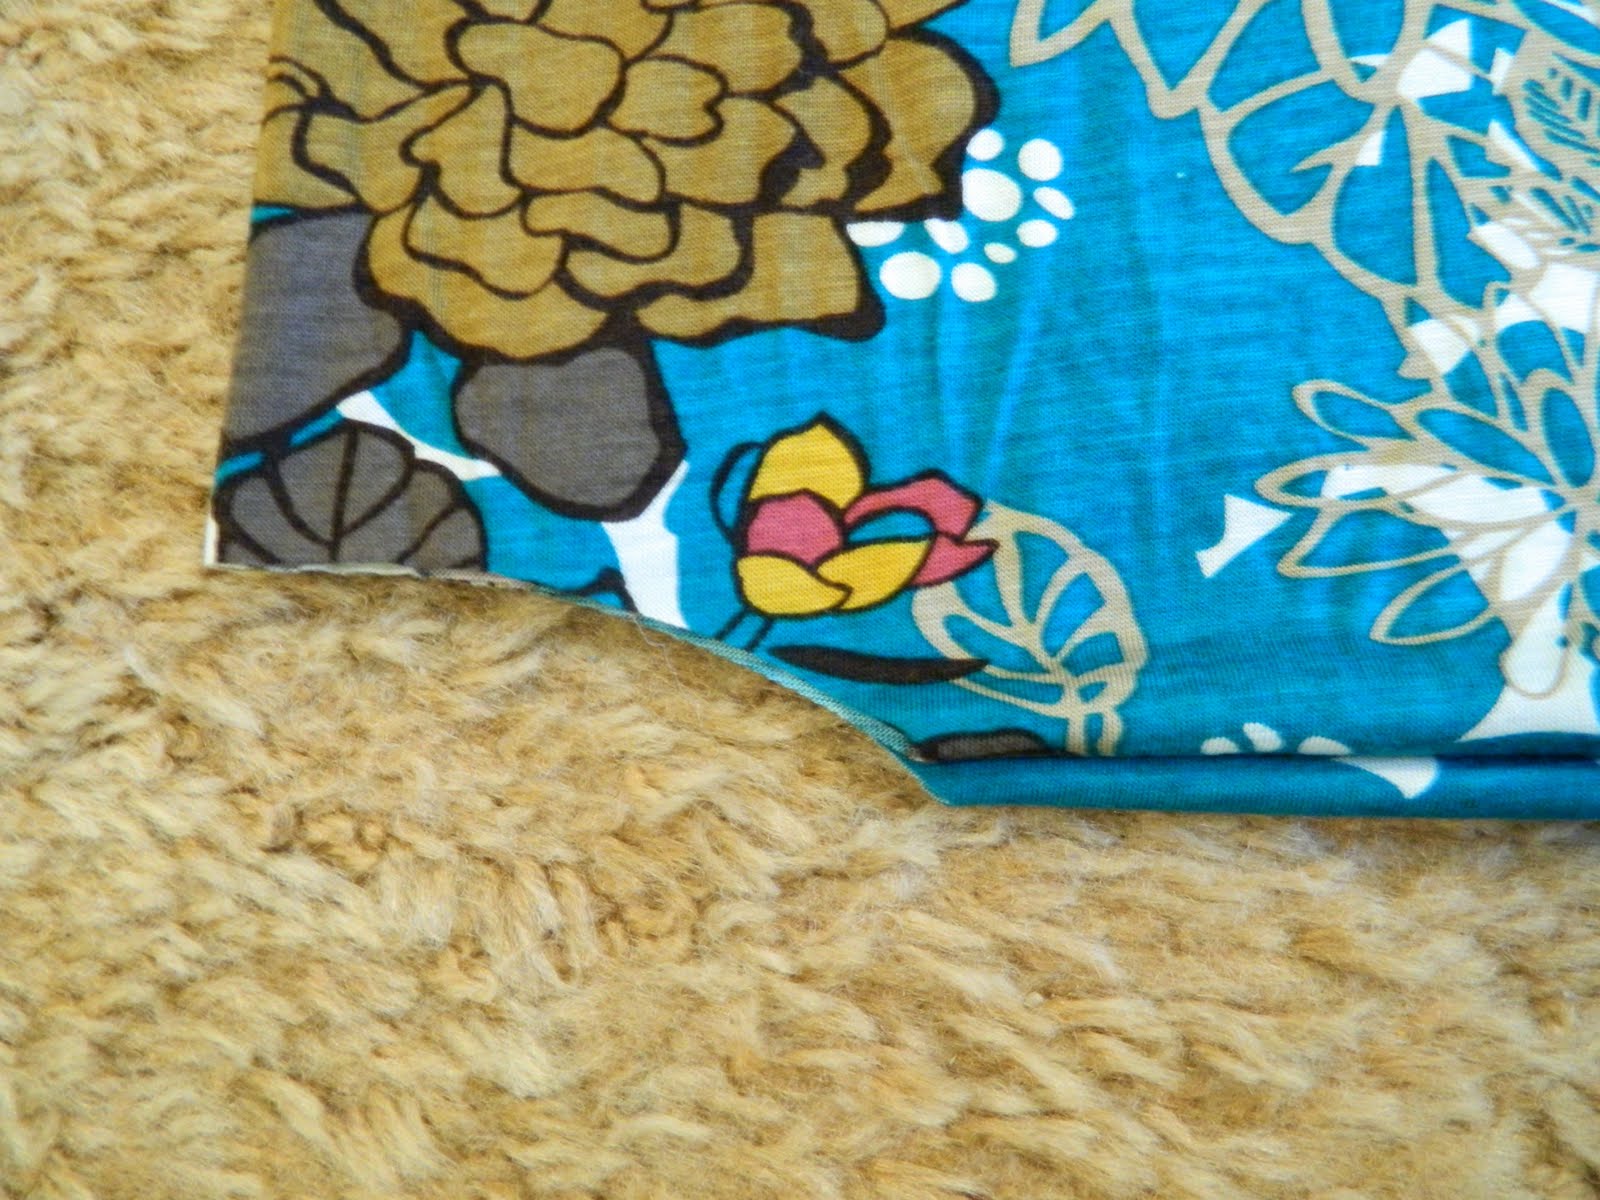
While it is still folded cut a neckhole – start small you can always make it bigger – enough to get your head through.
Step 2: Sew it up like Natalie suggests. Turn it right sides out and try it on.
Put a pin at the lowest point you would like the neckline to come, and put some pins in where you would like the bottom of the dress to fall.
Step 3: Take it off and fold it in half length-wise again. Trim off the bottom along the line where you pinned it, and trim your neckline to the pin.
Step 4: Wind some elastic thread onto your bobbin (either by hand or with your machine).
Turn the dress wrong side out and measure from under the arm down about 15″.
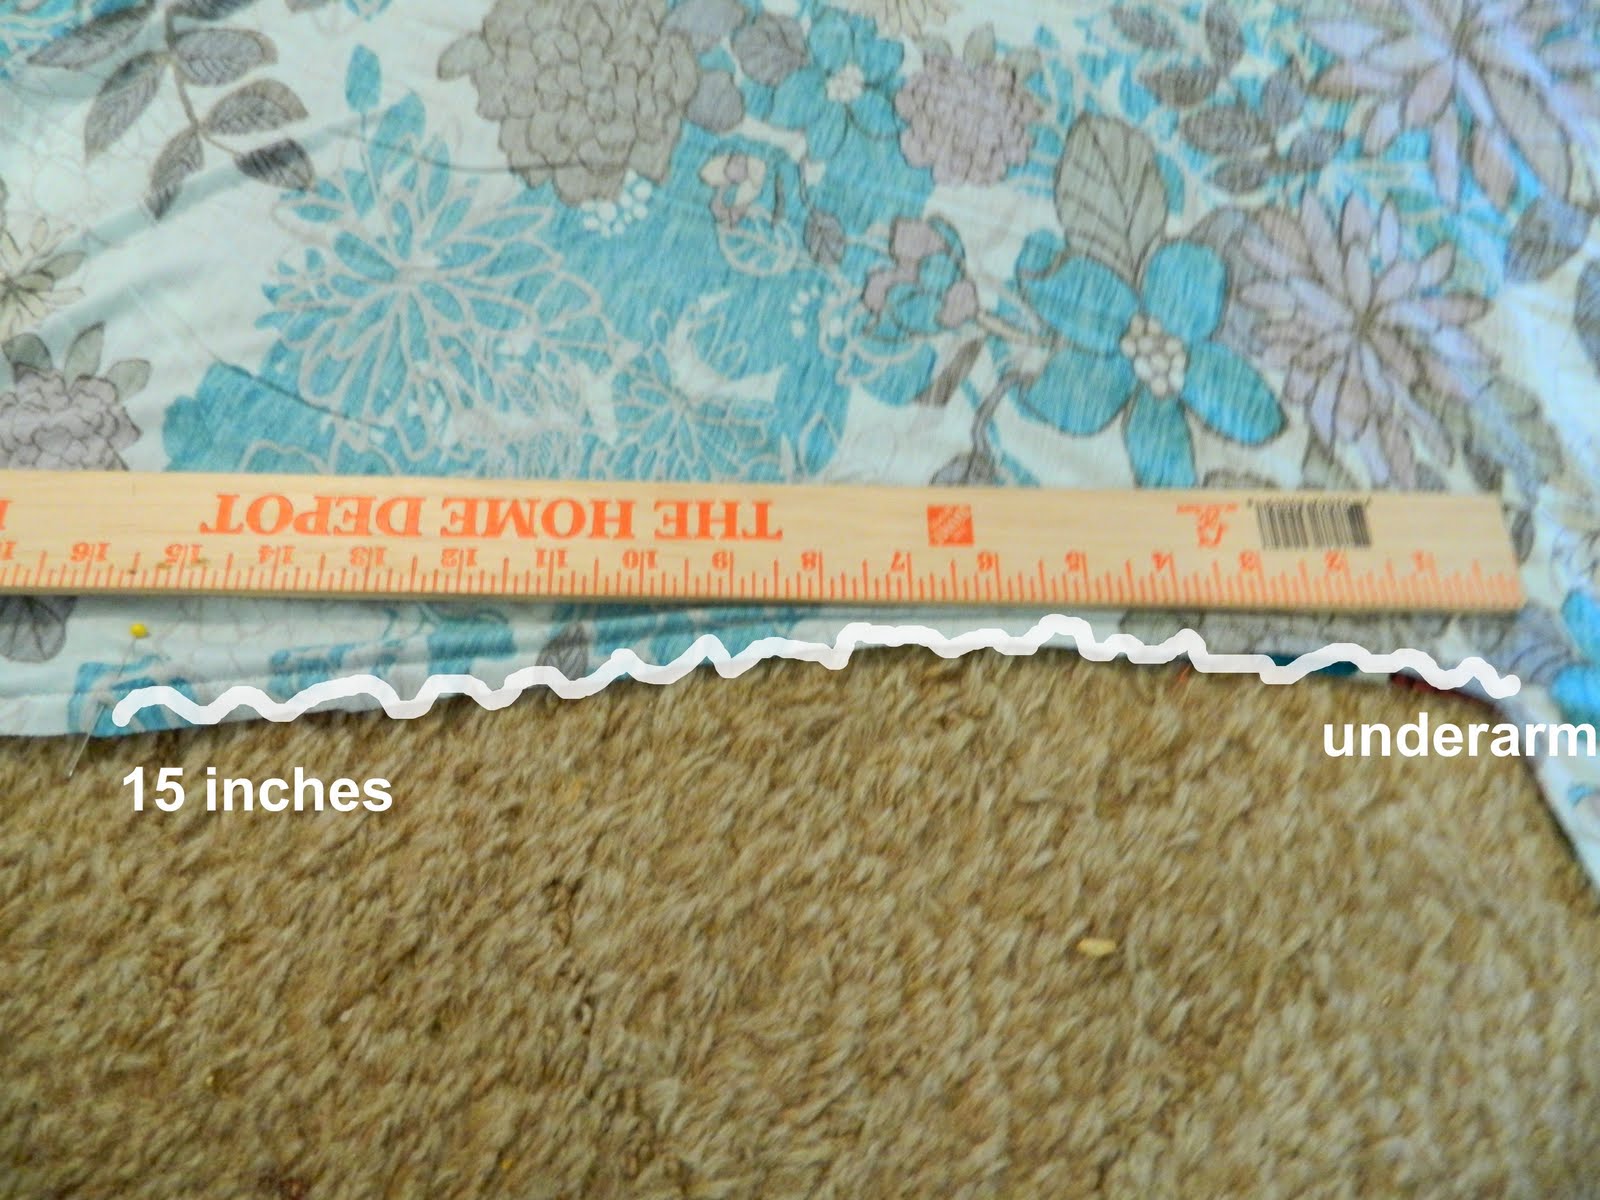
IN THE SEAM, sew down those 15″ with the elastic thread. Be certain to backstitch at the beginning and end of your stitch otherwise the elastic will come out and you will be sad. Repeat this process on the other side. This slight ruching will give you just a little bit of shape…and hide any unslightly lumps or bumps which I’m sure you don’t have… 😉
And that’s it! Be sure to trim your threads – pair it with a belt and some funky jewelry and you’re ready to hit the town!

Hope you have a great weekend, and as always if you have any questions about a tutorial leave a comment or email me at jessica(at)makeitlovely(dot)com.
xoxo
jessica


