It’s that lovely time of year – fireworks, berry cobblers, cookouts, and family gatherings.
Hooray for the red, white, and blue!

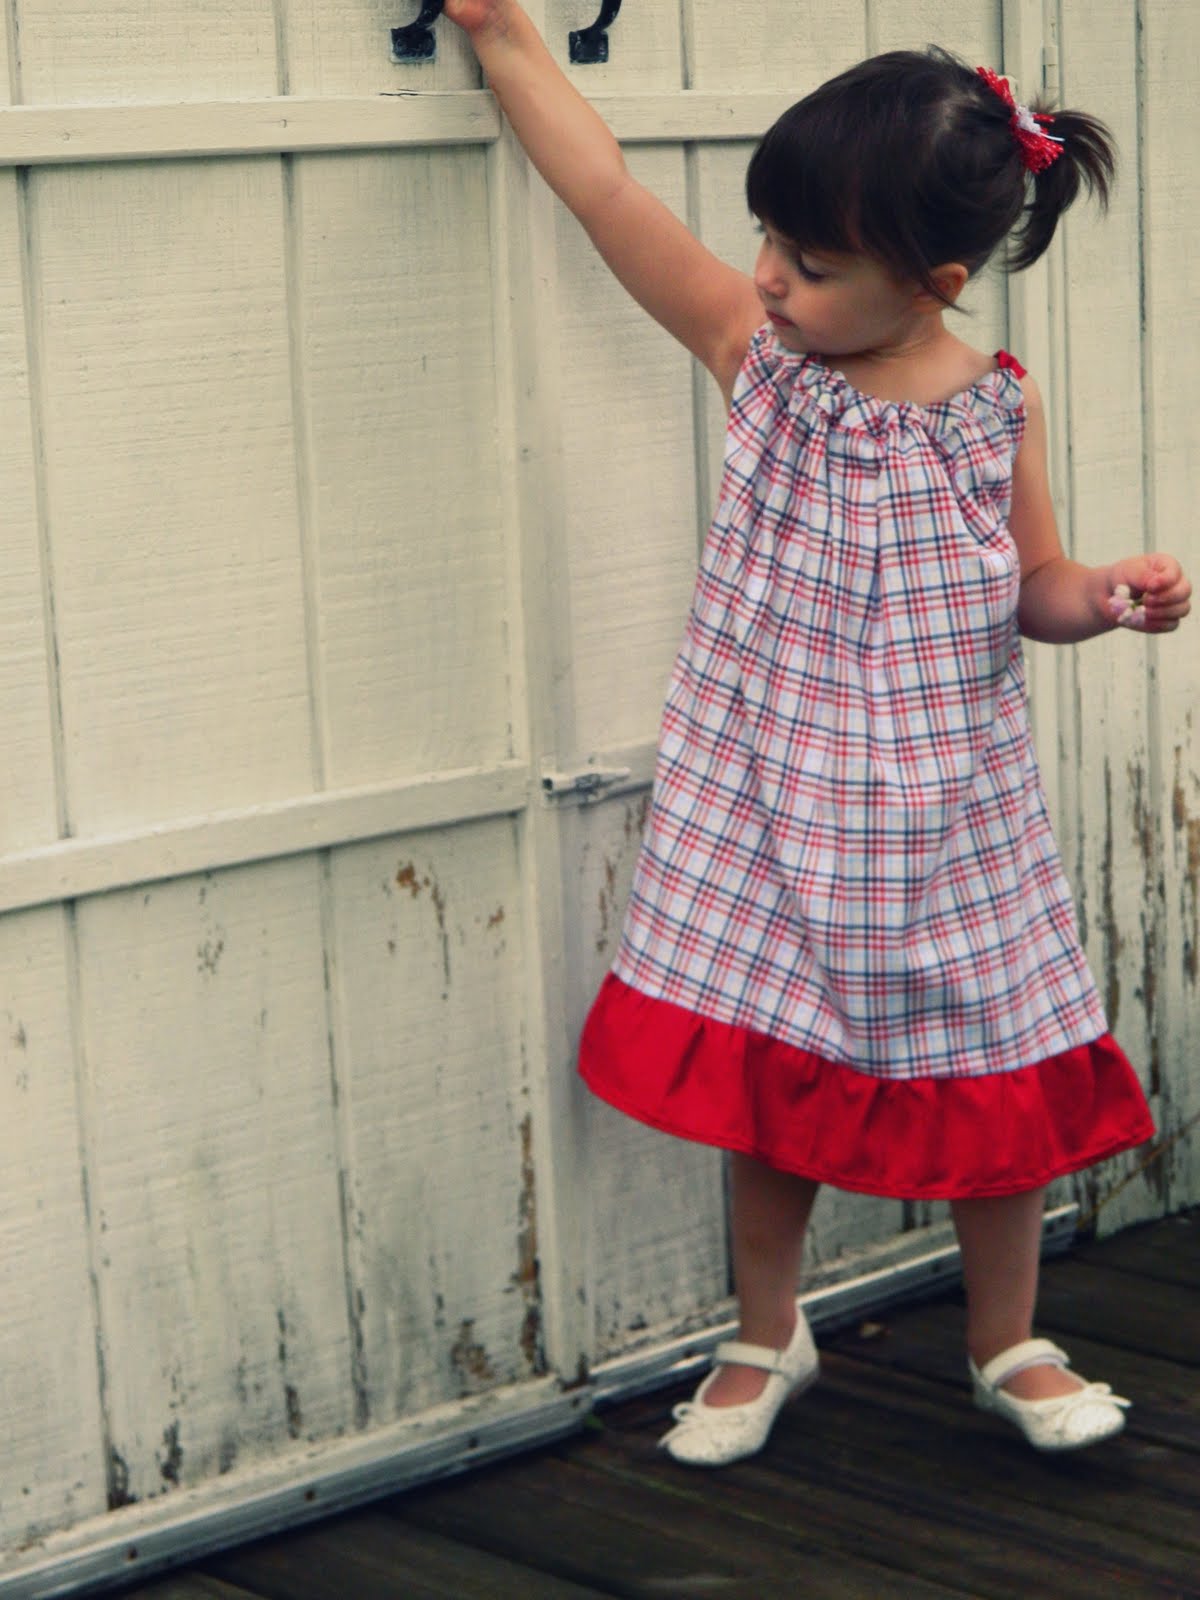
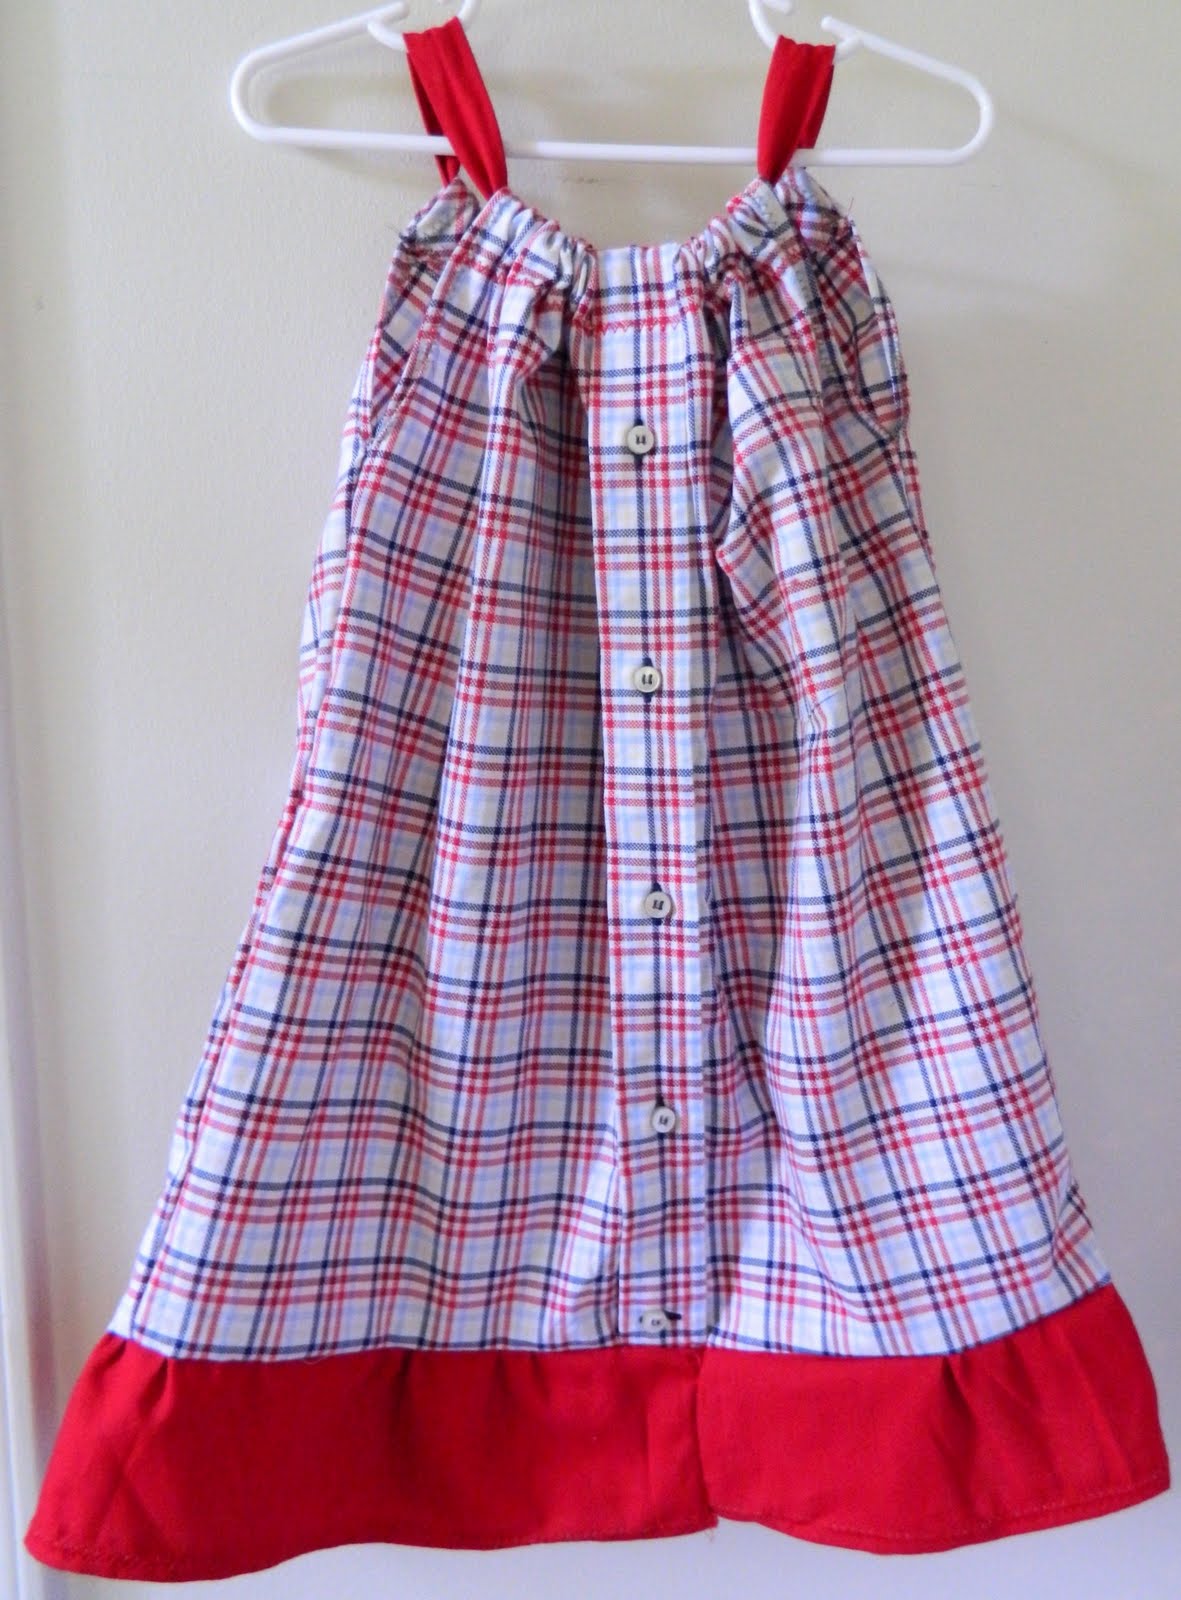
Charlotte needed a new dress for the 4th of July.
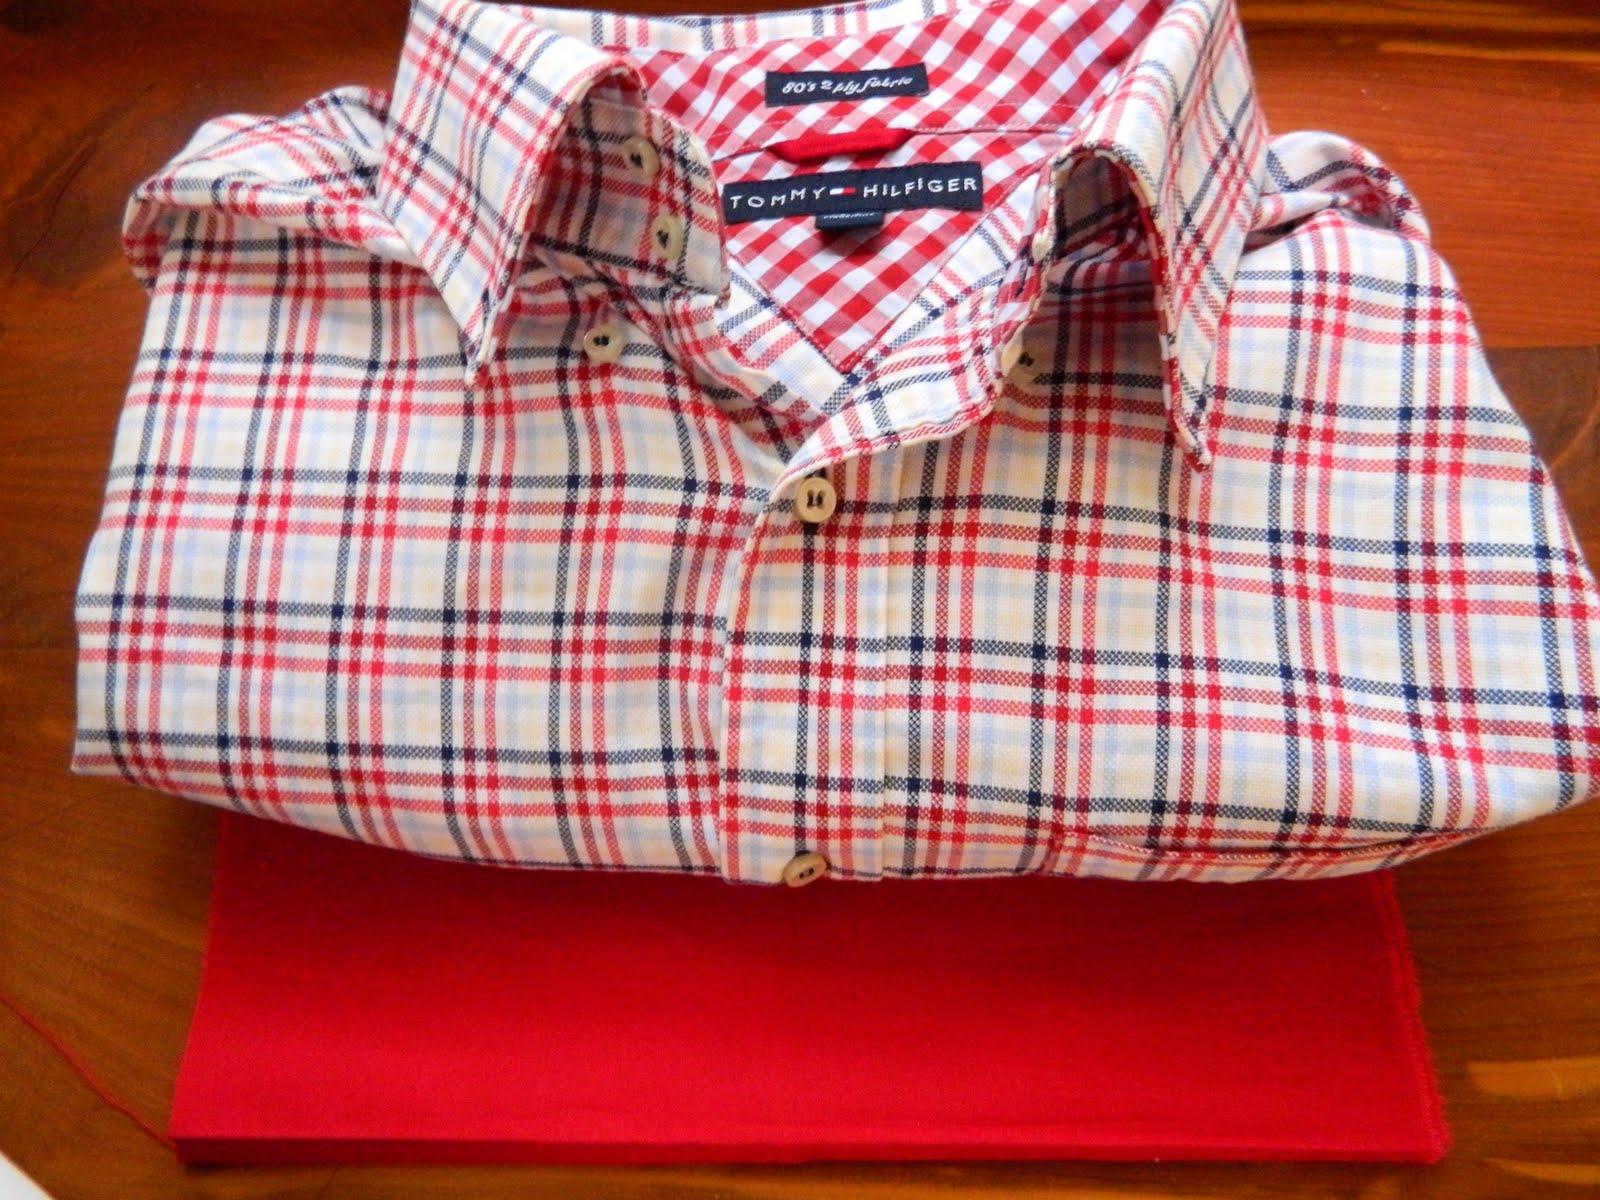
We had snagged a Tommy Hilfiger dress shirt at our local thrift store,
and I decided it would make the perfect patriotic outfit!

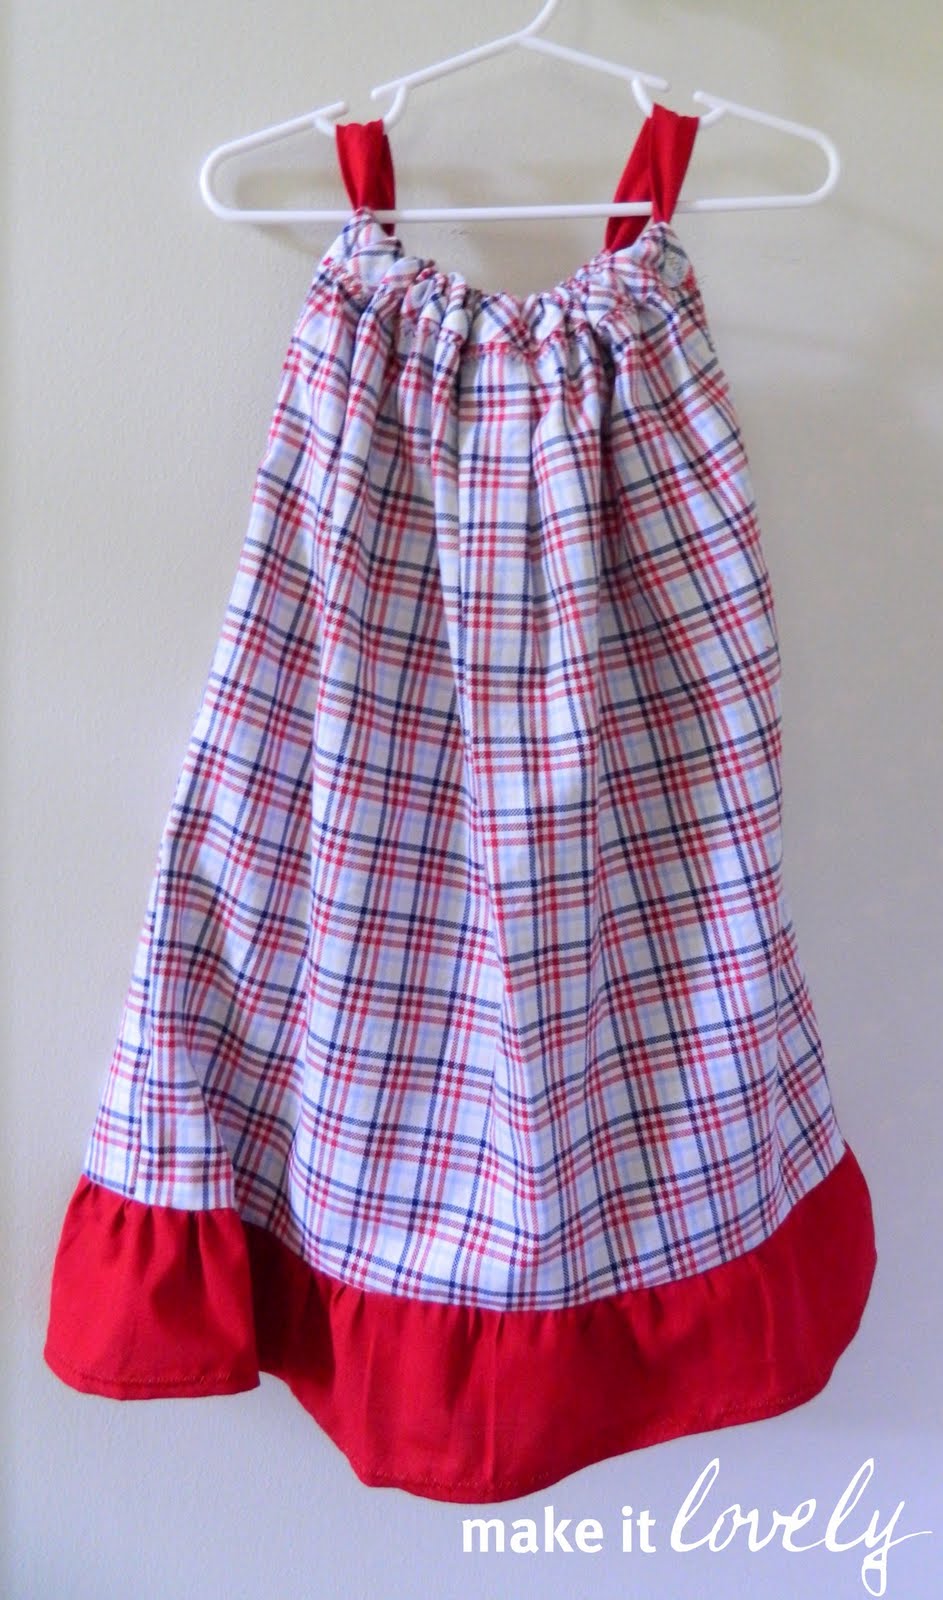
Lots of cute tutorials have been done using dress shirts to make dresses – I couldn’t find exactly what I was looking for, so I made a basic pillowcase dress out of the shirt!

I made it with the thought that the buttons would go down the back,
but it could really go either way depending on our mood.

It’s a pretty simple process.
You’ll need a man’s dress shirt and about 6″x 45″ of coordinating fabric.
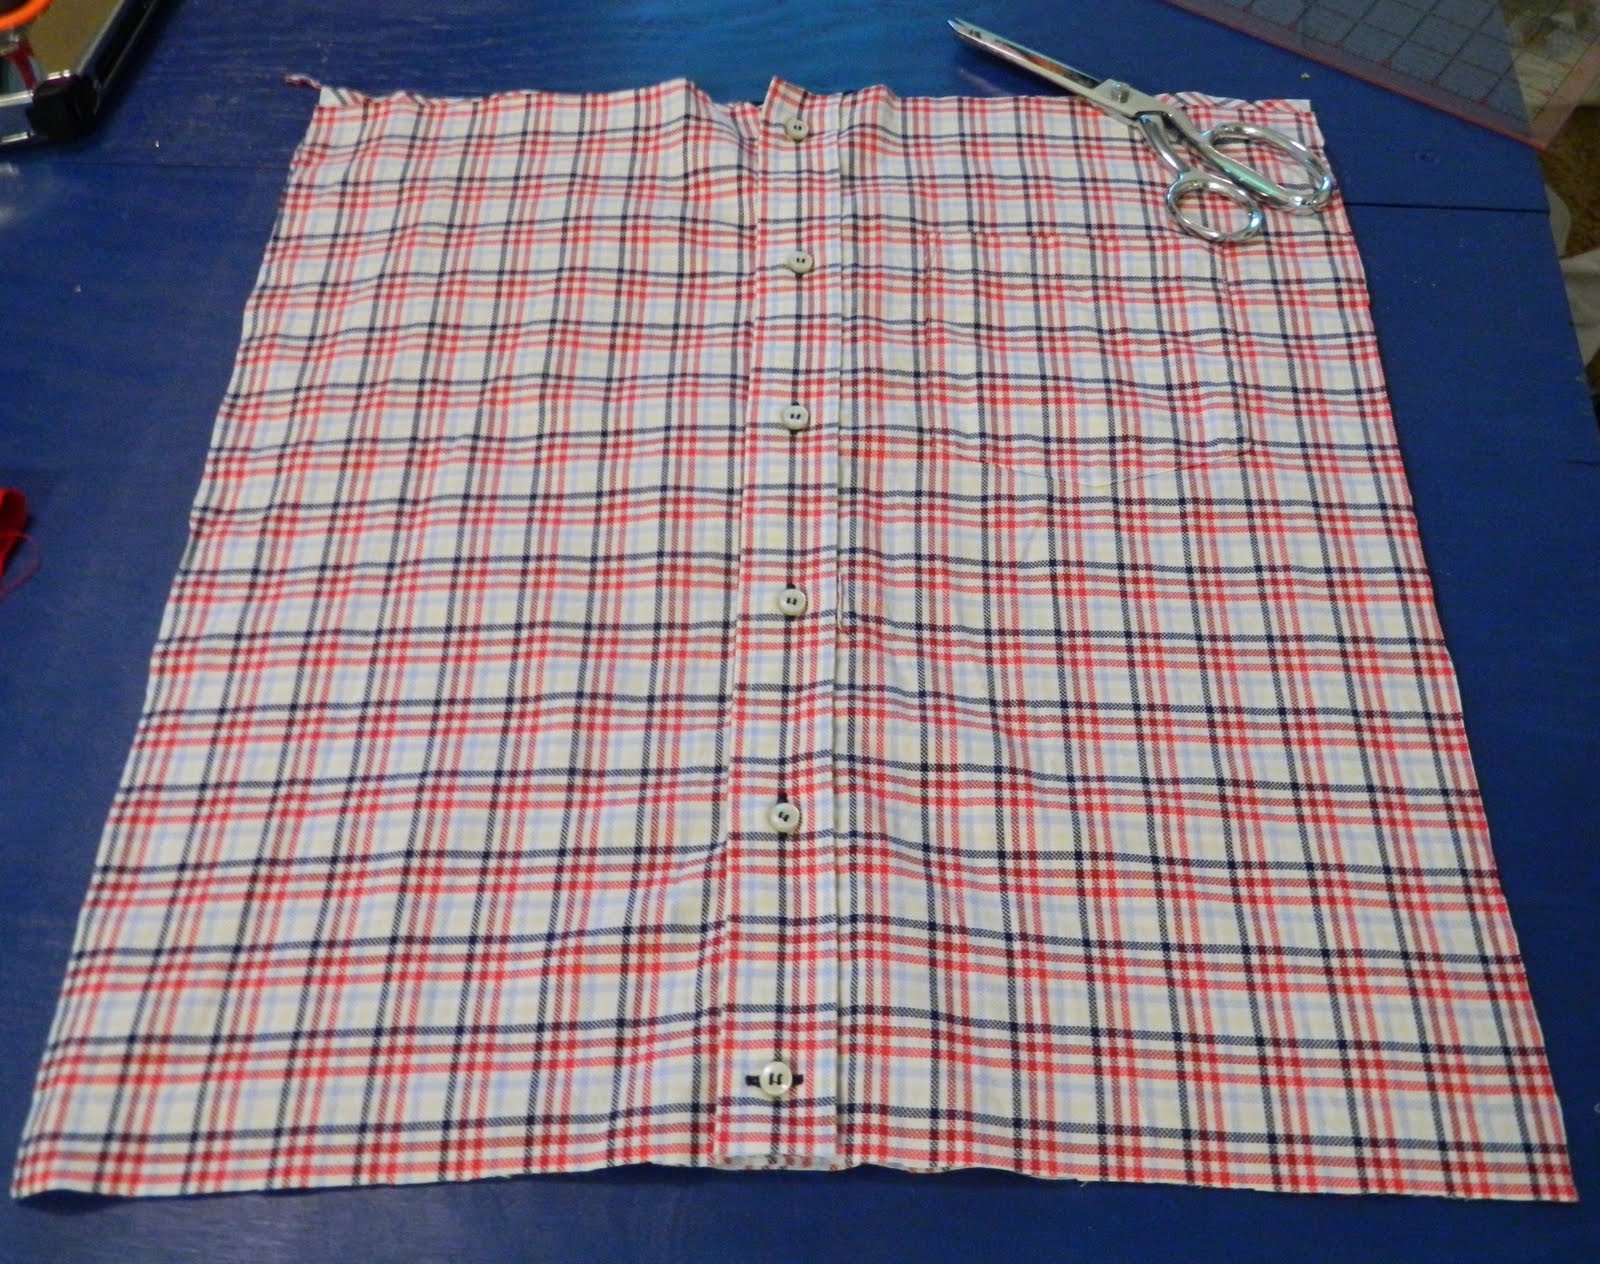
Step 1: Cut the arms and collar off the shirt.
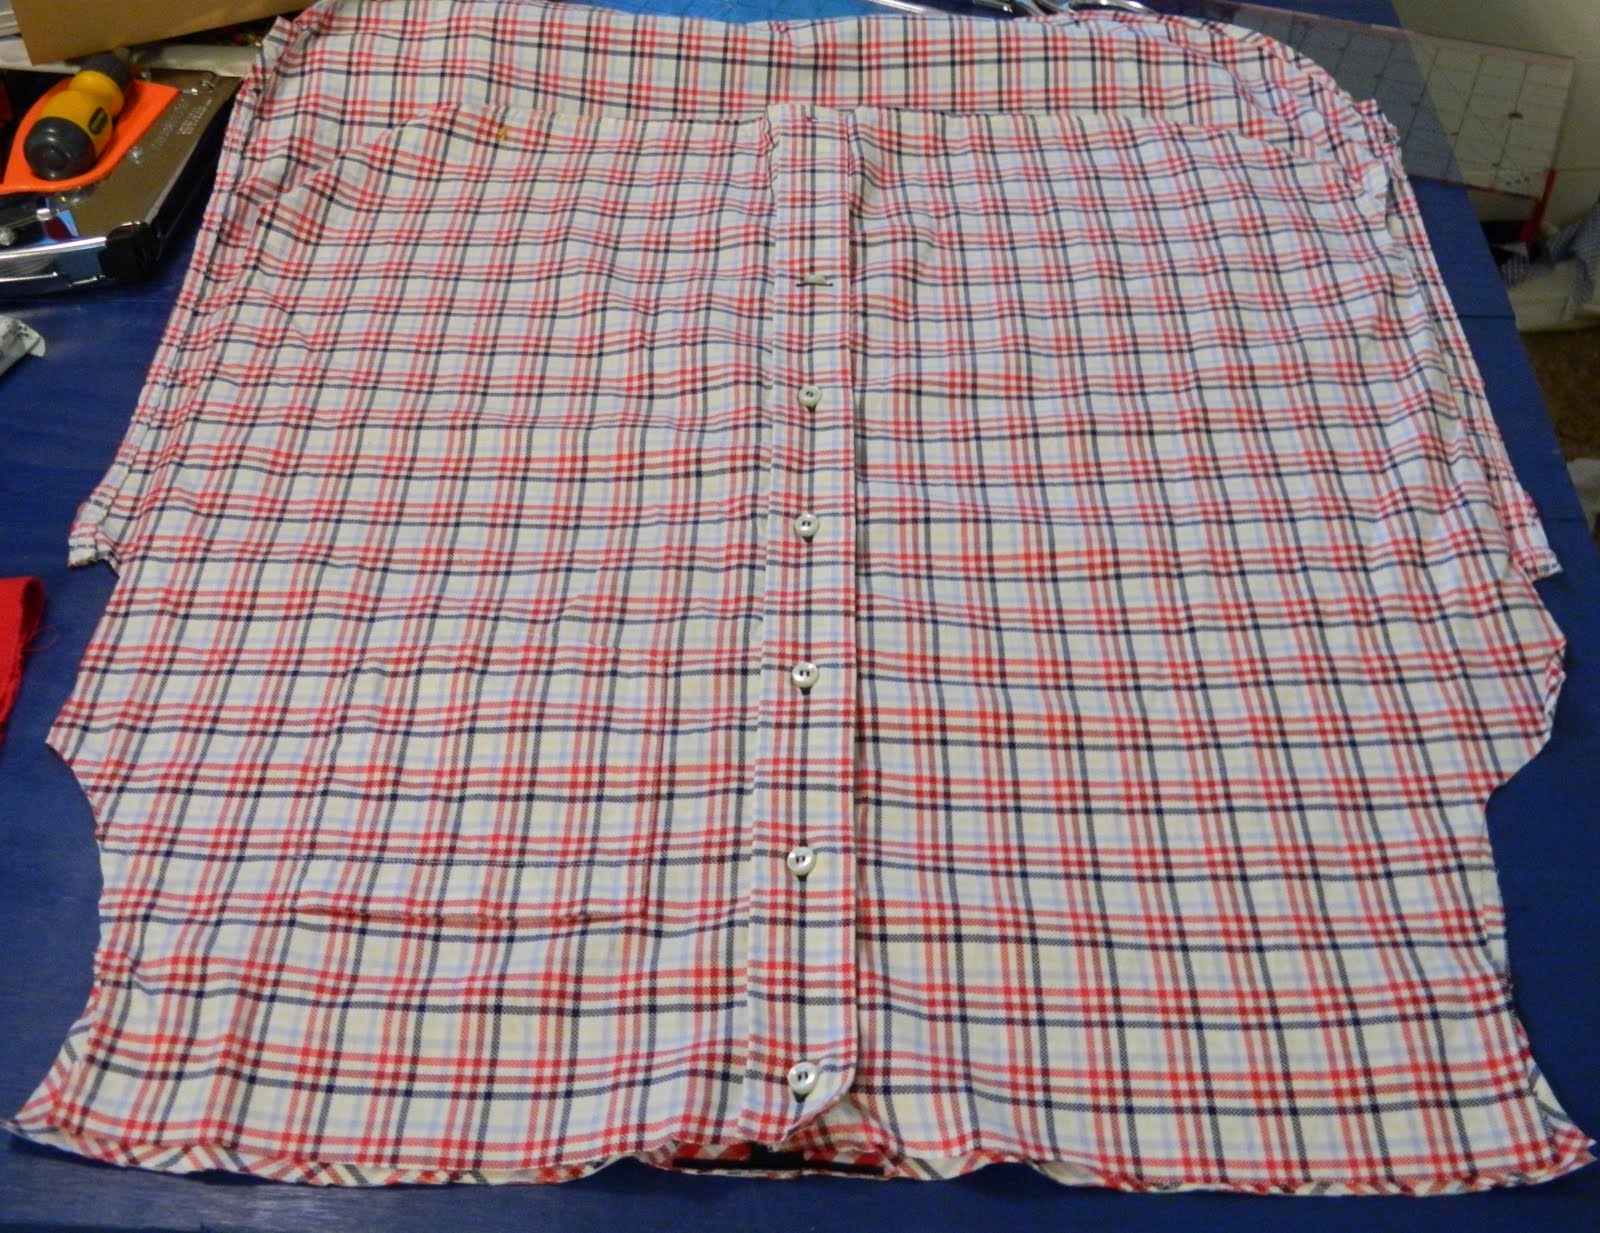
Straighten up the edges so that you have a rectangle – mine for a size 3T was 19″ wide x 20 1/2″ long.
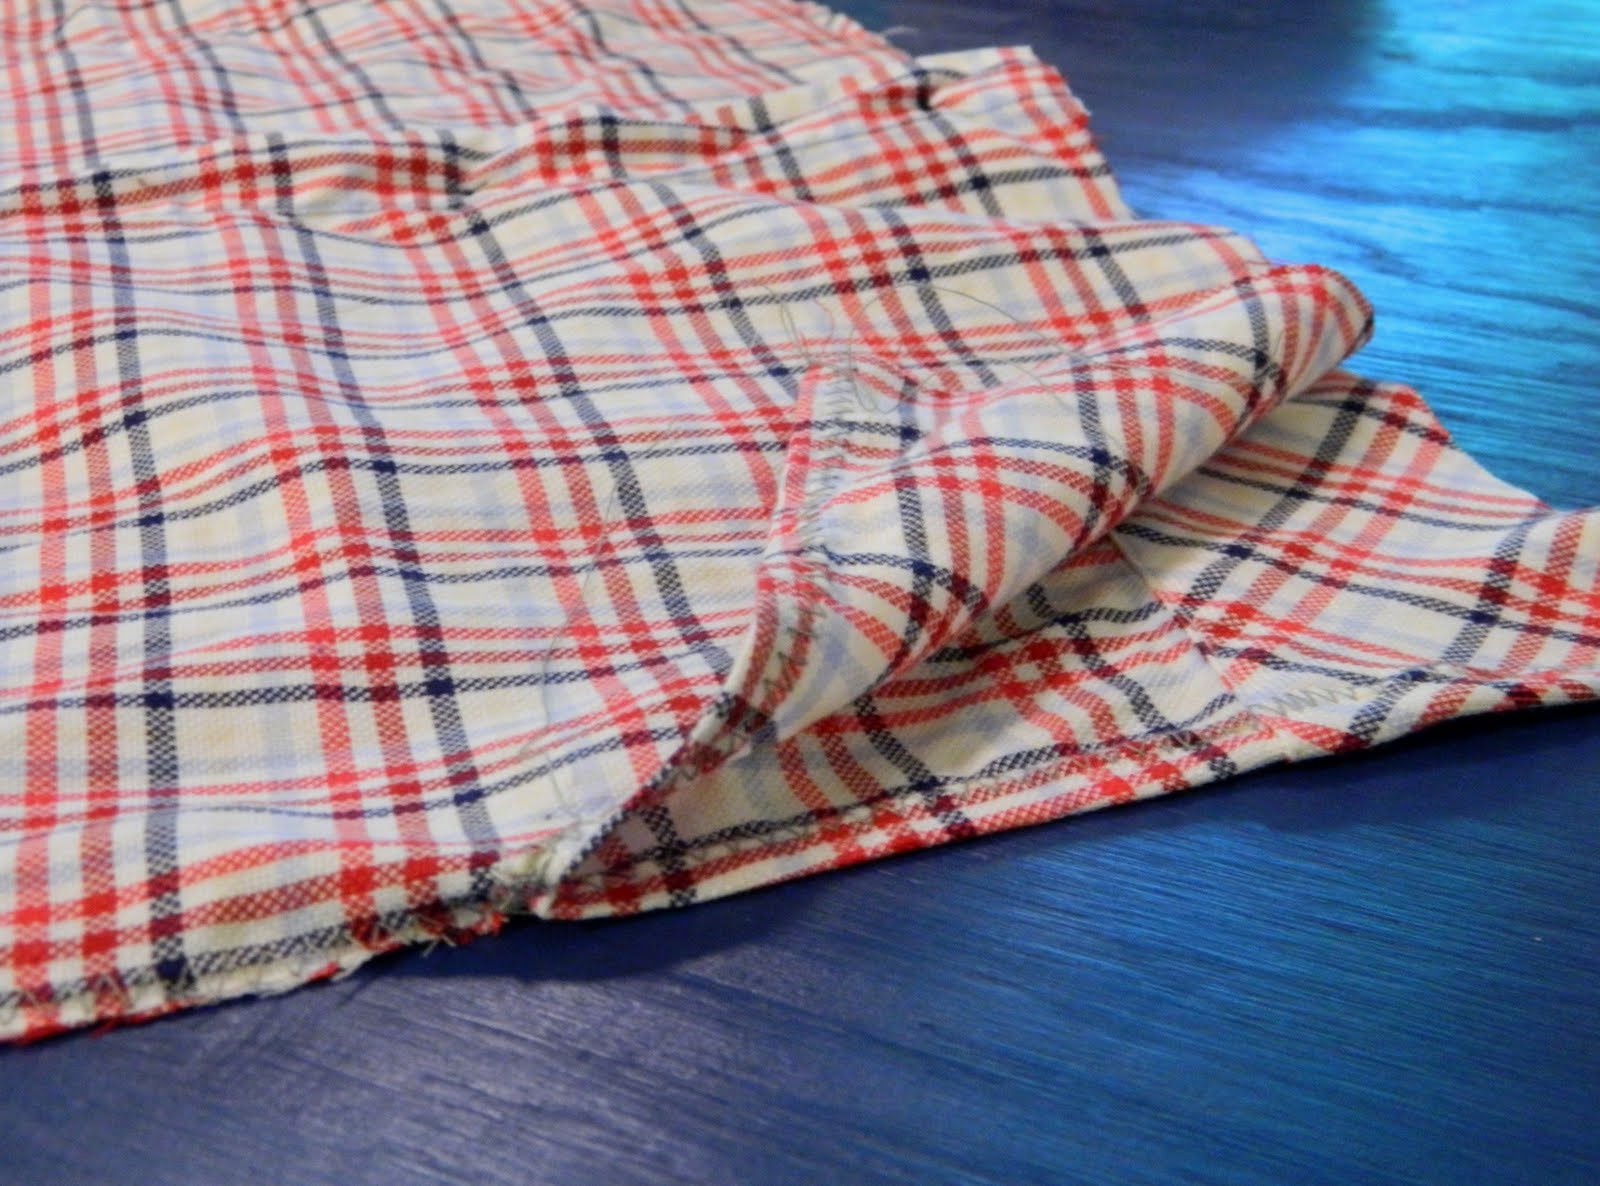
Step 2: Right sides together, sew up the side seams, stopping about 5″ from the top.
I used a zig-zag stitch so I wouldn’t have raw edges on the inside.
Then open the underarm wide and pin the raw edge toward the wrong side of the dress.
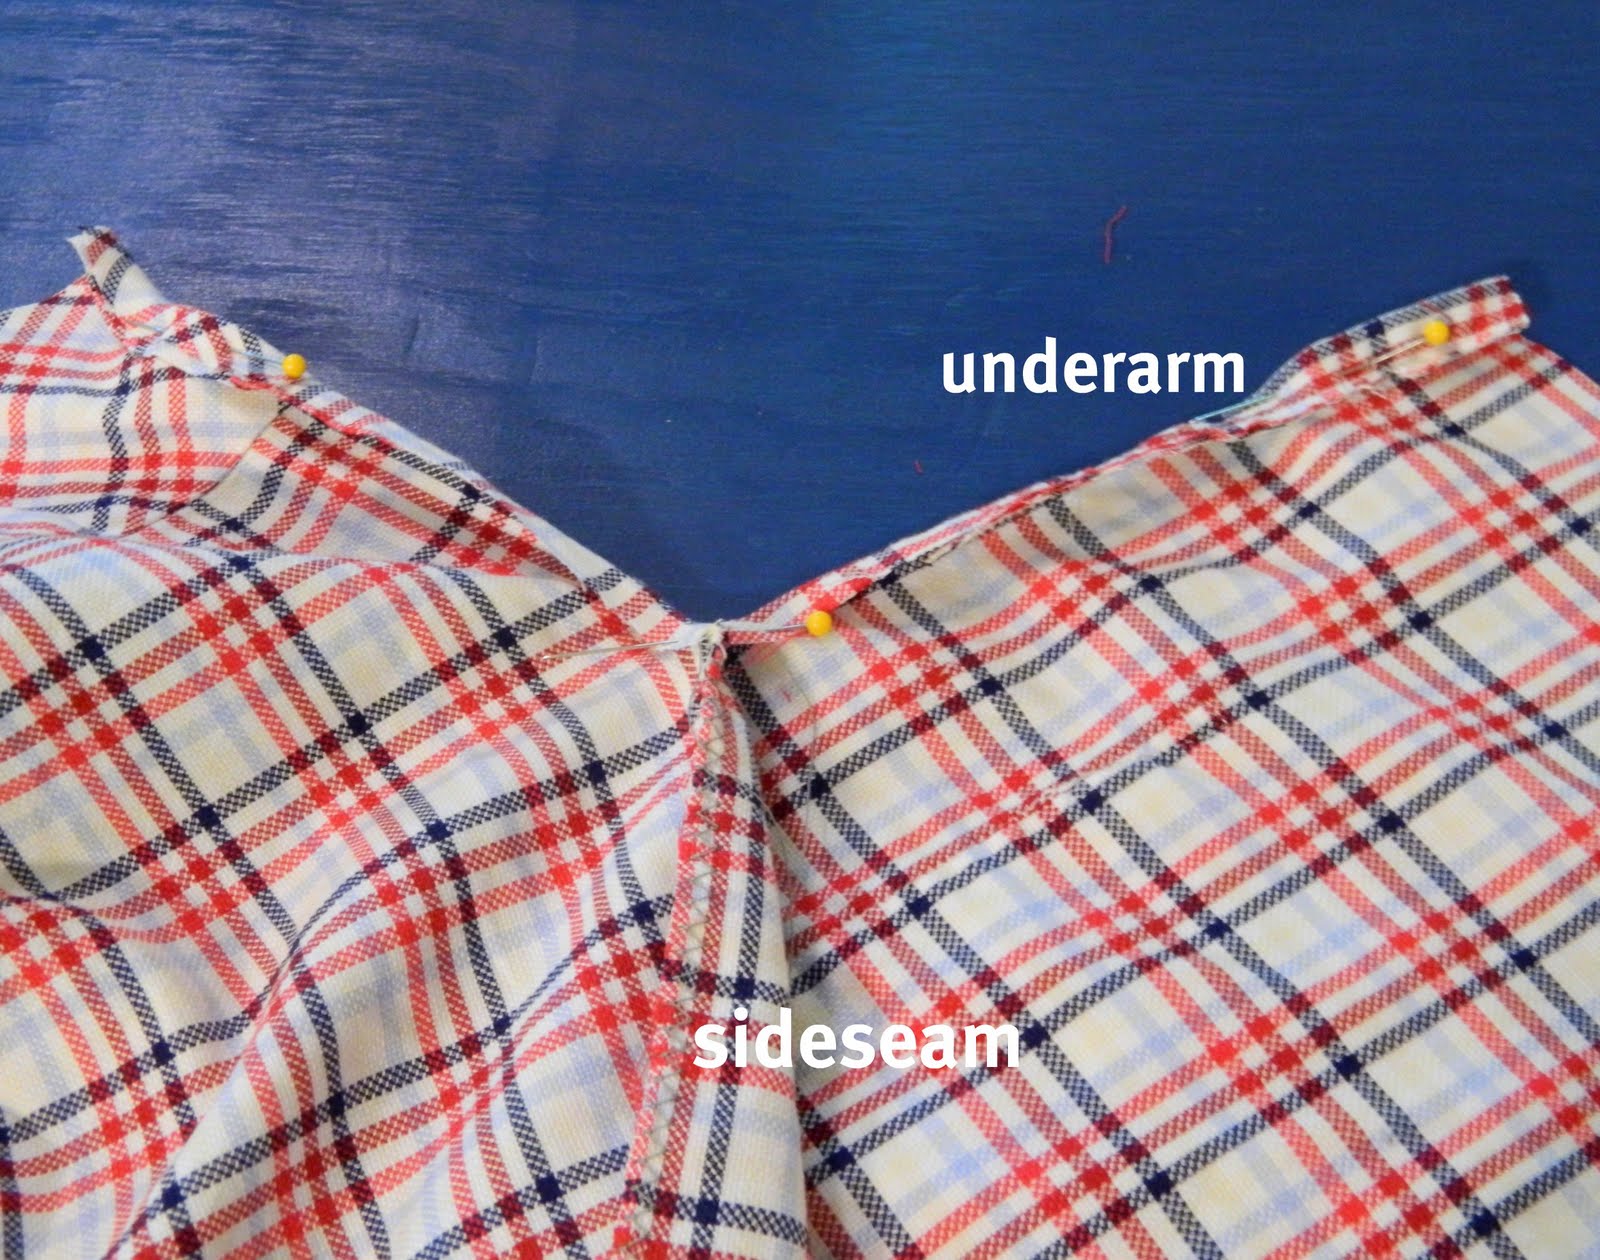
Stitch in place with a zig-zag stitch.
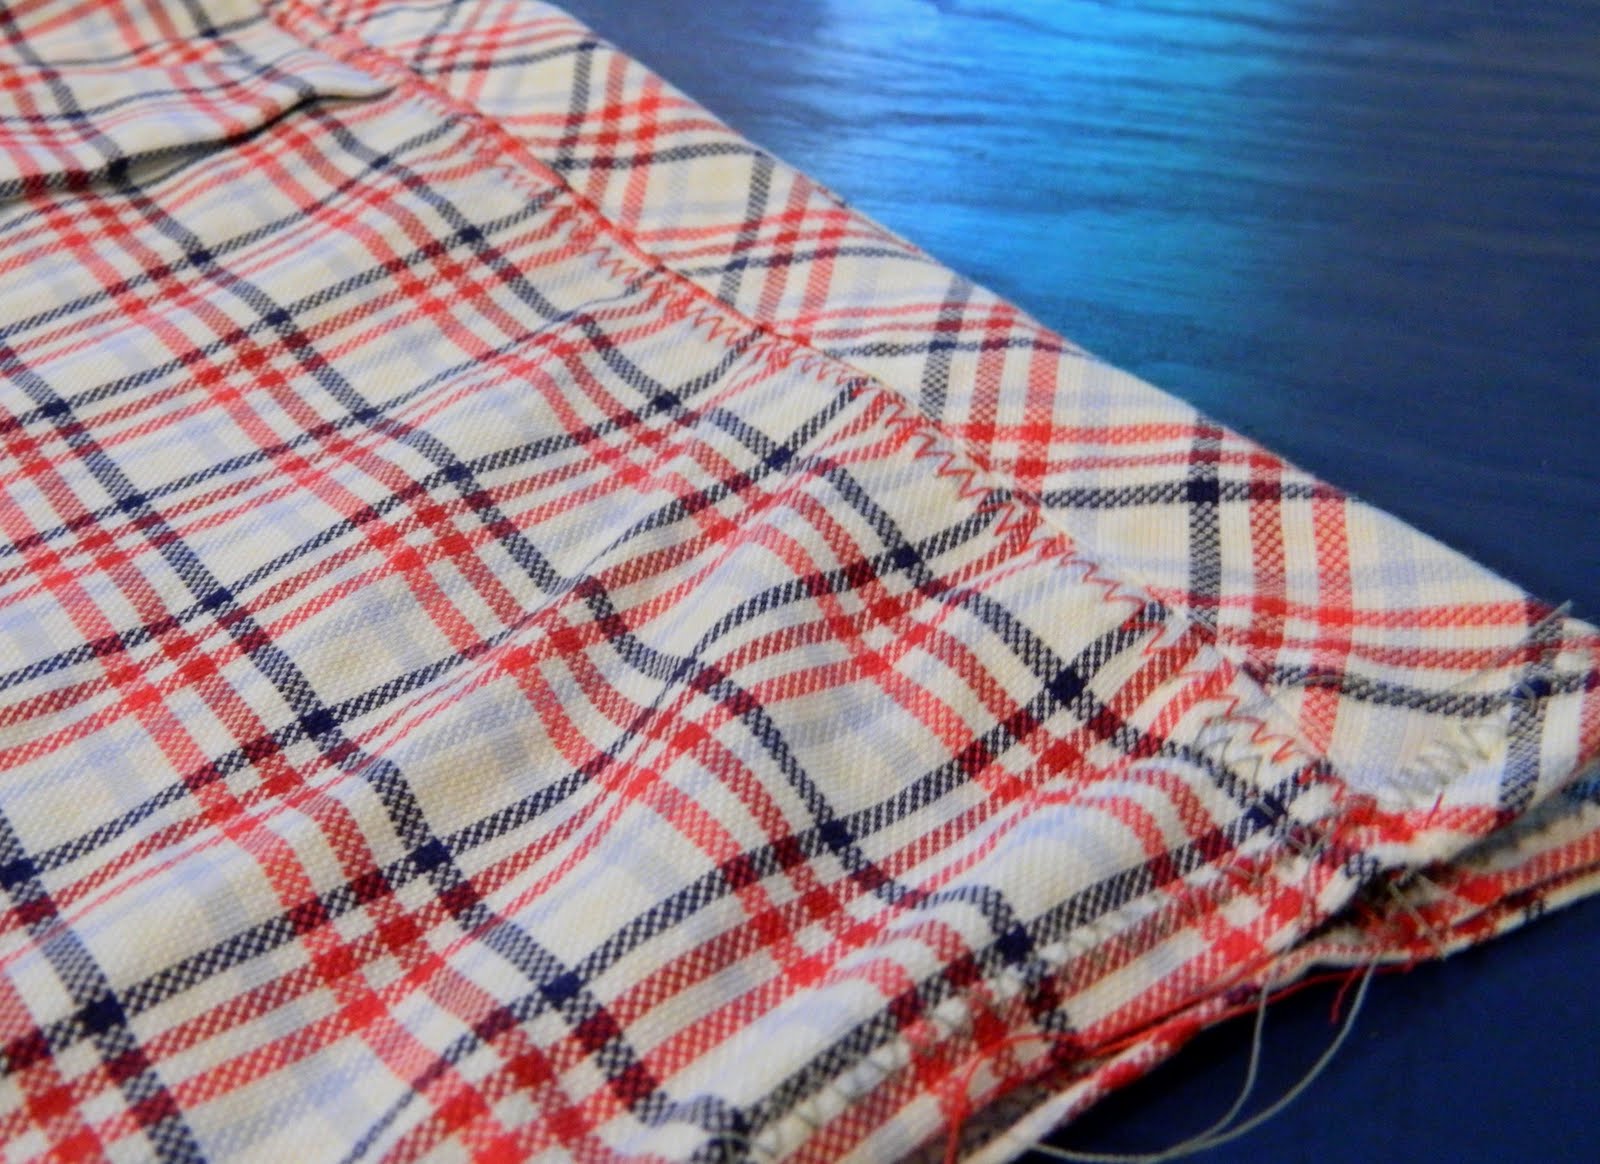
Step 3: Turn down the top edges about 1 1/2″ toward the wrong side – making a casing for the straps.
Stitch in place.
Step 4: Cut the coordinating fabric into two strips: one 2 1/2″ wide and one 3″ wide.
Using a basting stitch, gather the 3″ strip. Pin it right sides together with the bottom of the dress and sew on.
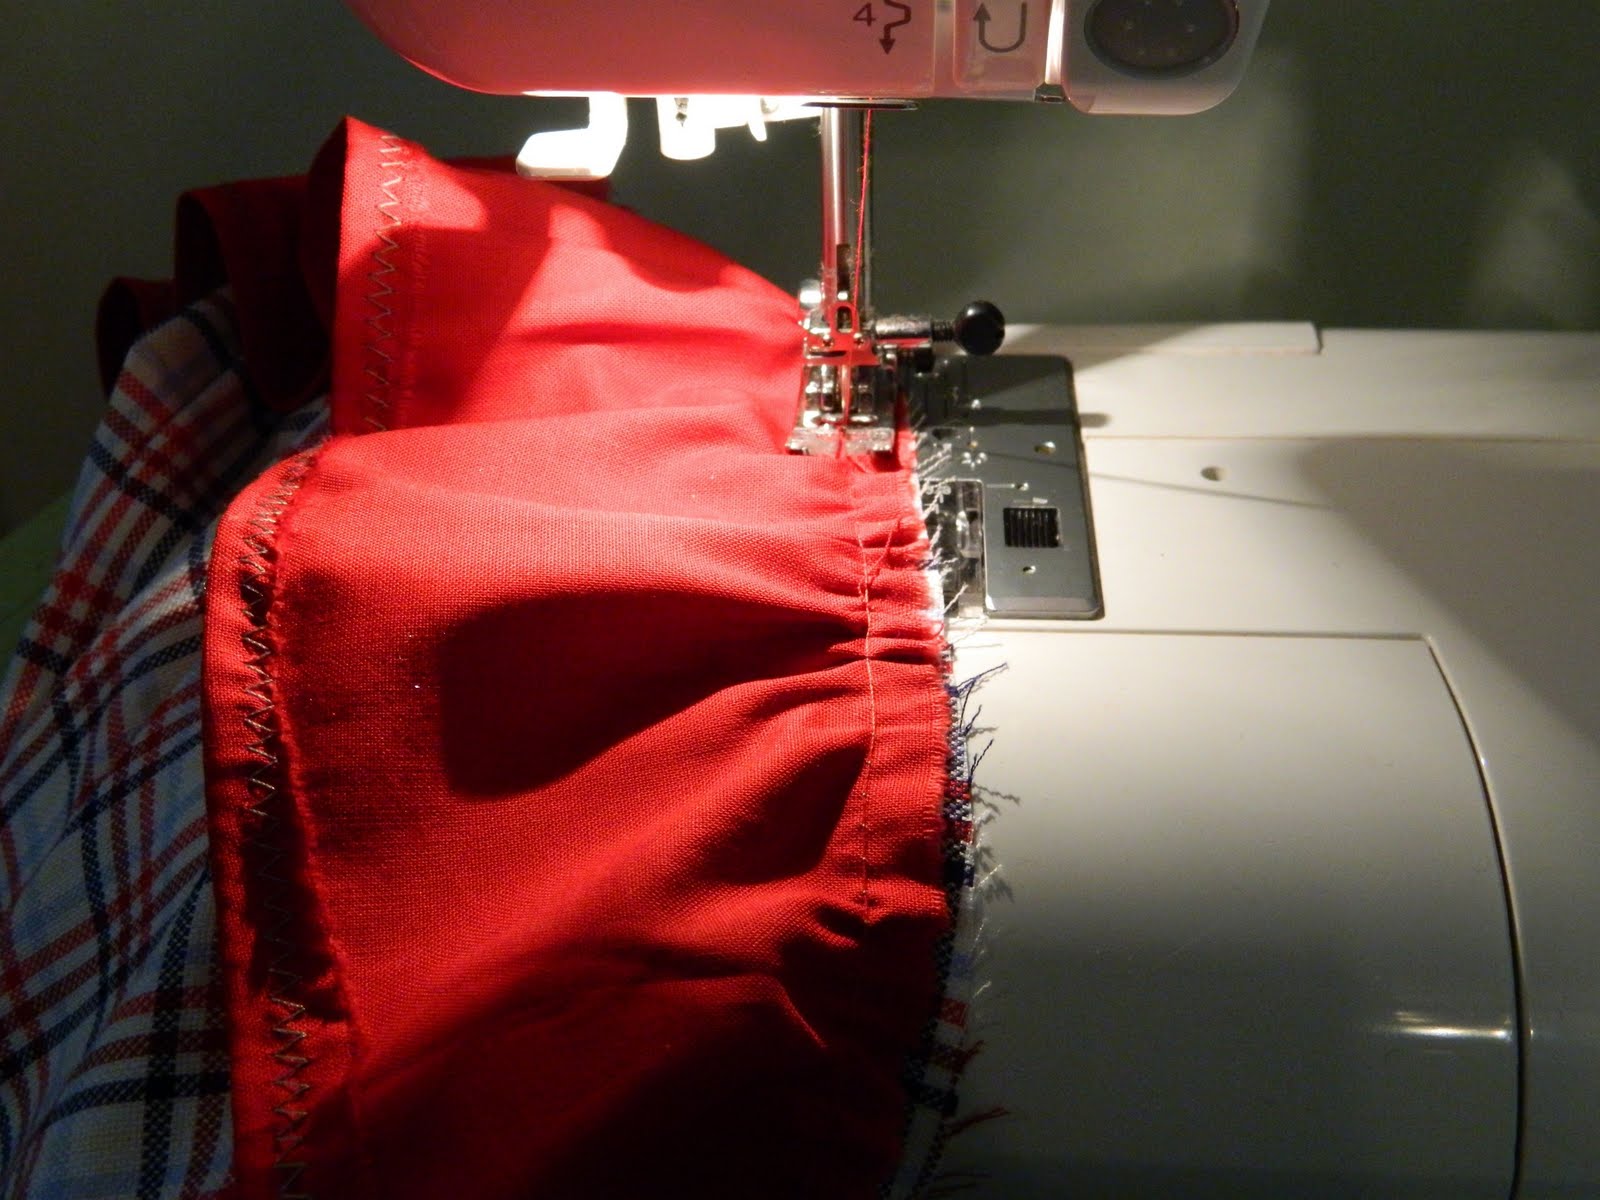
Press it well.
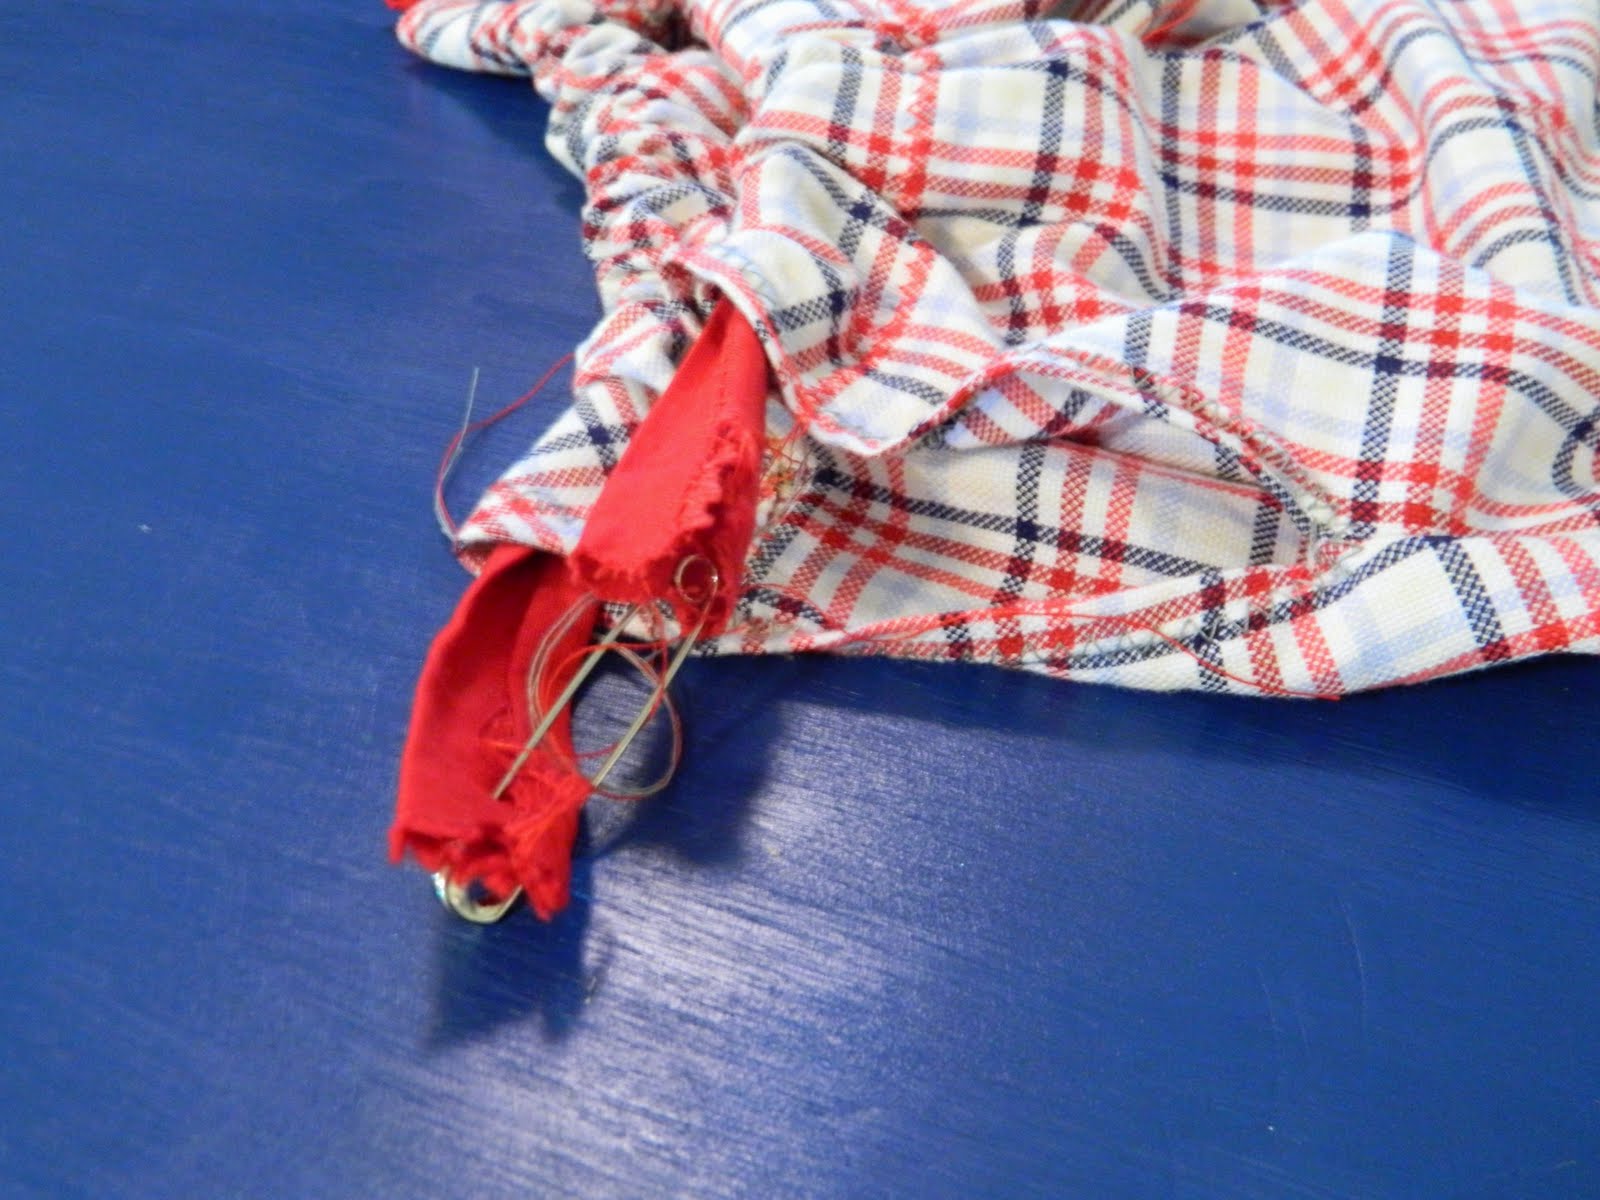
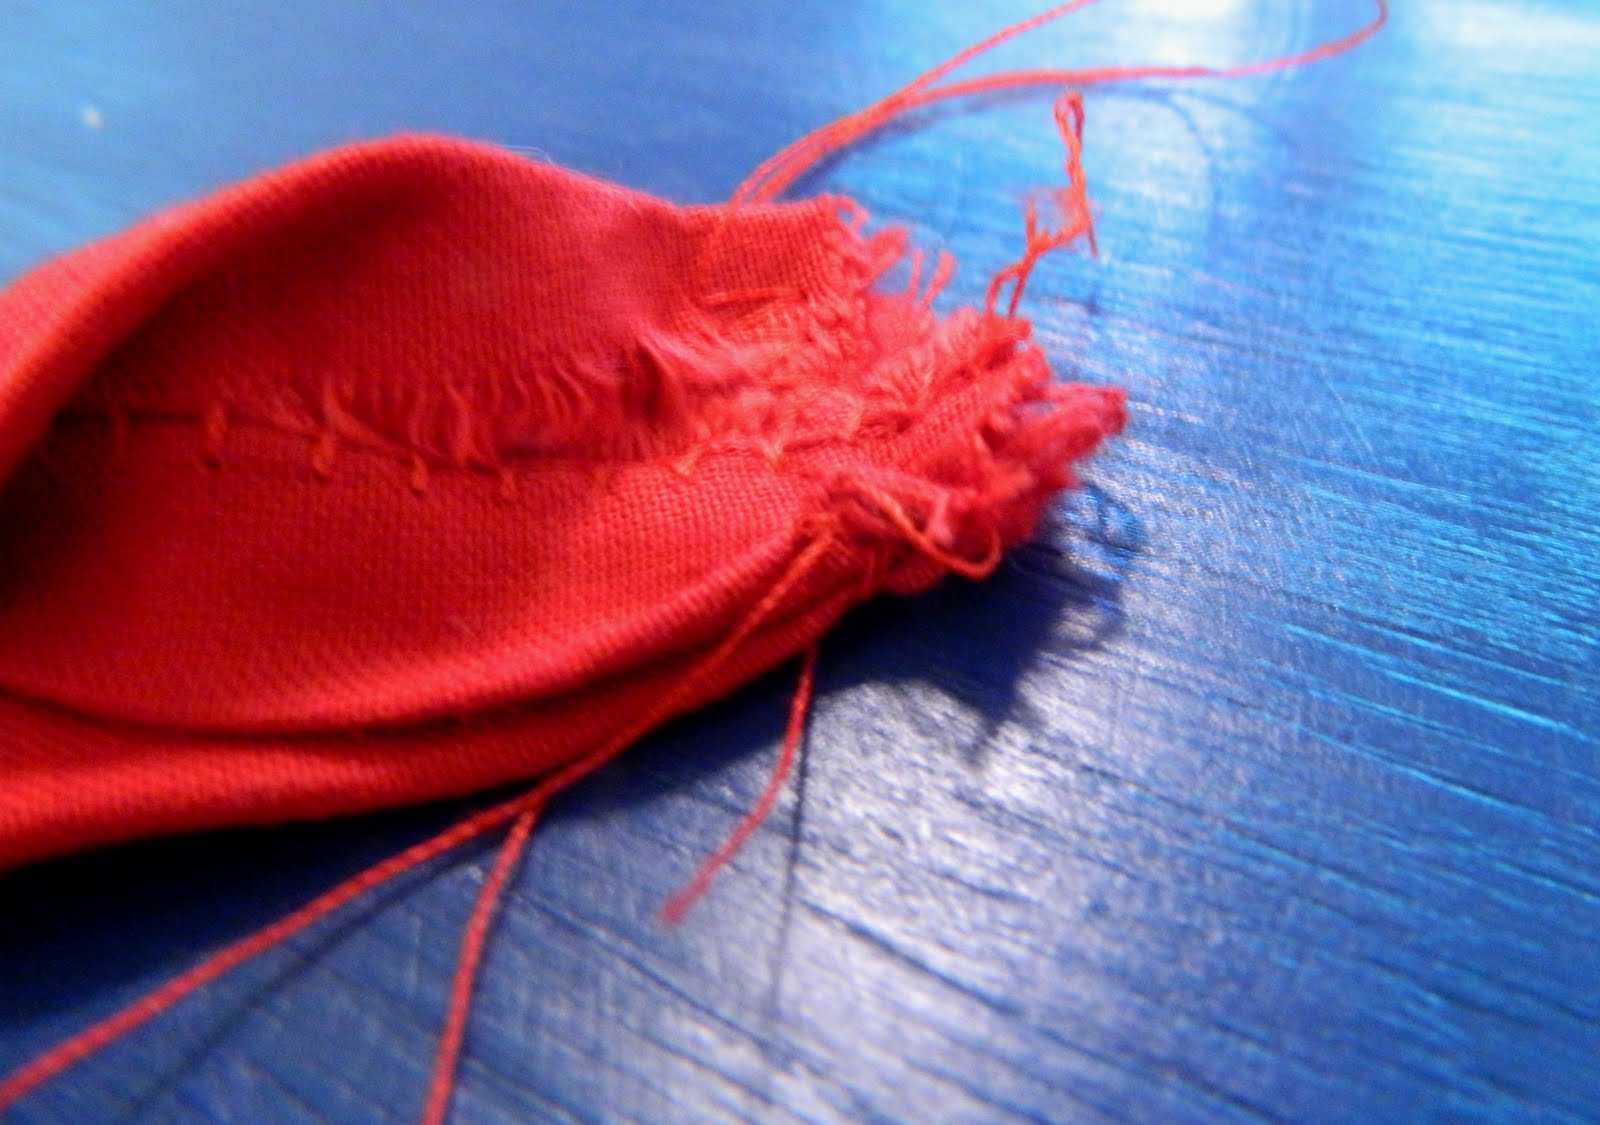
Step 5: Fold the 2 1/2″ strip in half, right sides together, and sew along the length – creating a tube. Try not to say bad words while you turn it inside out. Attach a safety pin to one edge and guide it through the casing at the top of the dress.
Sew the two edges together.
Adjust the straps so that those edges are hidden in the casing.
And that’s it. Instant cuteness.


Happy sewing, friends!
xoxo
jessica