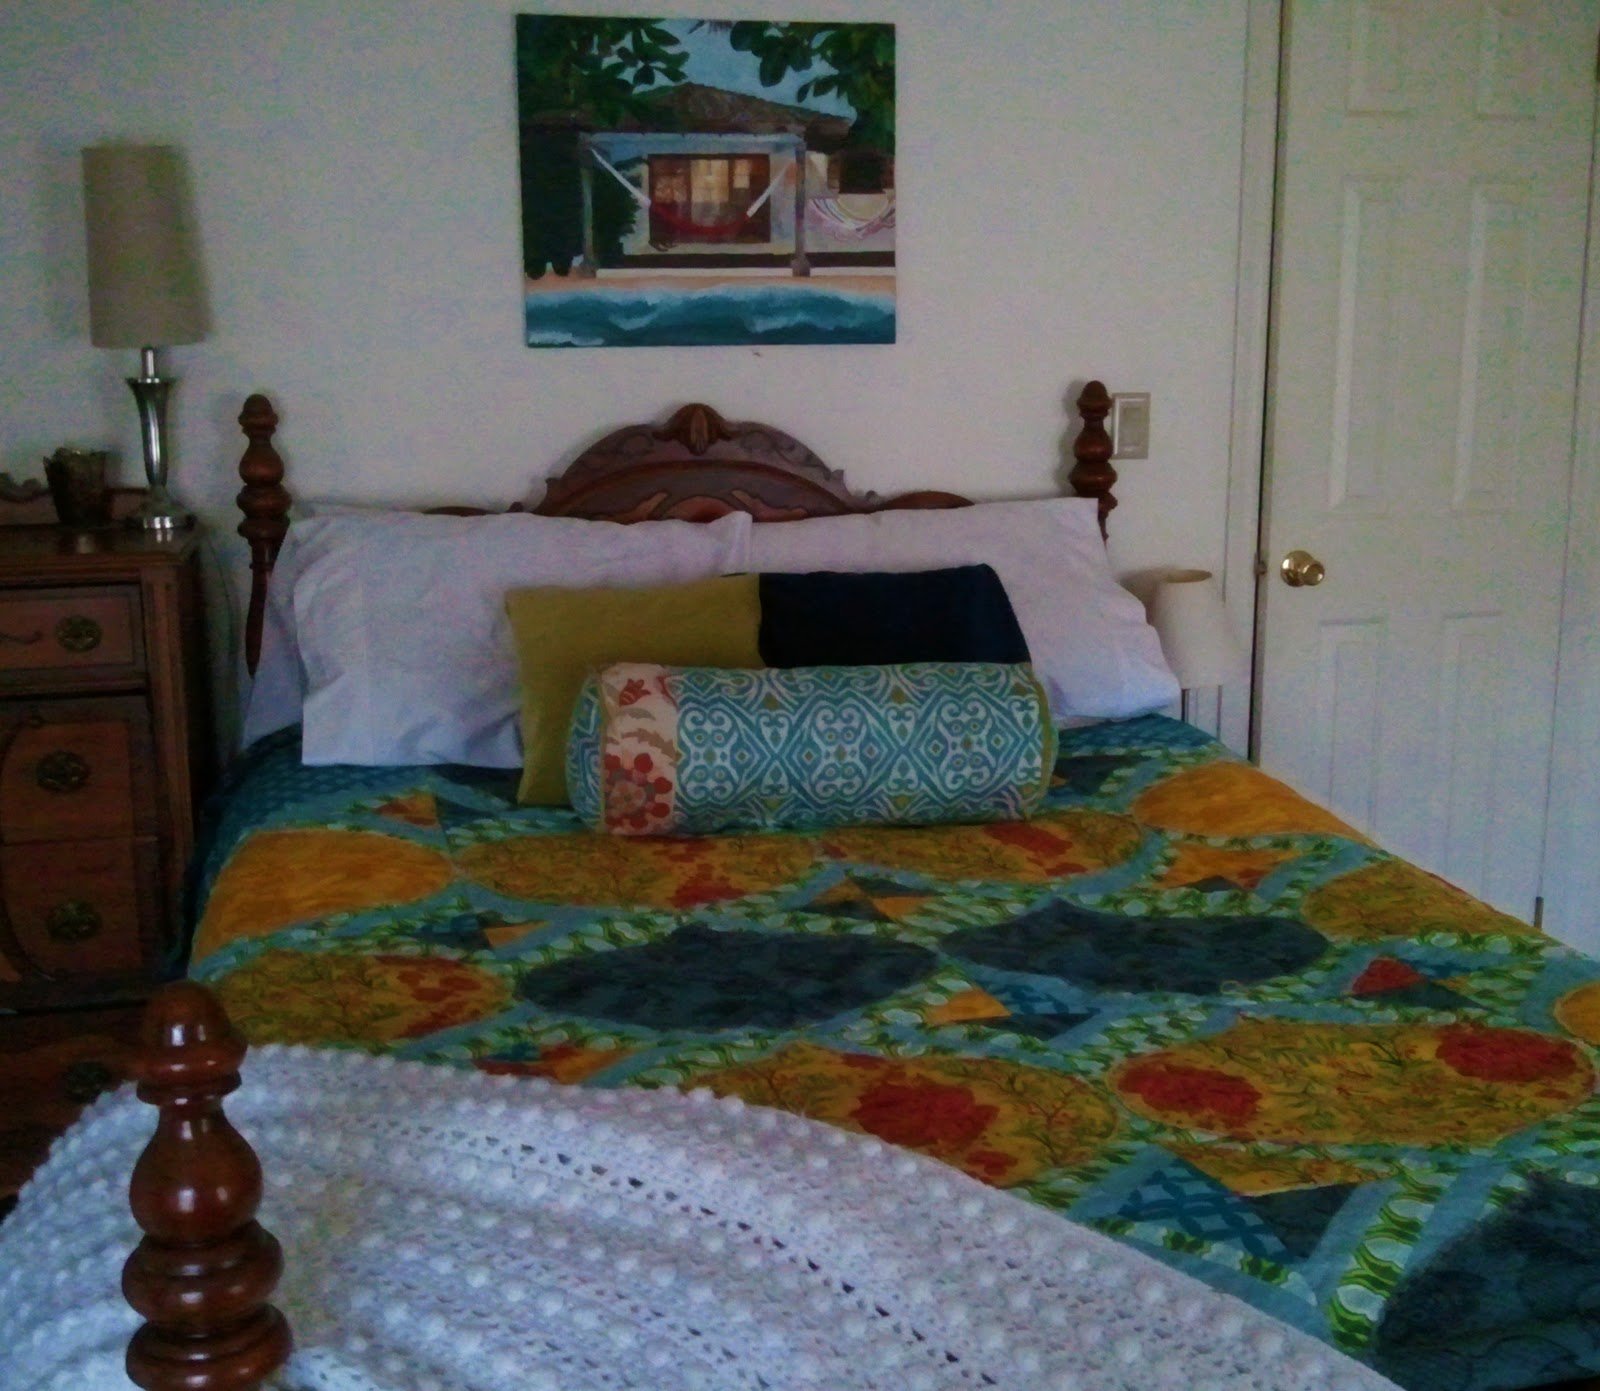
If I didn’t tell you, I am trying to complete our master bedroom look. I bought several accessories with my Christmas spending money, and now I am making a few pillows for the bed.
Anthro is selling like 10 bolsters right now, so I thought it would be nice to make one and show you how. Inspiration:
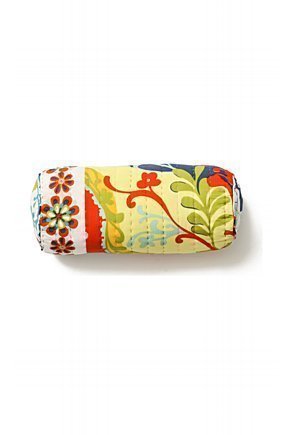
pic from Anthropologie
I made the “small” size 23″x9″. I couldn’t find the price for that one, but the large sized bolster is $148.00. So let’s guess and say the small one was maybe $112.00? Even if it took you 10 hrs (it won’t) it would be like someone paying you $10 an hour. That’s how I like to look at things: if I worked, I would have to work 10 hrs to be able to afford this pillow. Instead, I can stay at home with my little girl and make this pillow in about 3 1/2 hrs while wearing my pjs. Hello – best of both worlds.
(of course if you prefer to work and buy it, more power to ya)
SO on to the bolster tutorial.
Here are two important tips for this pillow:
- Go slowly
- Clip around the curves
Those should help a lot. AND Bonus – there is also a tutorial for making your own custom cording – NOT hard. Don’t be intimidated.
Here is what you will need:
- 2 bags of Polyfil or a 23×9 bolster pillow form(you would probably have to order it)
- A yard of colorful fabric (fabric A)
- 3/4 yard of contrasting fabric (fabric B)
- 3/4 of solid fabric for cording (fabric C) – you could possibly use fabric A remnants
- 2 1/2 yards of cable cord (don’t be afraid of this, they sell it everywhere. It costs around .29 a yard)
- Perle Cotton Embroidery Floss
- Sewing Machine/thread
- Scissors
- Water Soluble pen
- Pins
- Fearless attitude
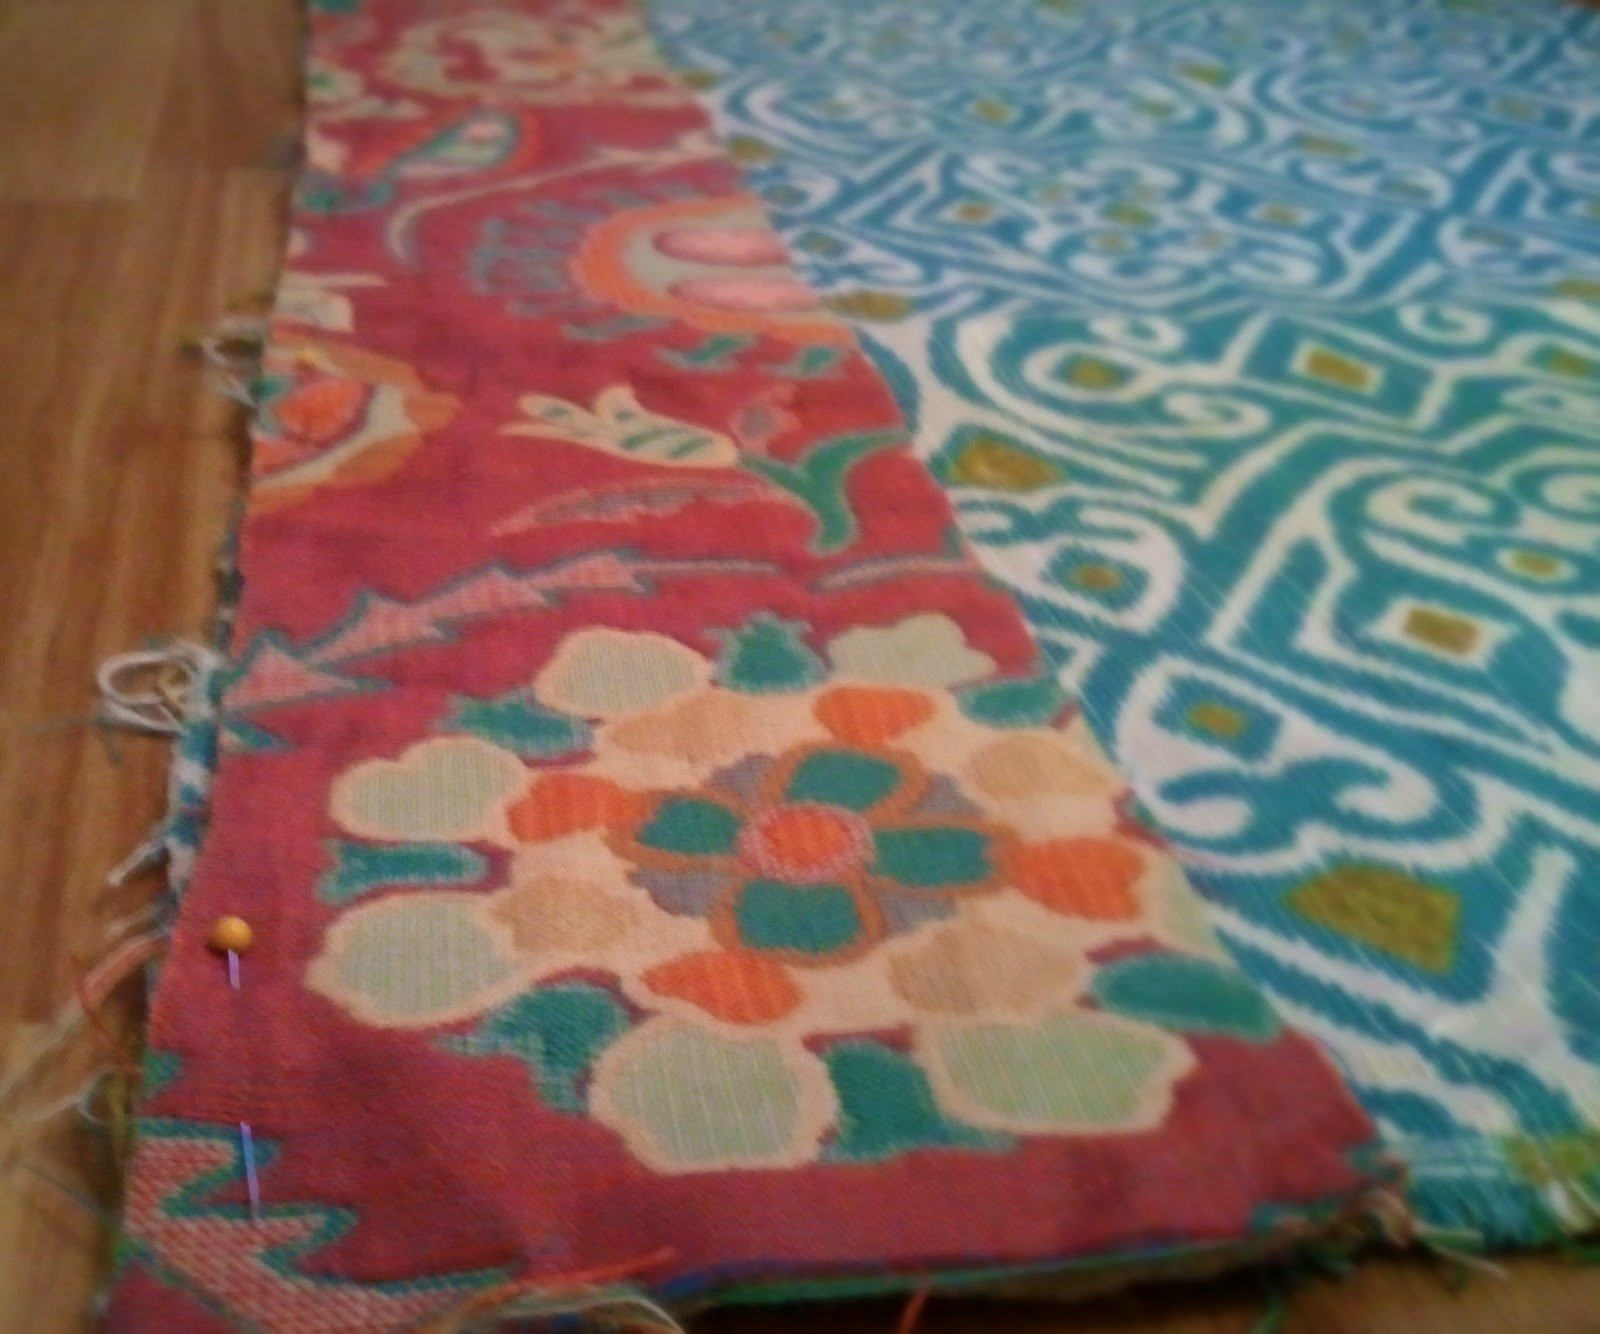
- Step 1: Once you have assembled your materials, you need to cut four pieces.
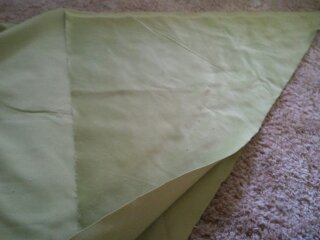
- one rectangle 29″x20″ of fabric A
- one rectangle 29″ x 4 1/4″ out of fabric B
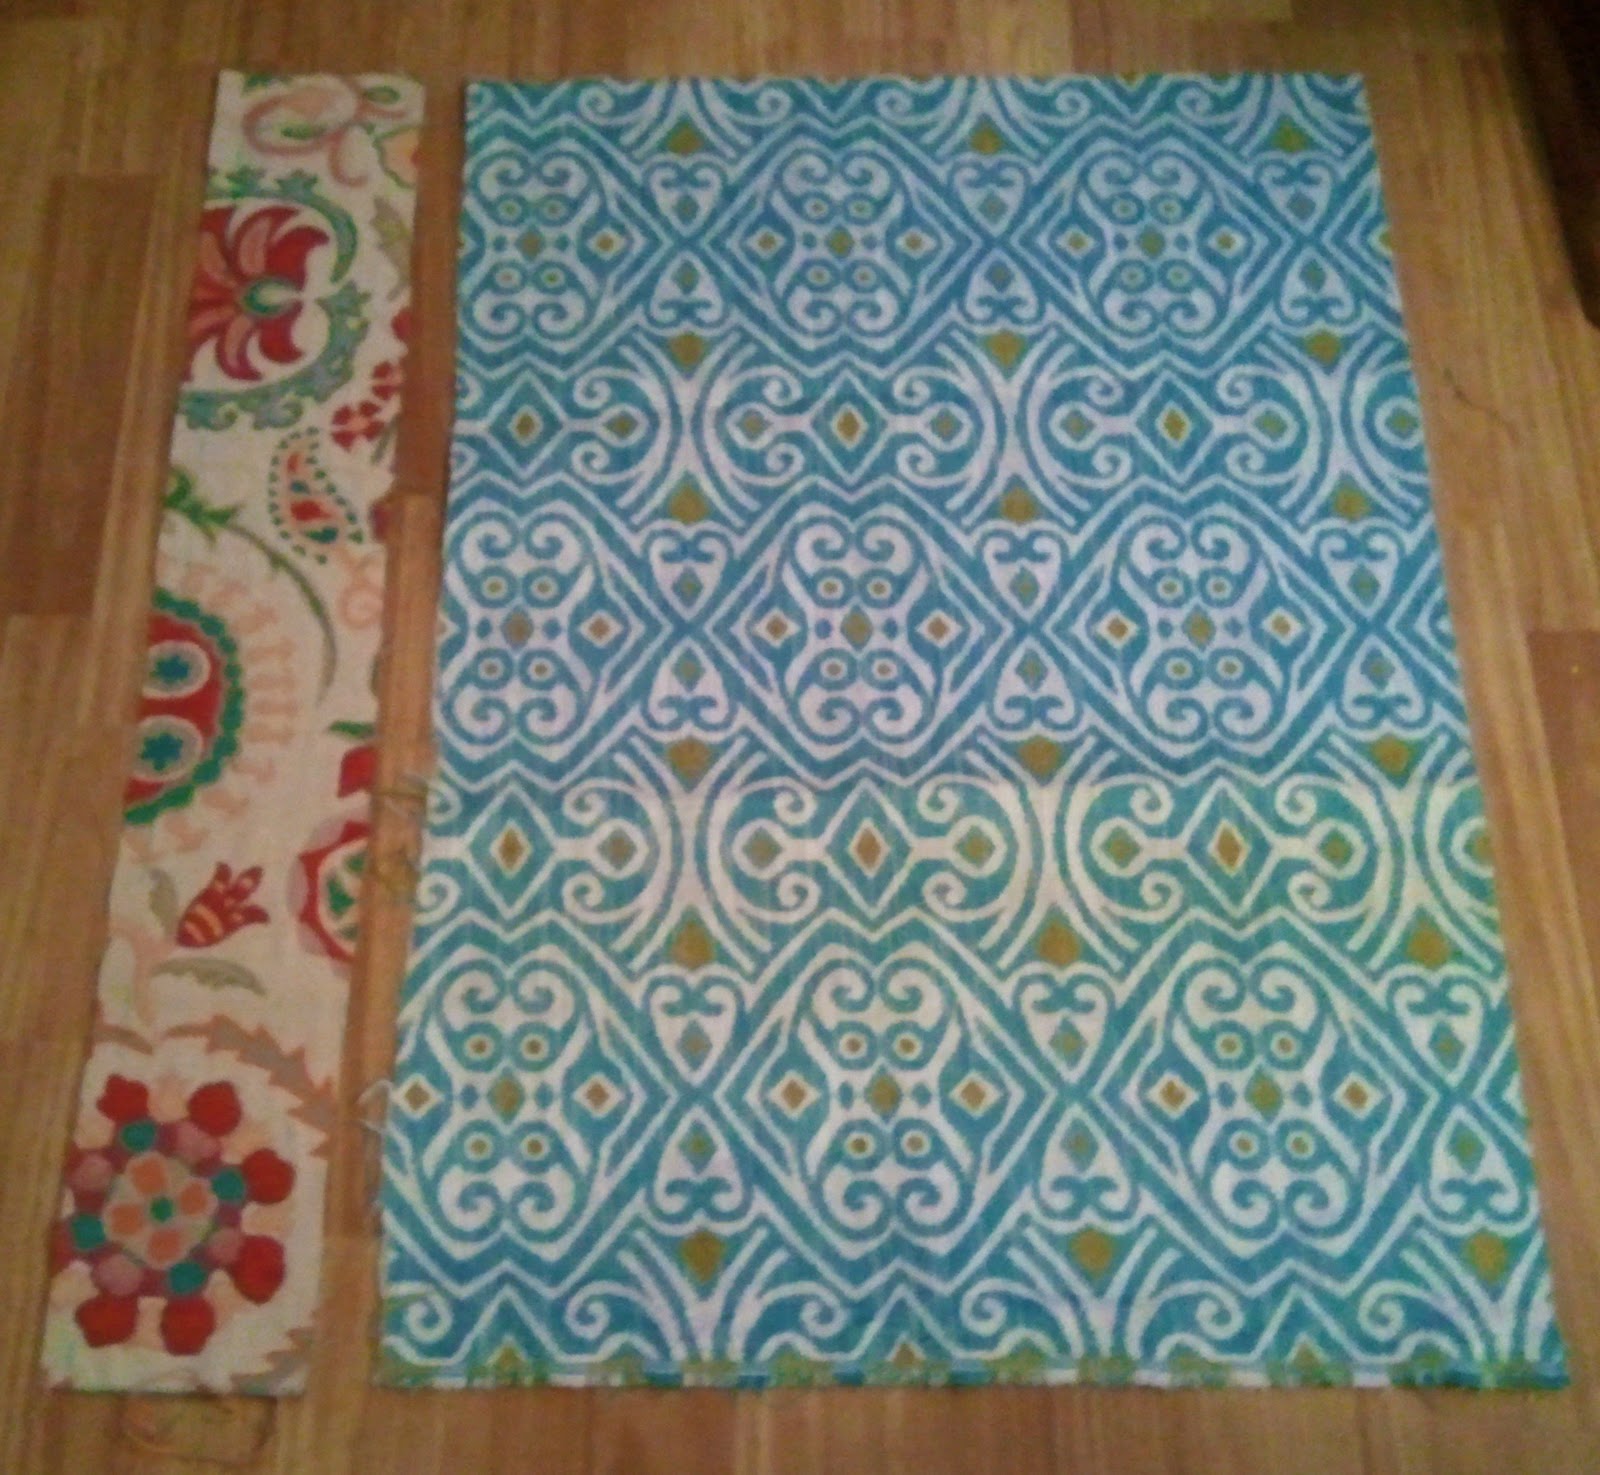
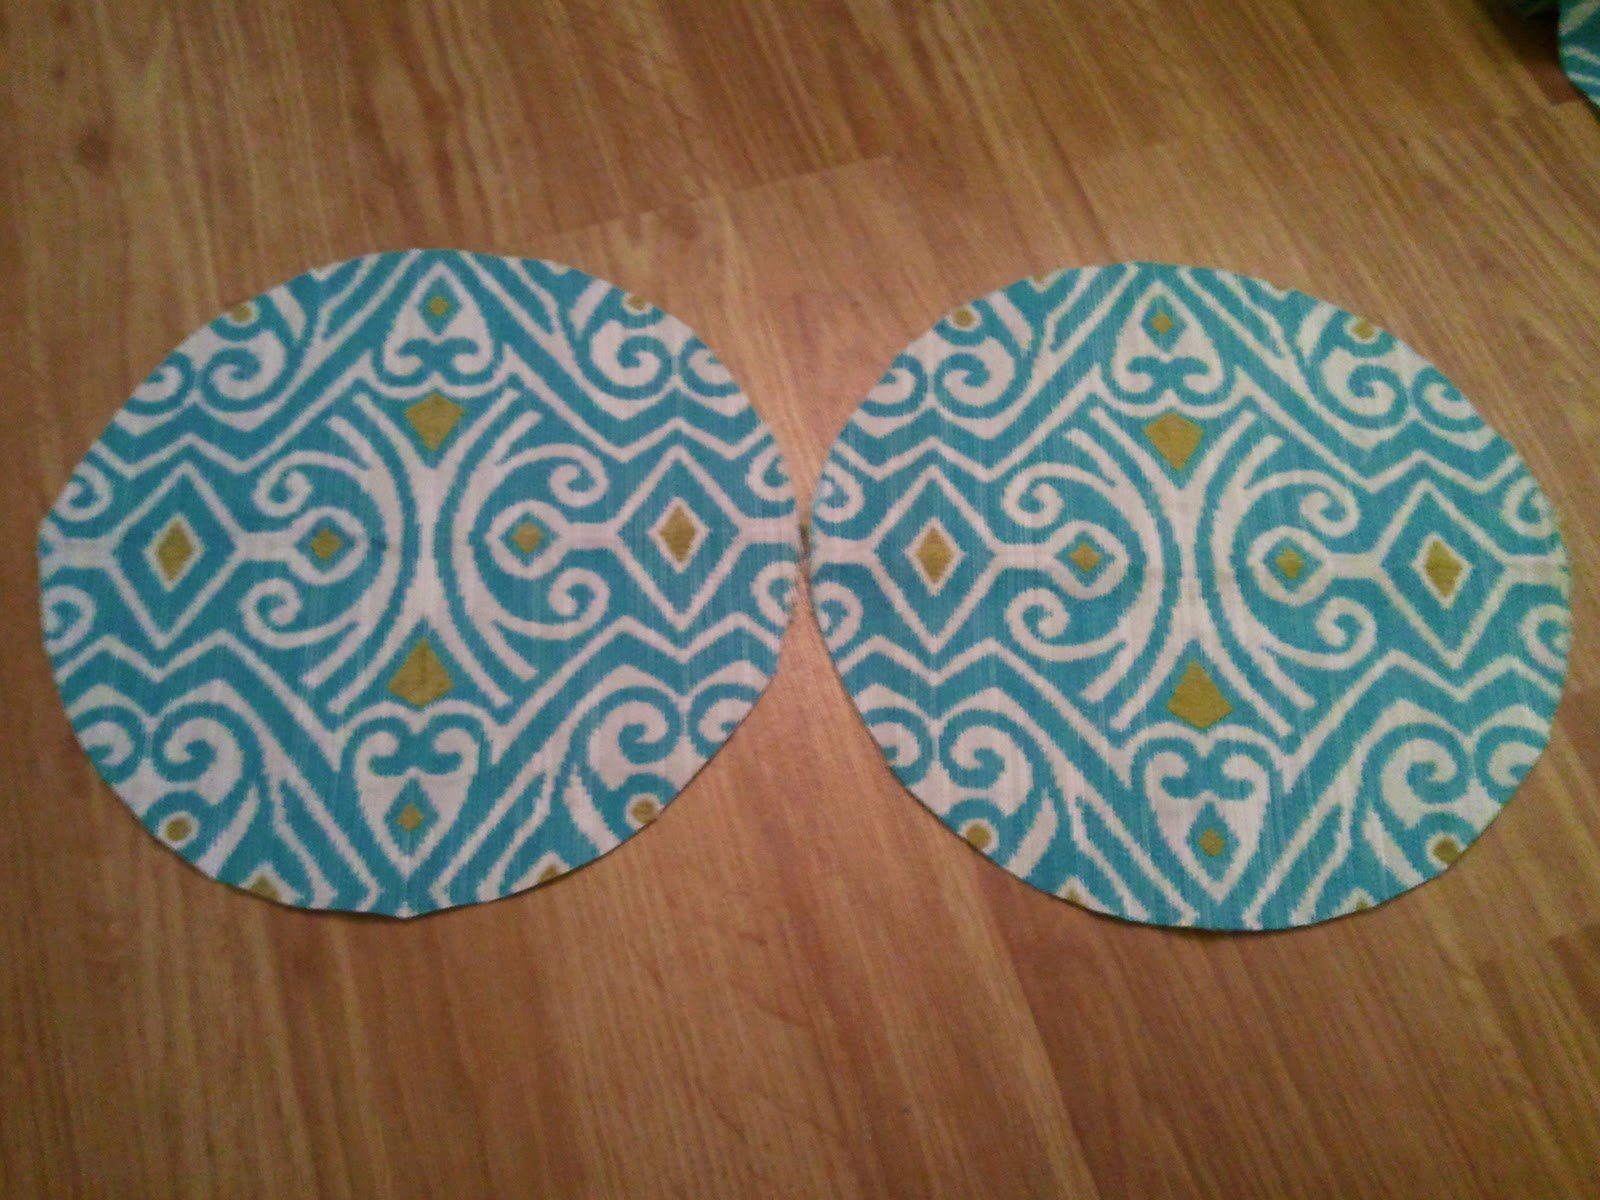
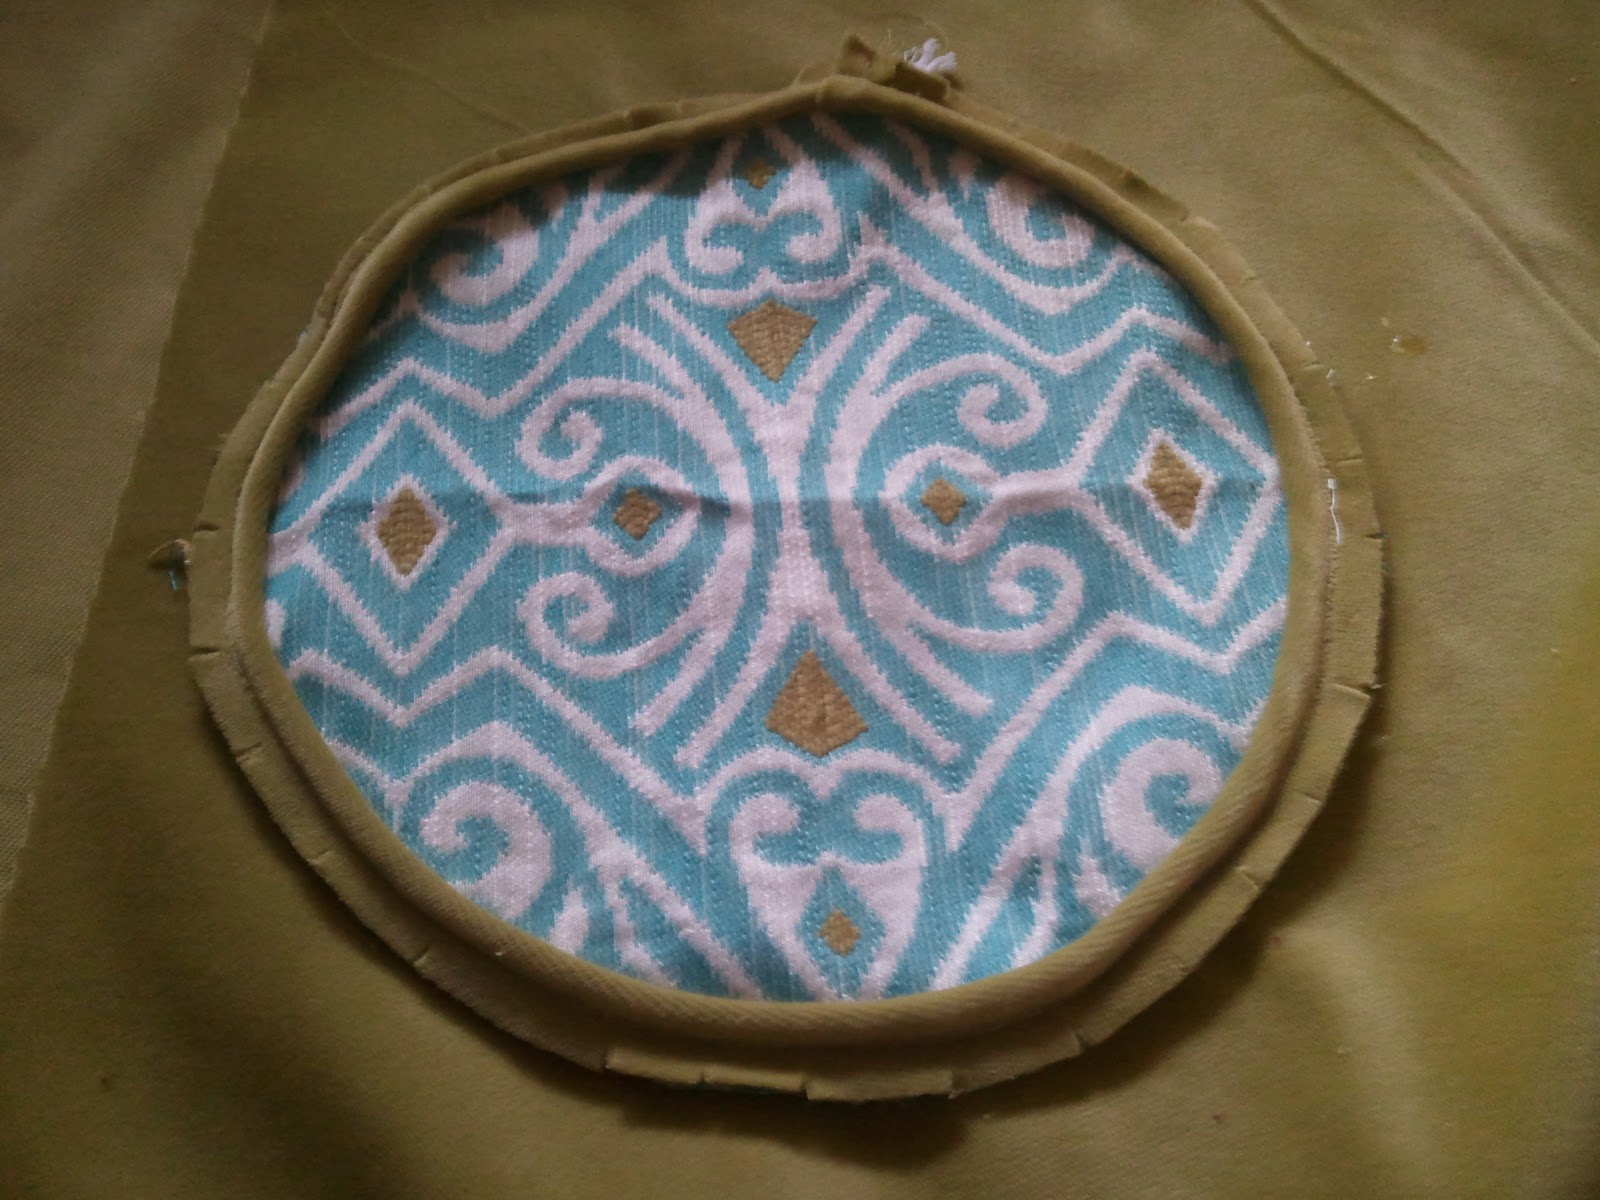
- two 10″ circles out of fabric A (you can draw your own or print out my pattern here)
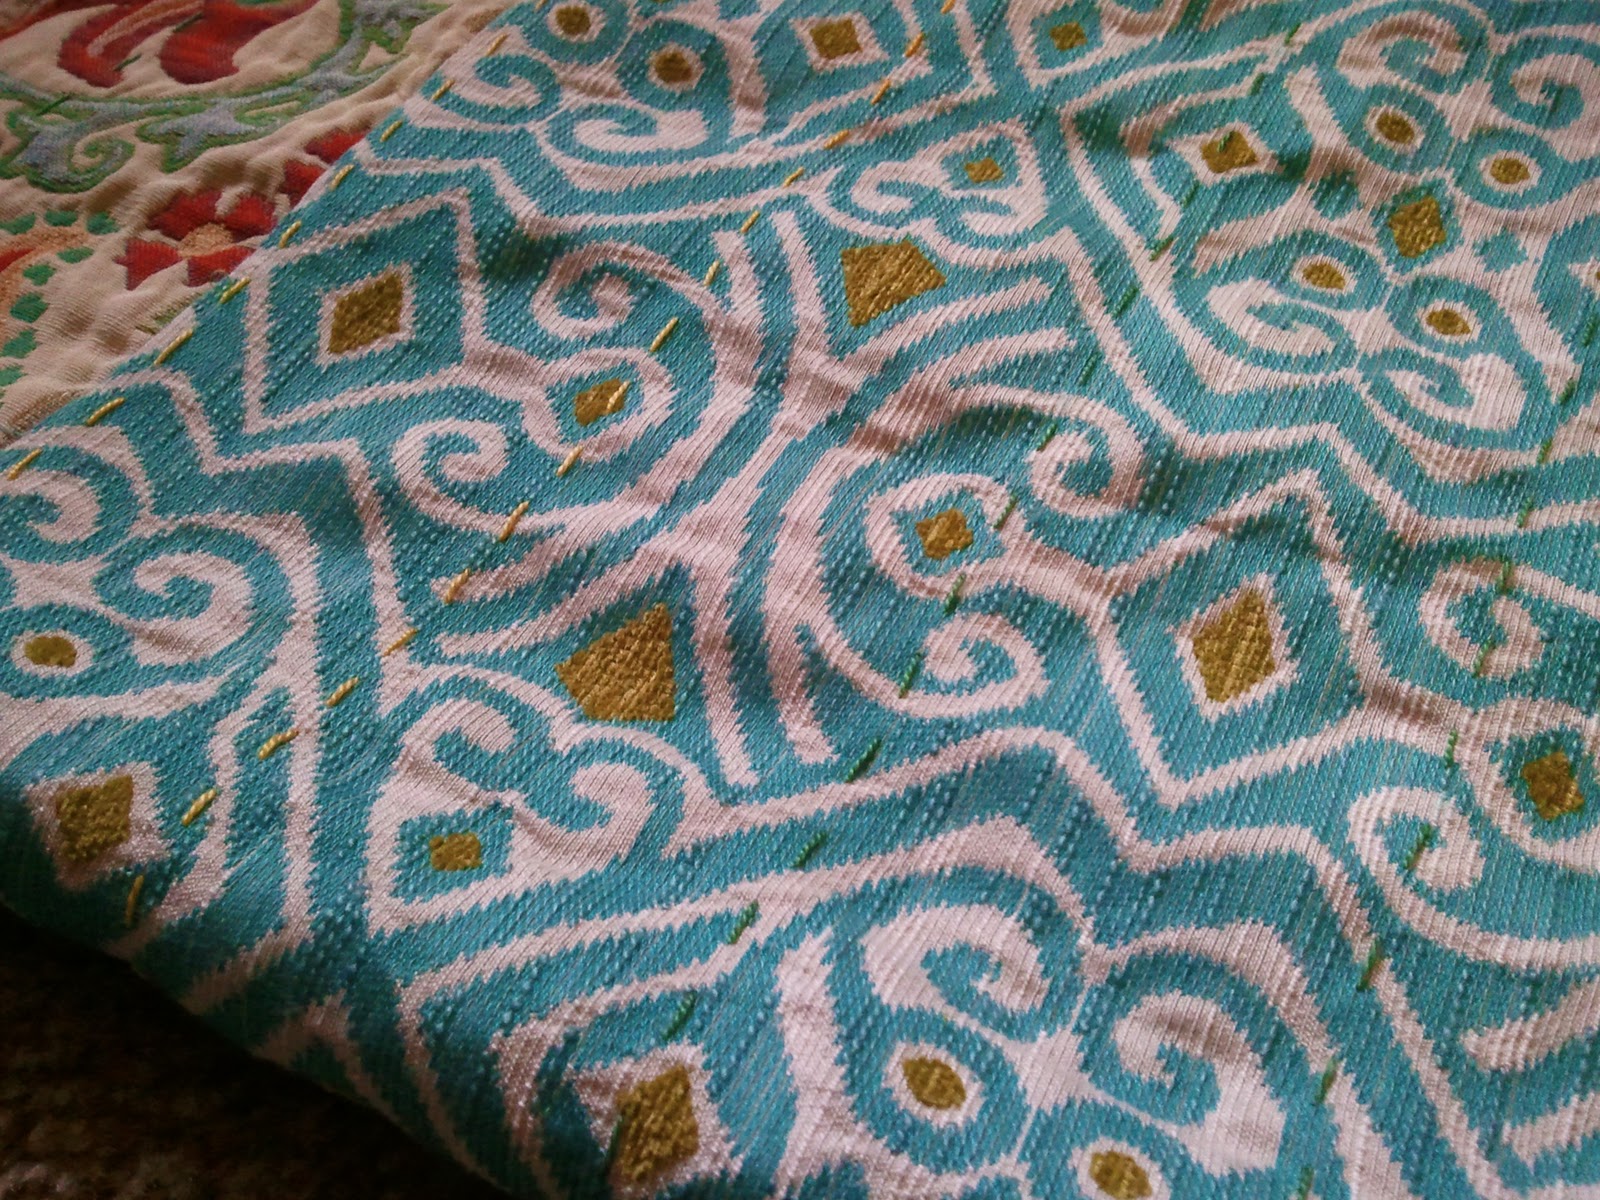
It’s nice if you make the fabric pattern match.
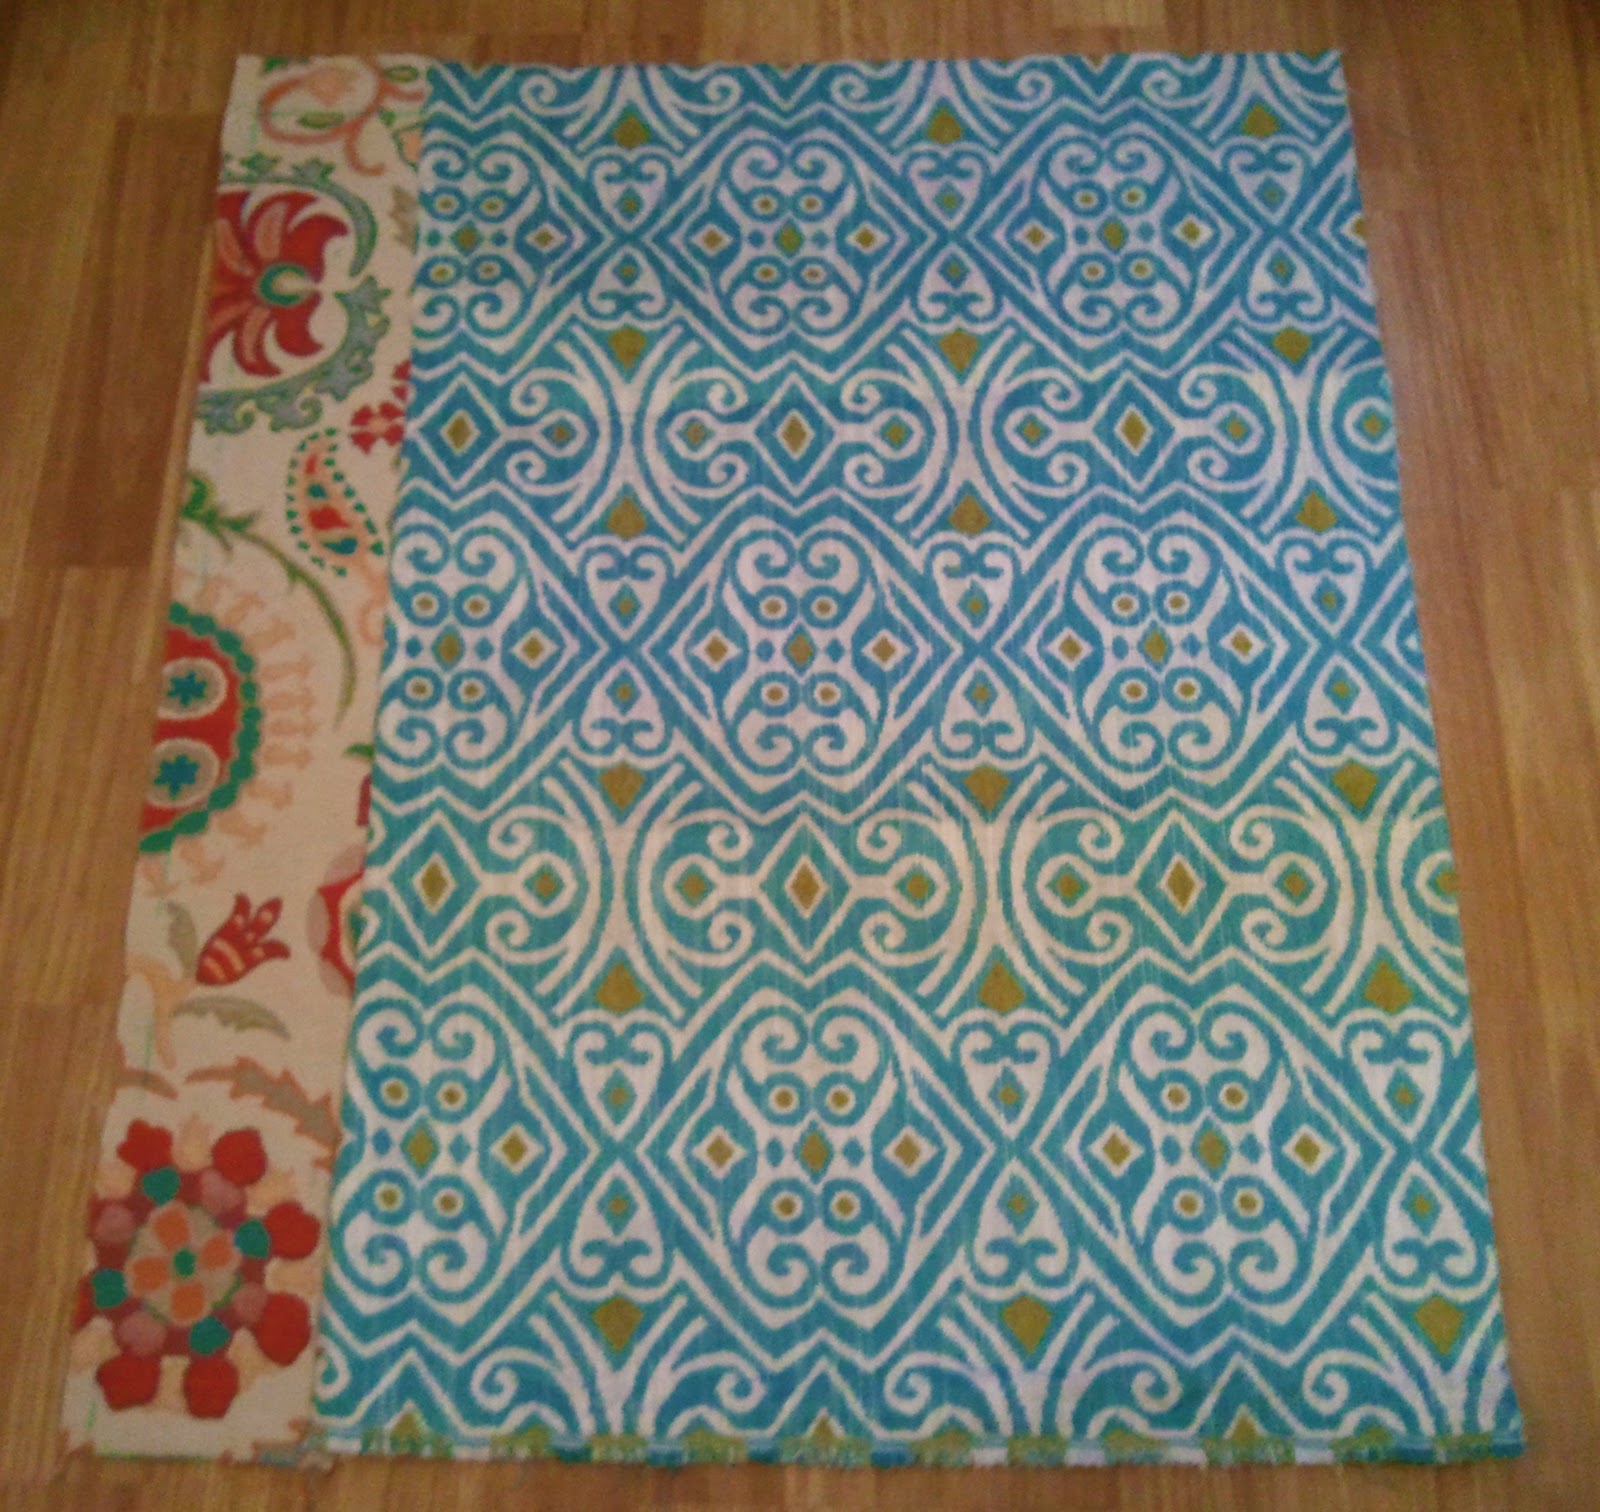
- Step 2: Lay the 4 1/2″ strip on top of the rectangle, edge to edge, right sides together.
Pin together and sew using a 1/4″ seam.
Open and press flat.
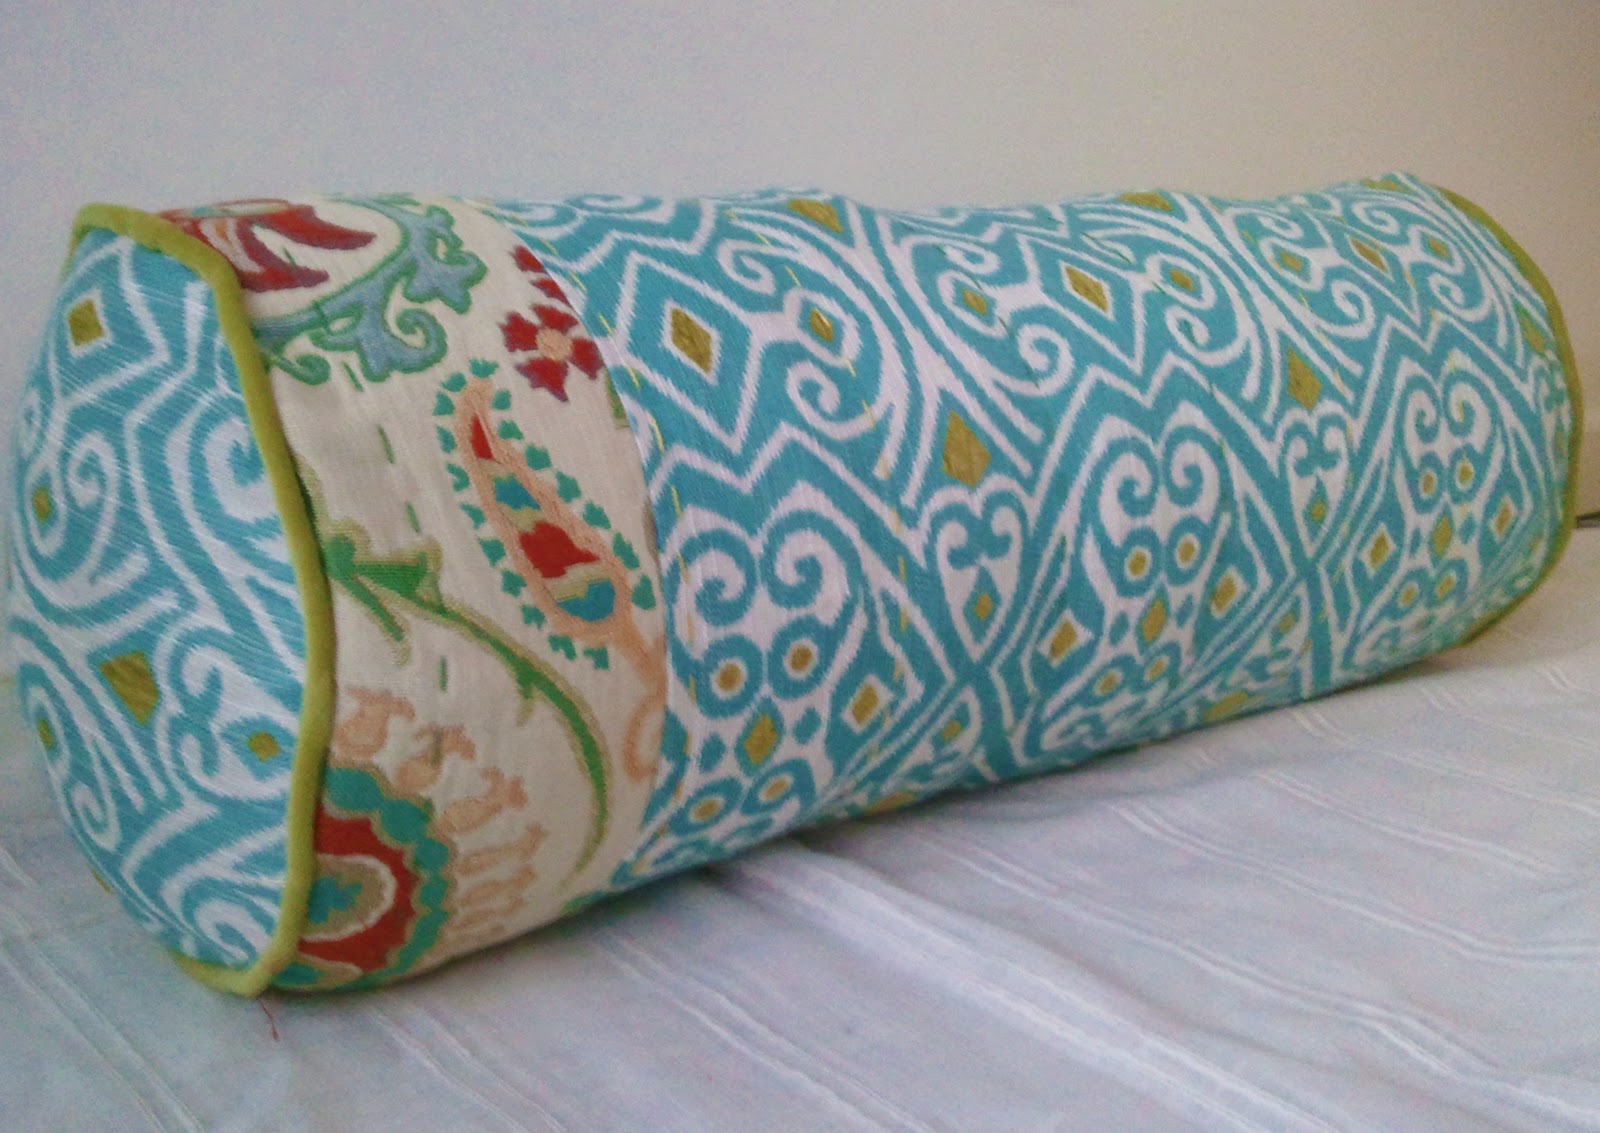
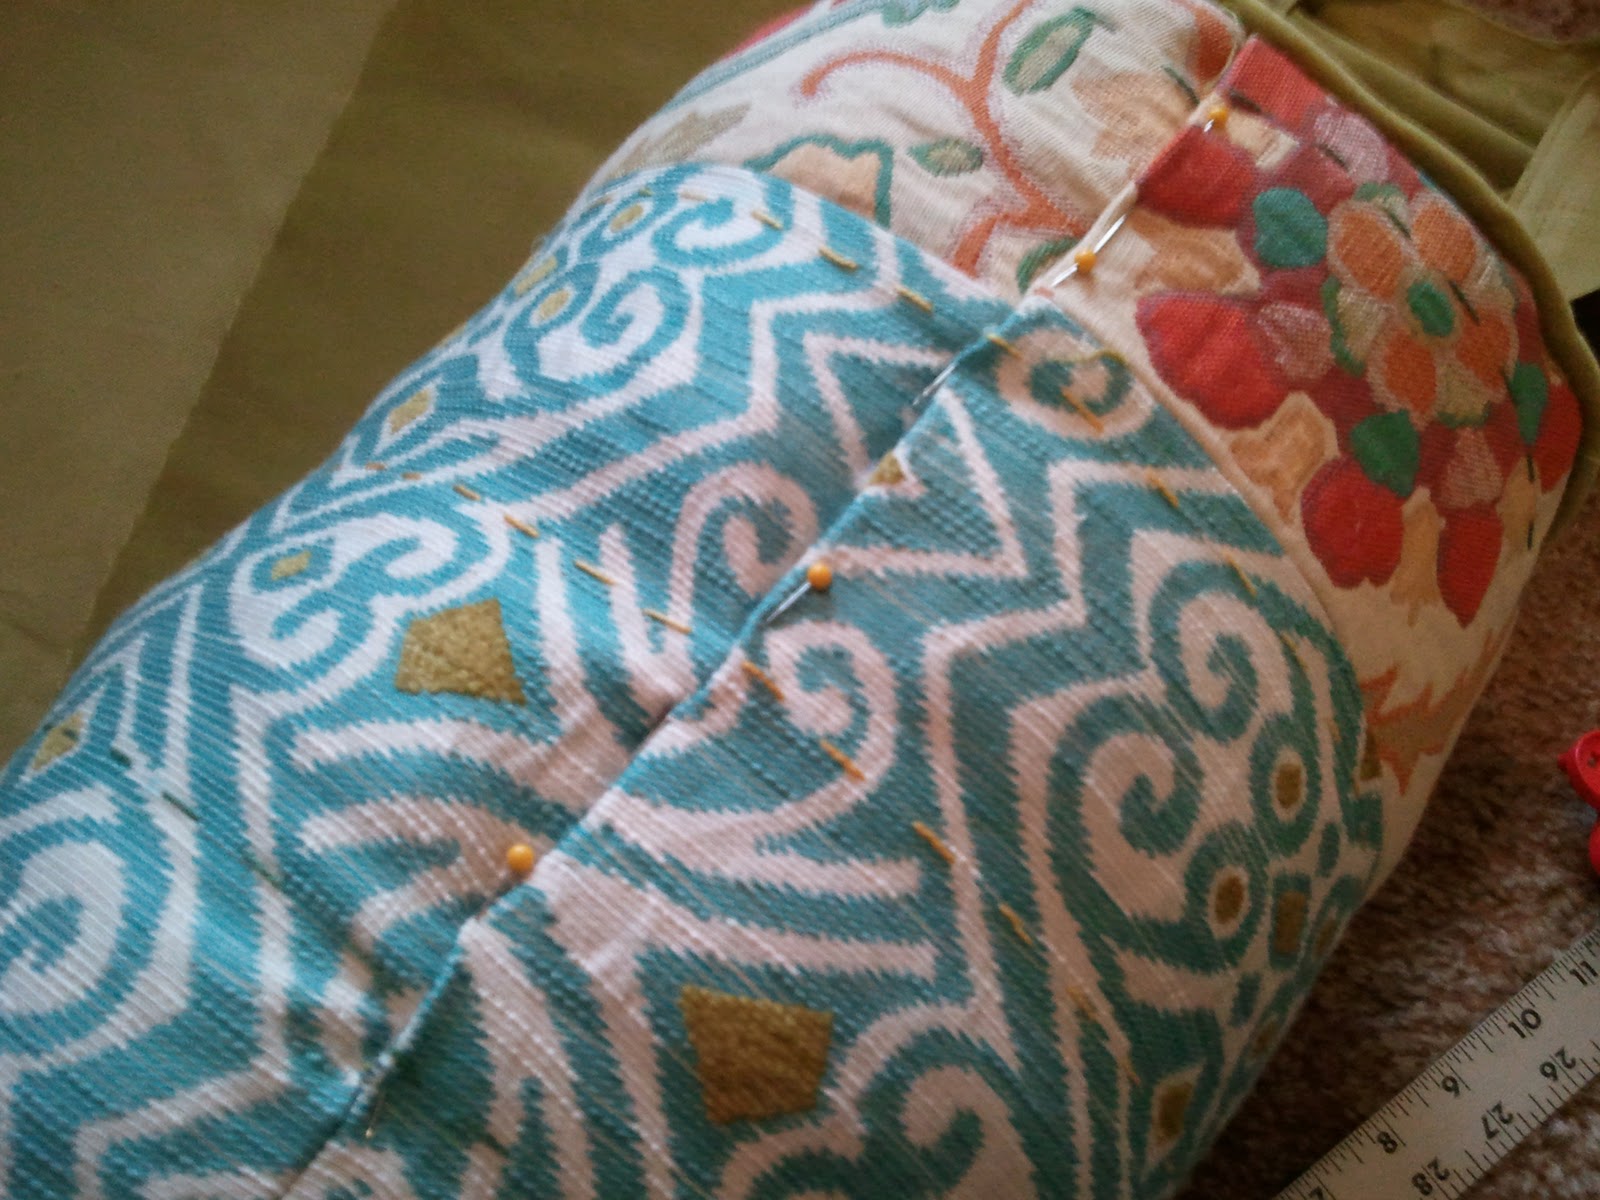
- Step 3: Time to add the detail. The Anthro bolsters have pick-stitching detail.
I decided to mimic that look with a simple large quilting stitch.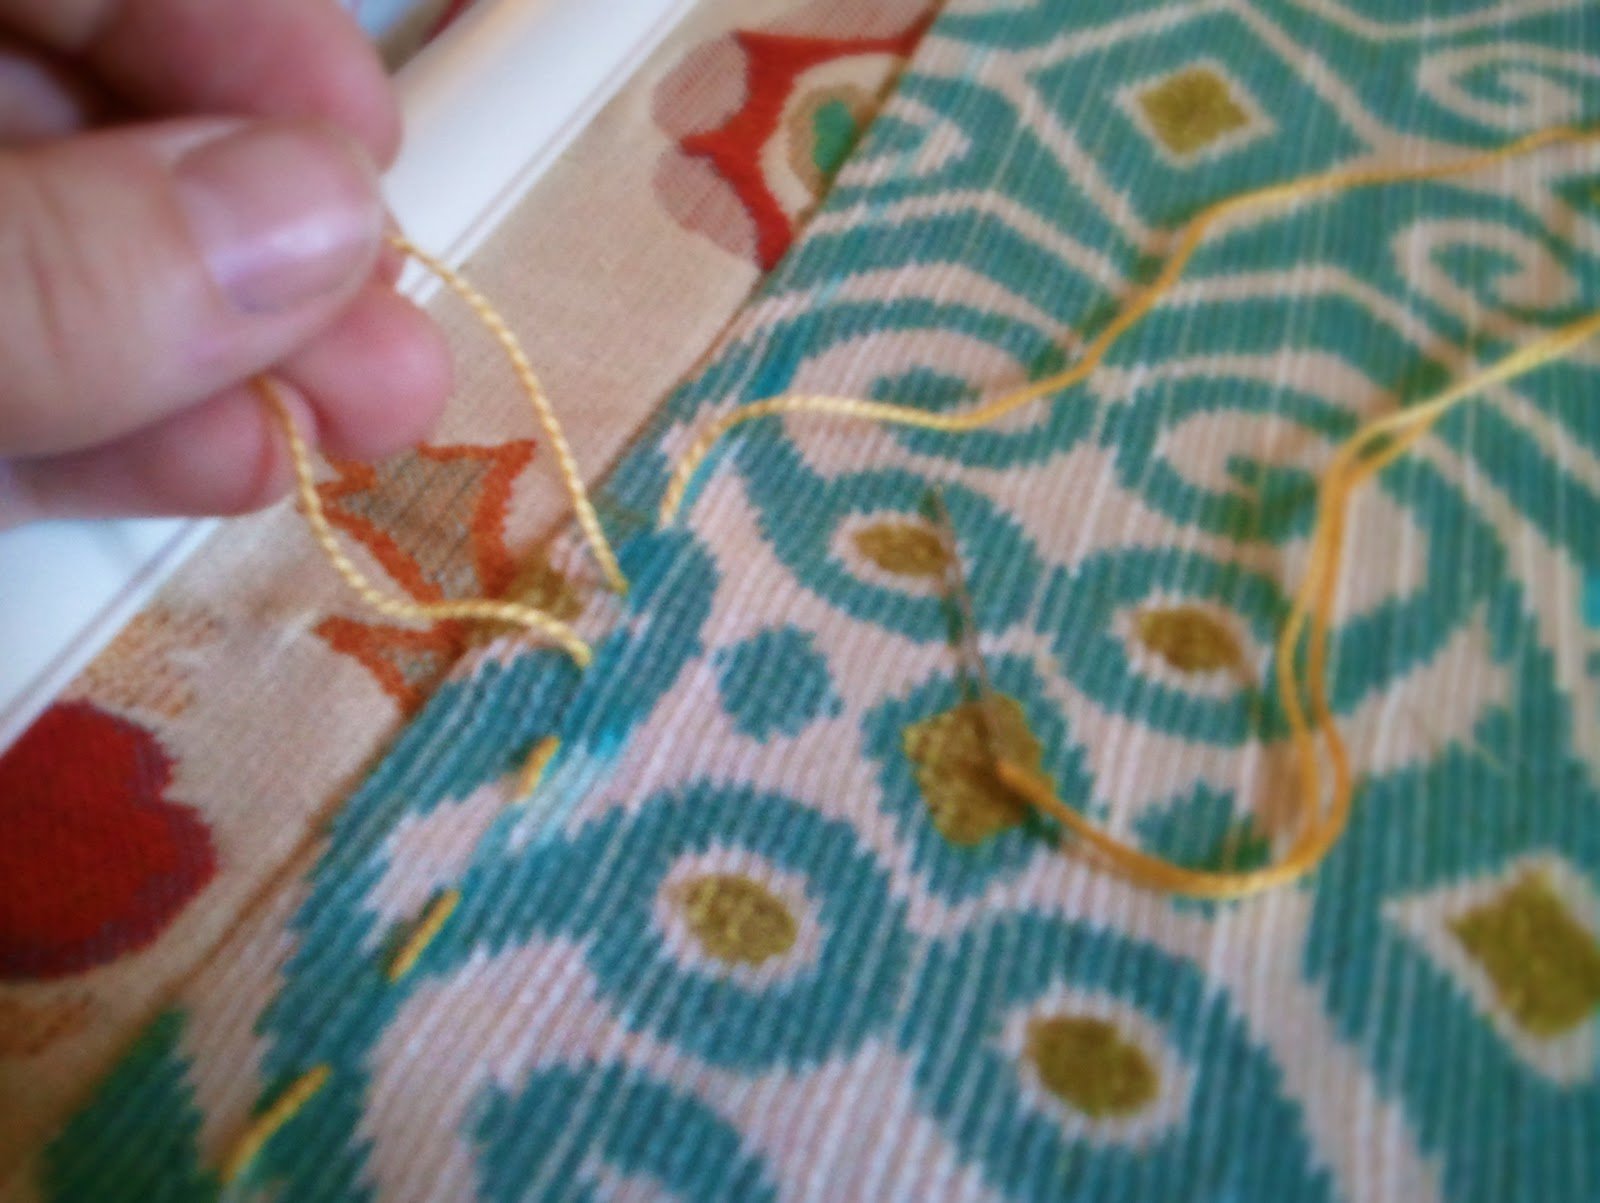
Draw lines across the fabric, 2-3 inches apart (mine are 3″), using the water soluble pen.
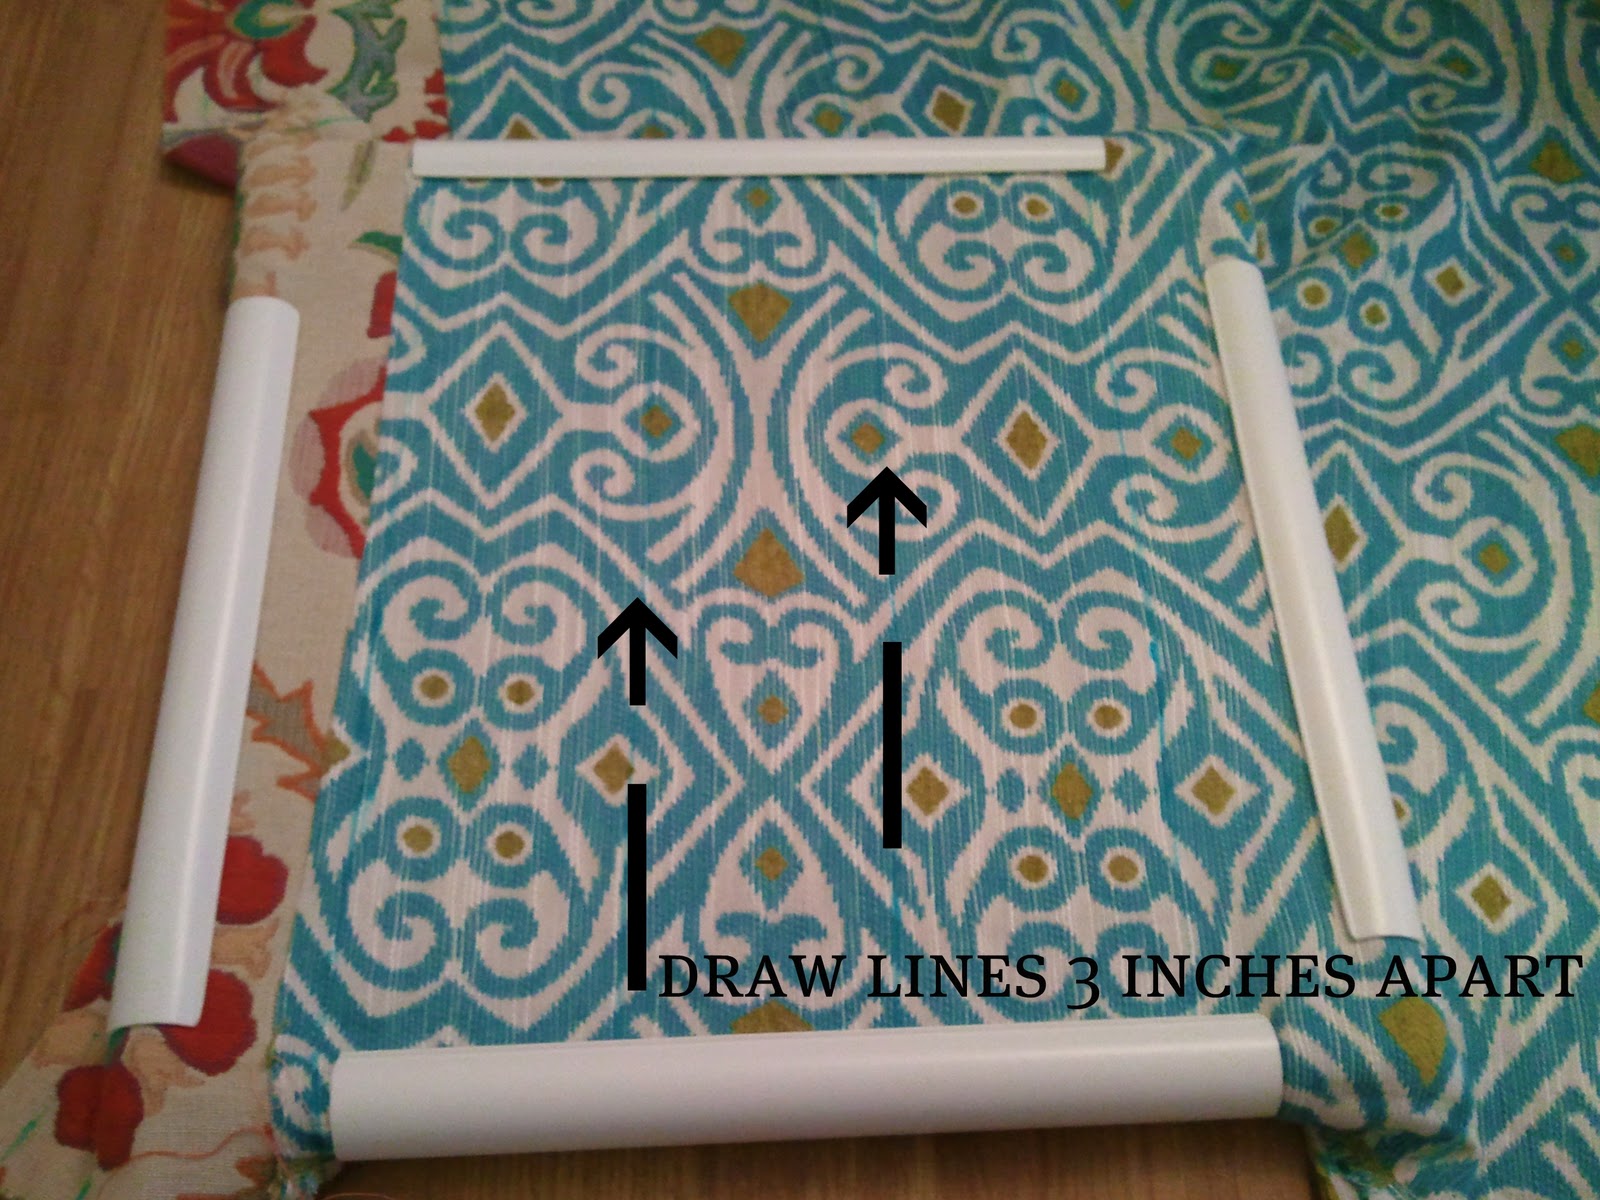
I alternated embroidery floss colors every two rows
(the Anthro ones alternate every three).
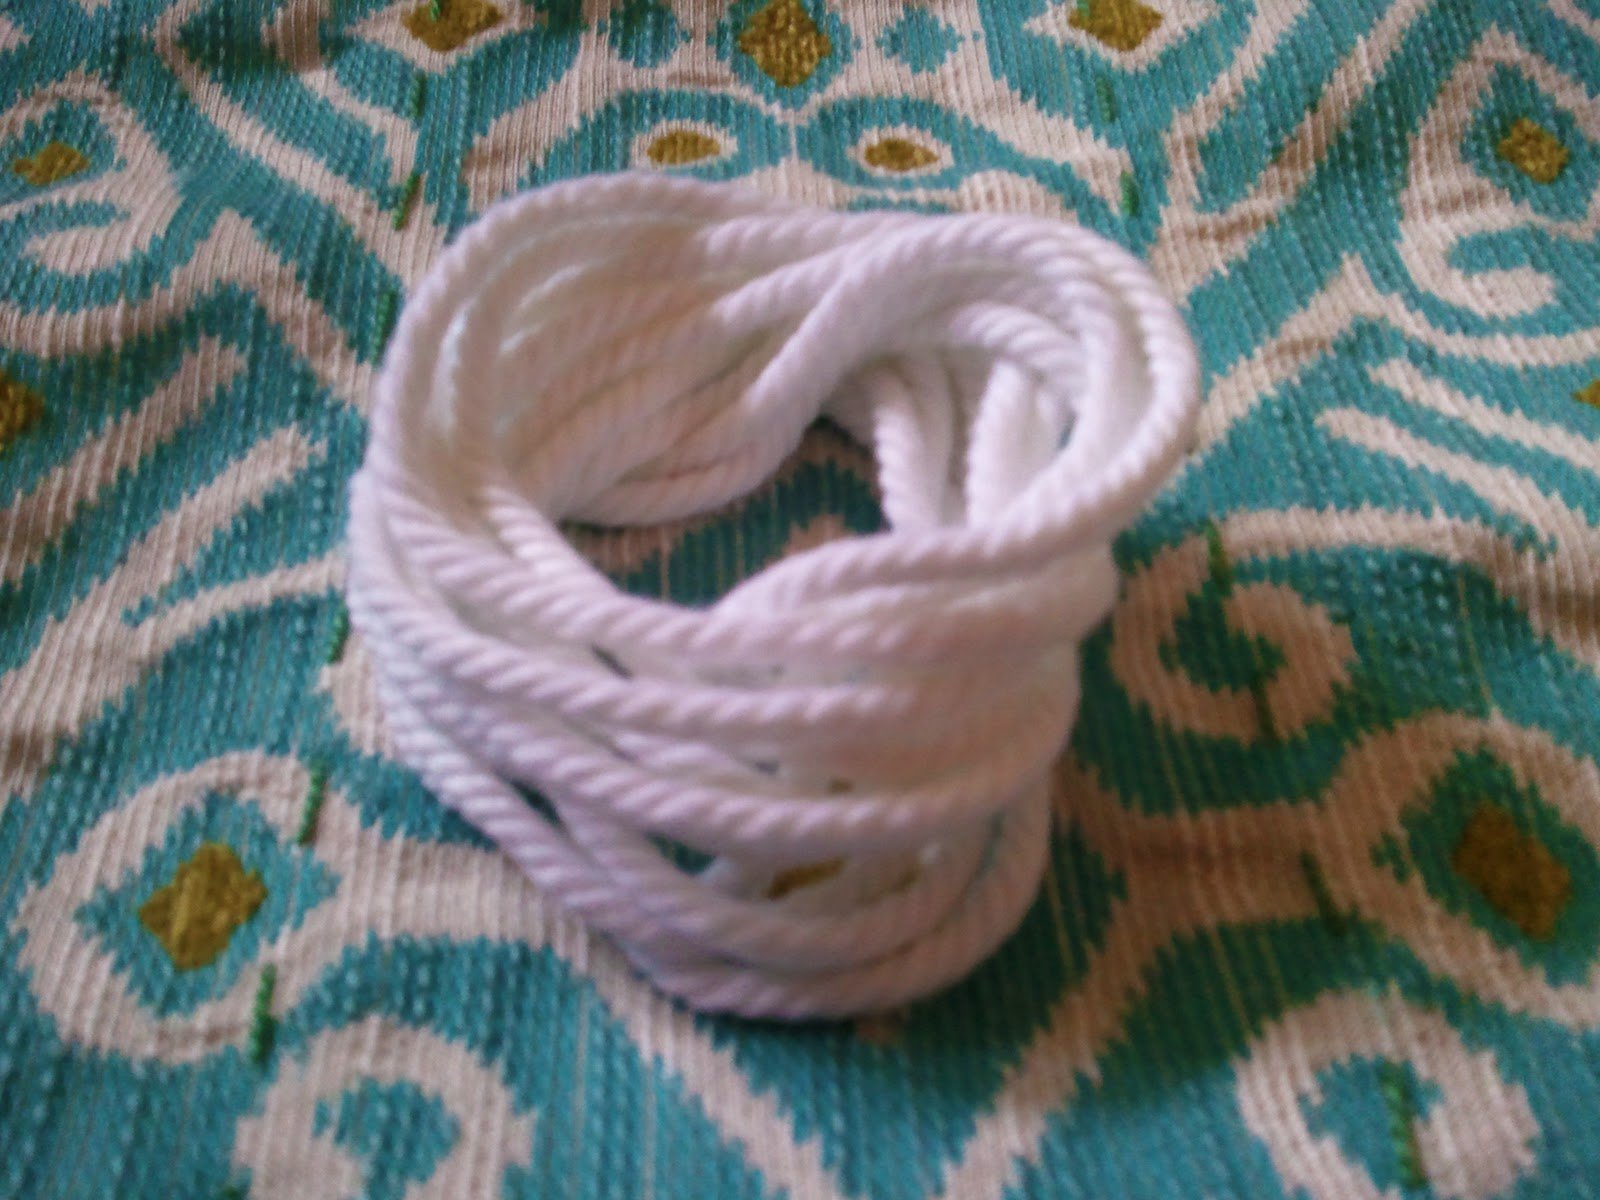
You can skip this stitching detail step but that’s what makes things special – detail. - Step 4: Cording Tutorial:
DON’T BE SCARED!! You can do this.
Lay your fabric out like this – selvage is on the right side of the pic:
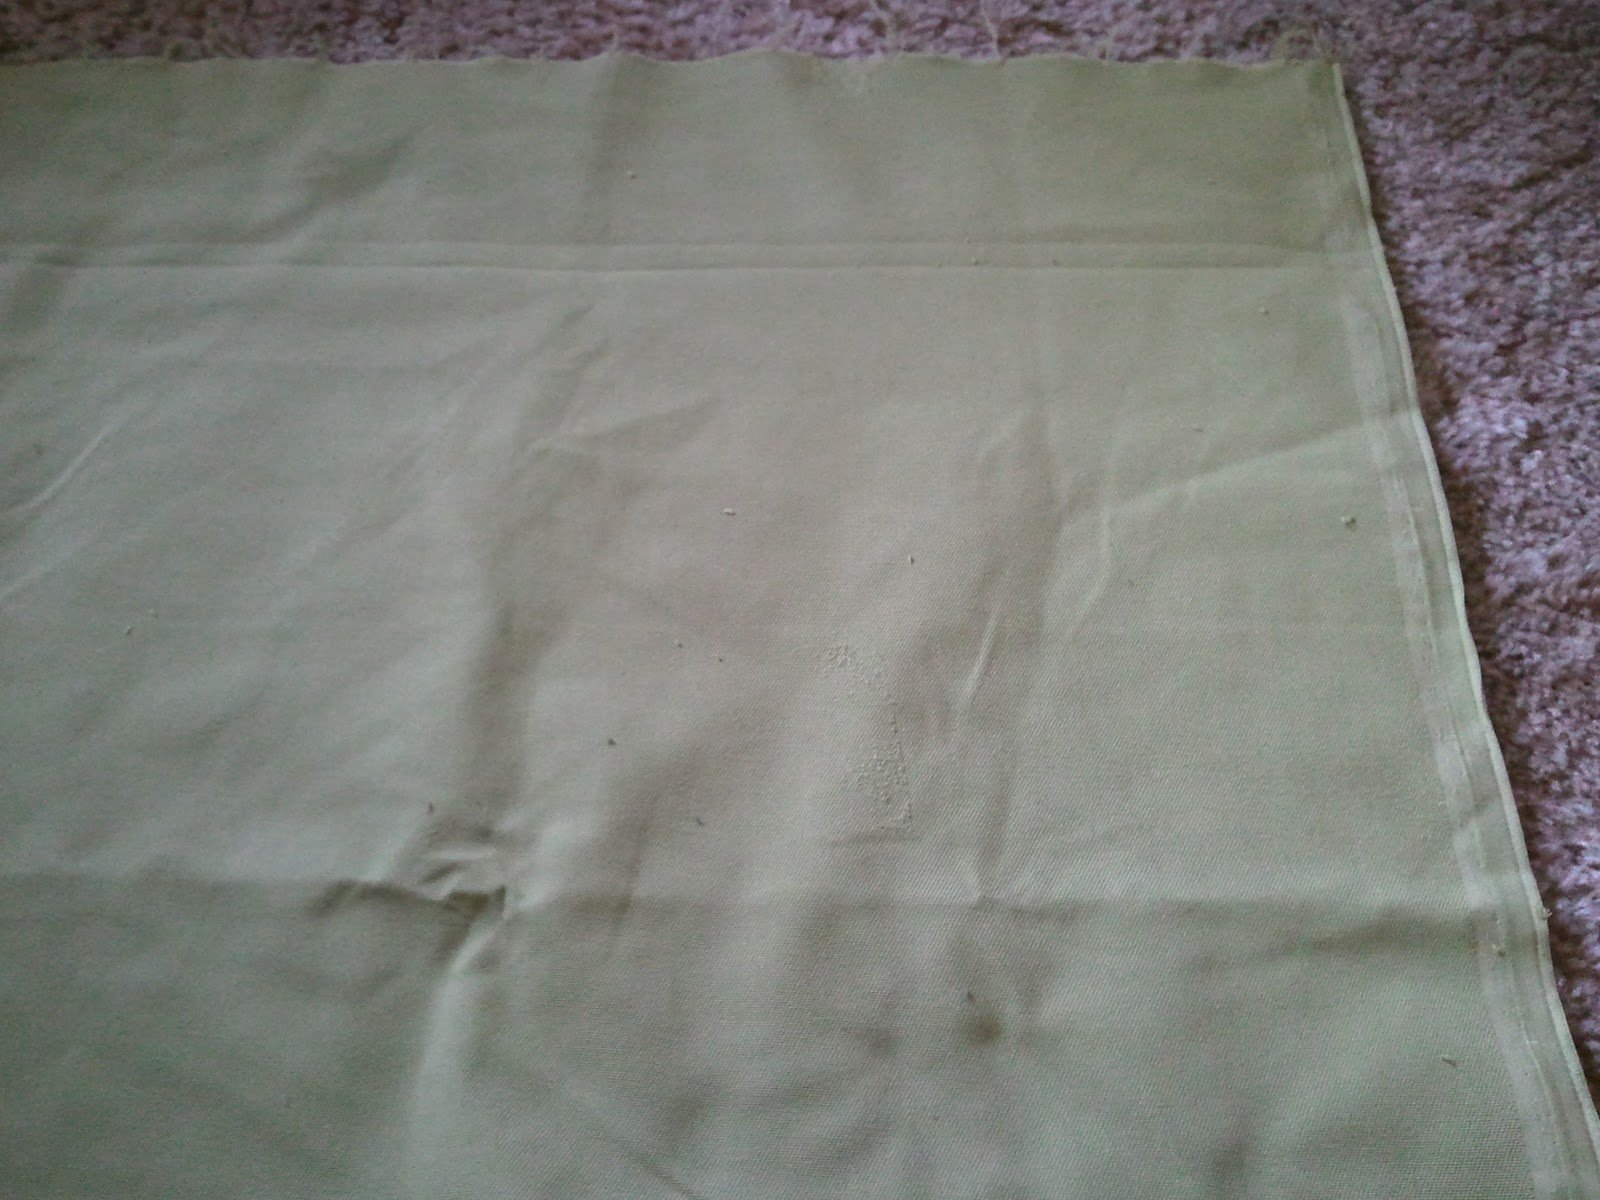
Fold the bottom right corner of the selvage edge up to the top left corner of the cut edge:
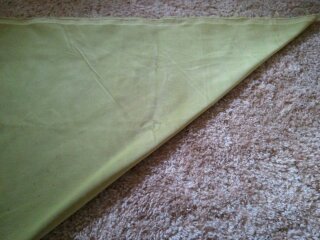
I usually split that fold with my scissors:
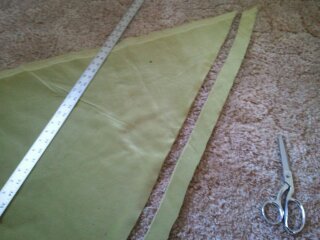
Then measure along that diagonal edge you just split 1 1/2″.
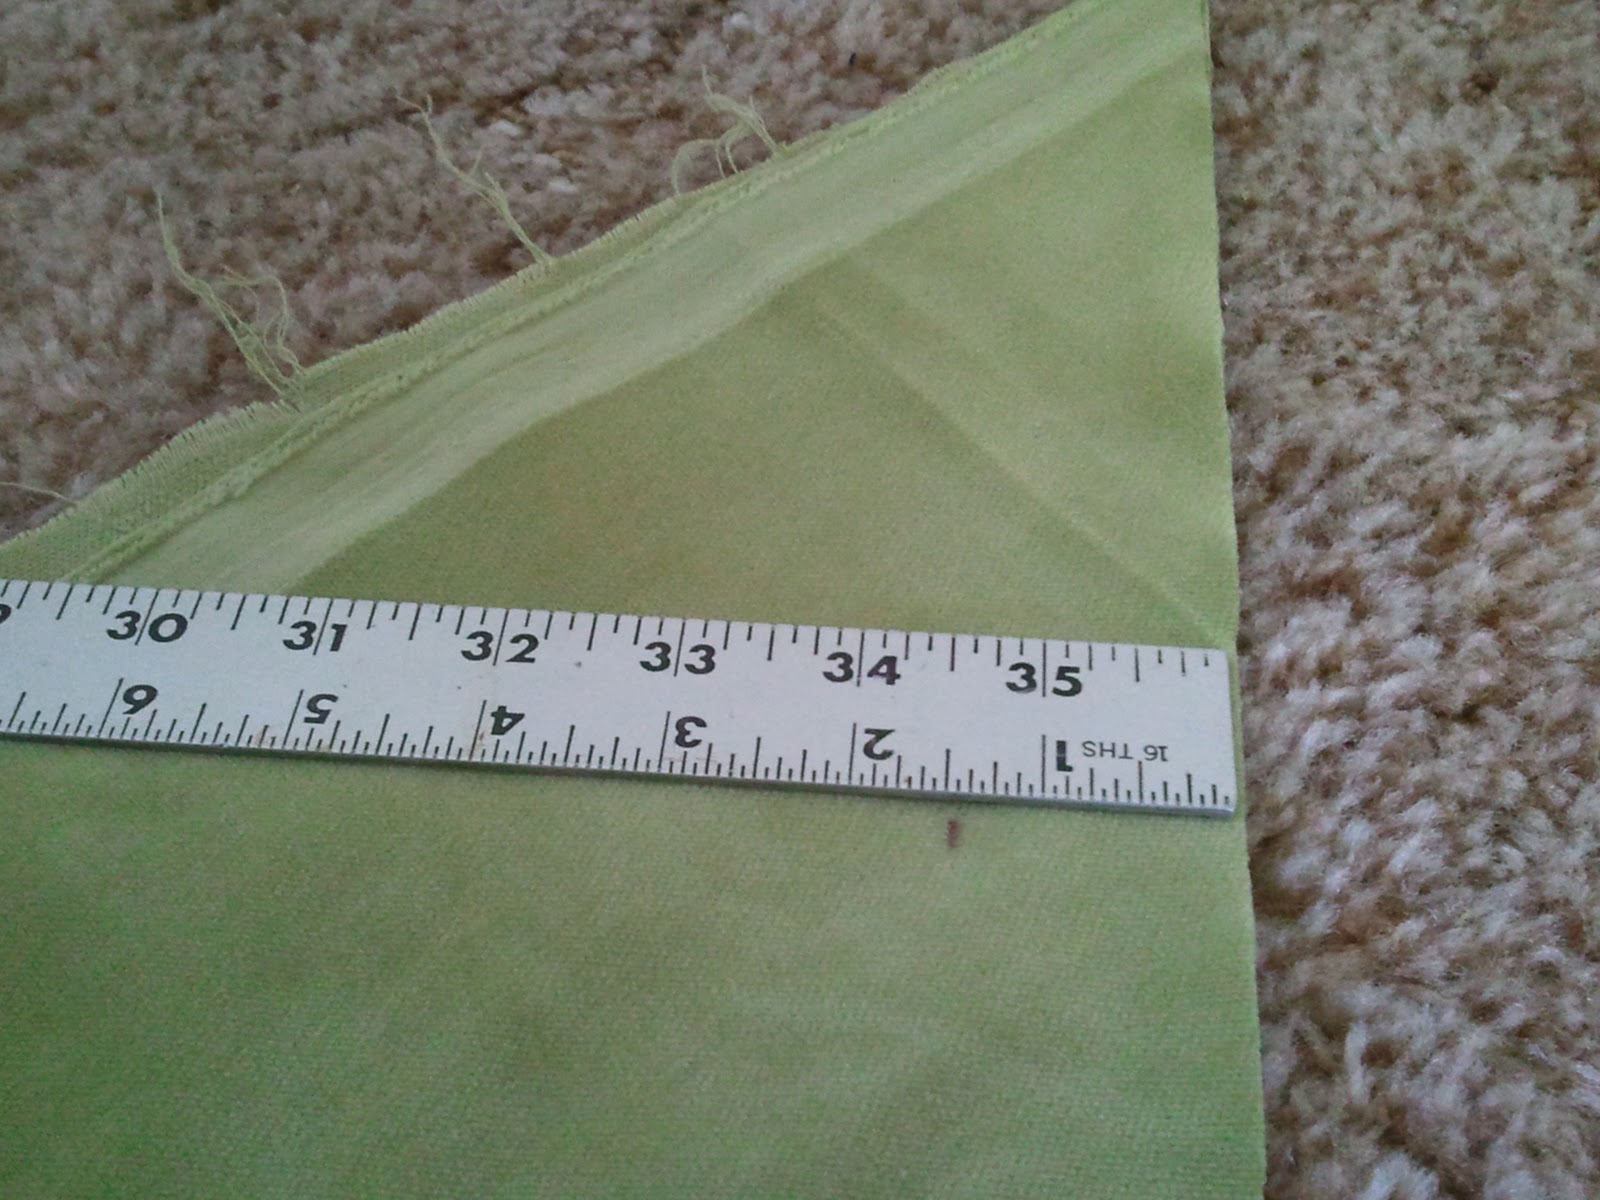
Cut both layers, resulting in two bias strips 1 1/2″ x 31″.
Now, fold one strip in half and place the cording in the crease.

You will probably need to put the zipper foot on. It looks like this:

Topstitch along the fabric right next to the cording.

Finished cording looks like this:

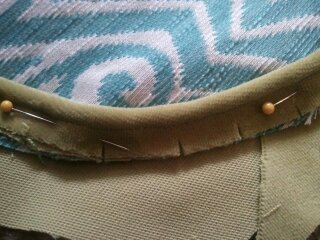
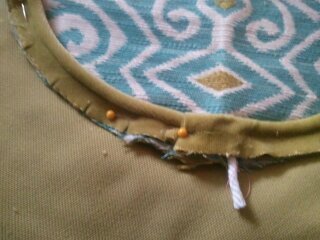
pretty right? - Step 5: Once you have finished both pieces of cording, snip 1/4″ into the lip – this will make it fit around the circle gracefully.
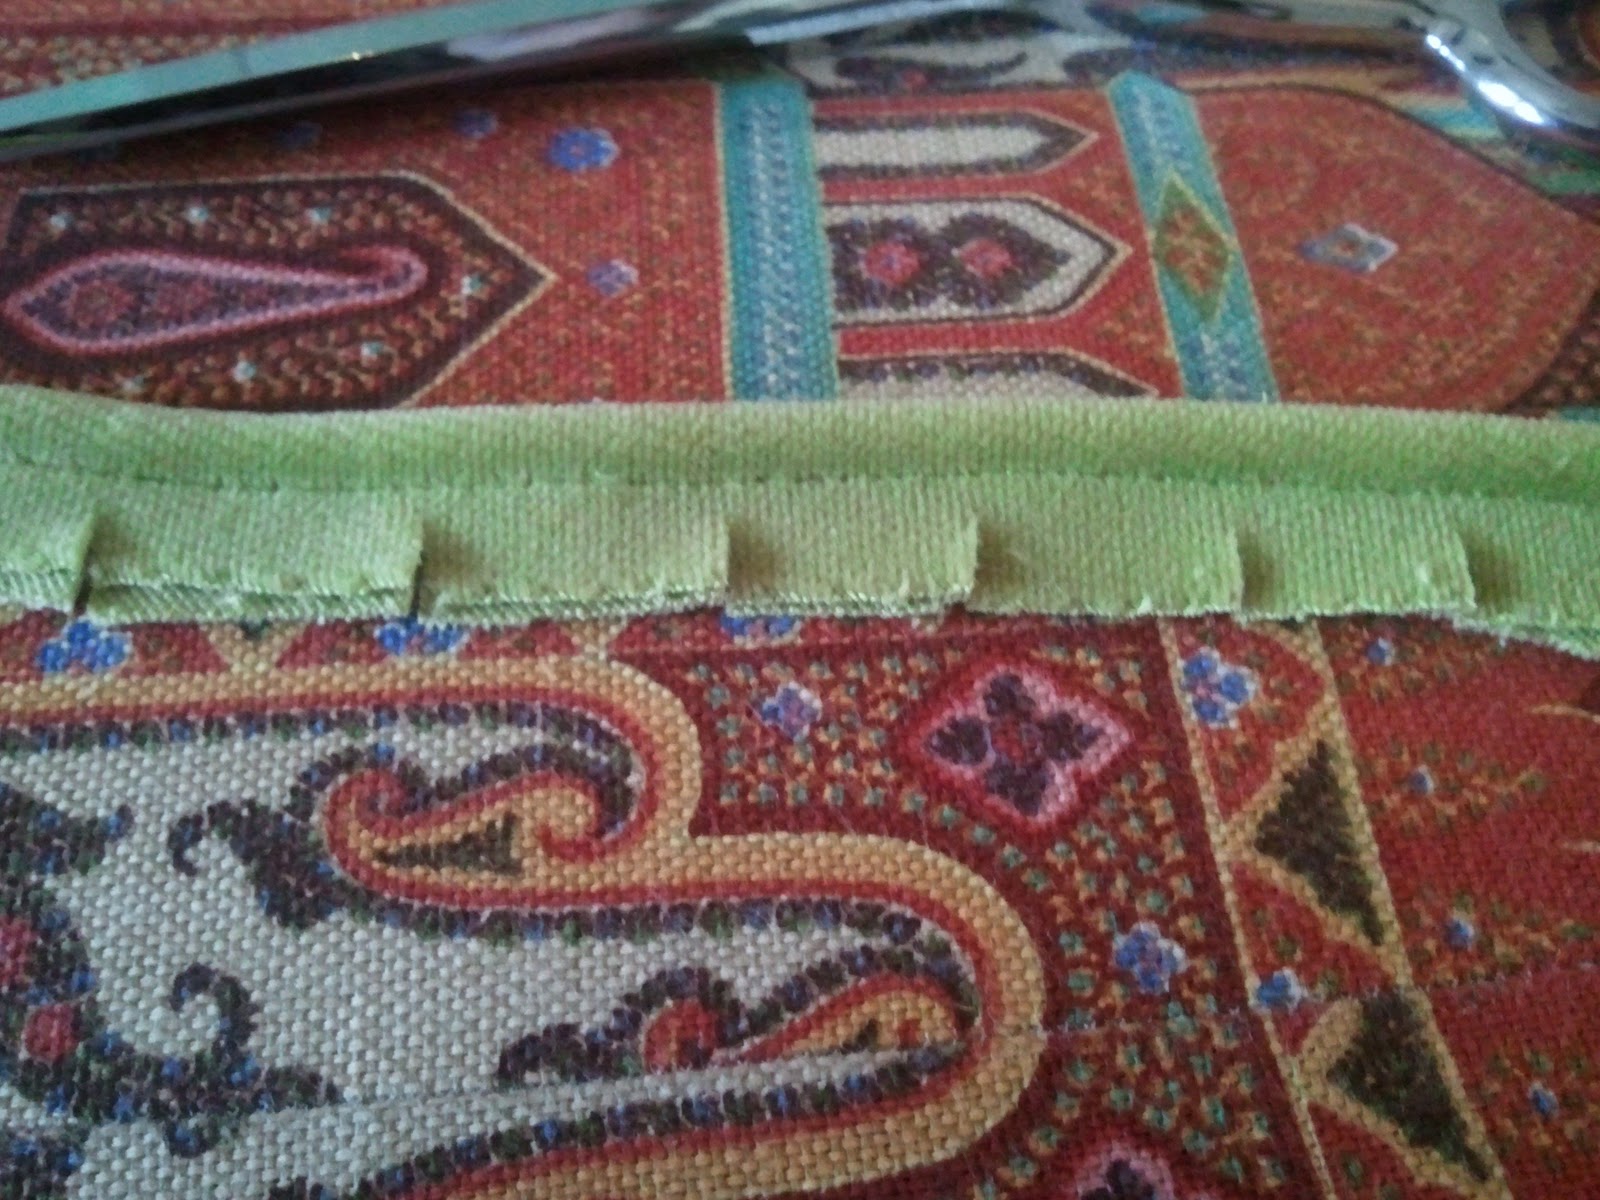
Pin the cording lip to the right side of the circle. Match the raw edges of the circle and the cording.
When you make it all the way around the circle, this is how you join the two ends of cording. Open one end (you may need to rip the seam just a little) and fold the raw edge back.

Pull that cording out of the way, and lay the other end of cording in it’s place.
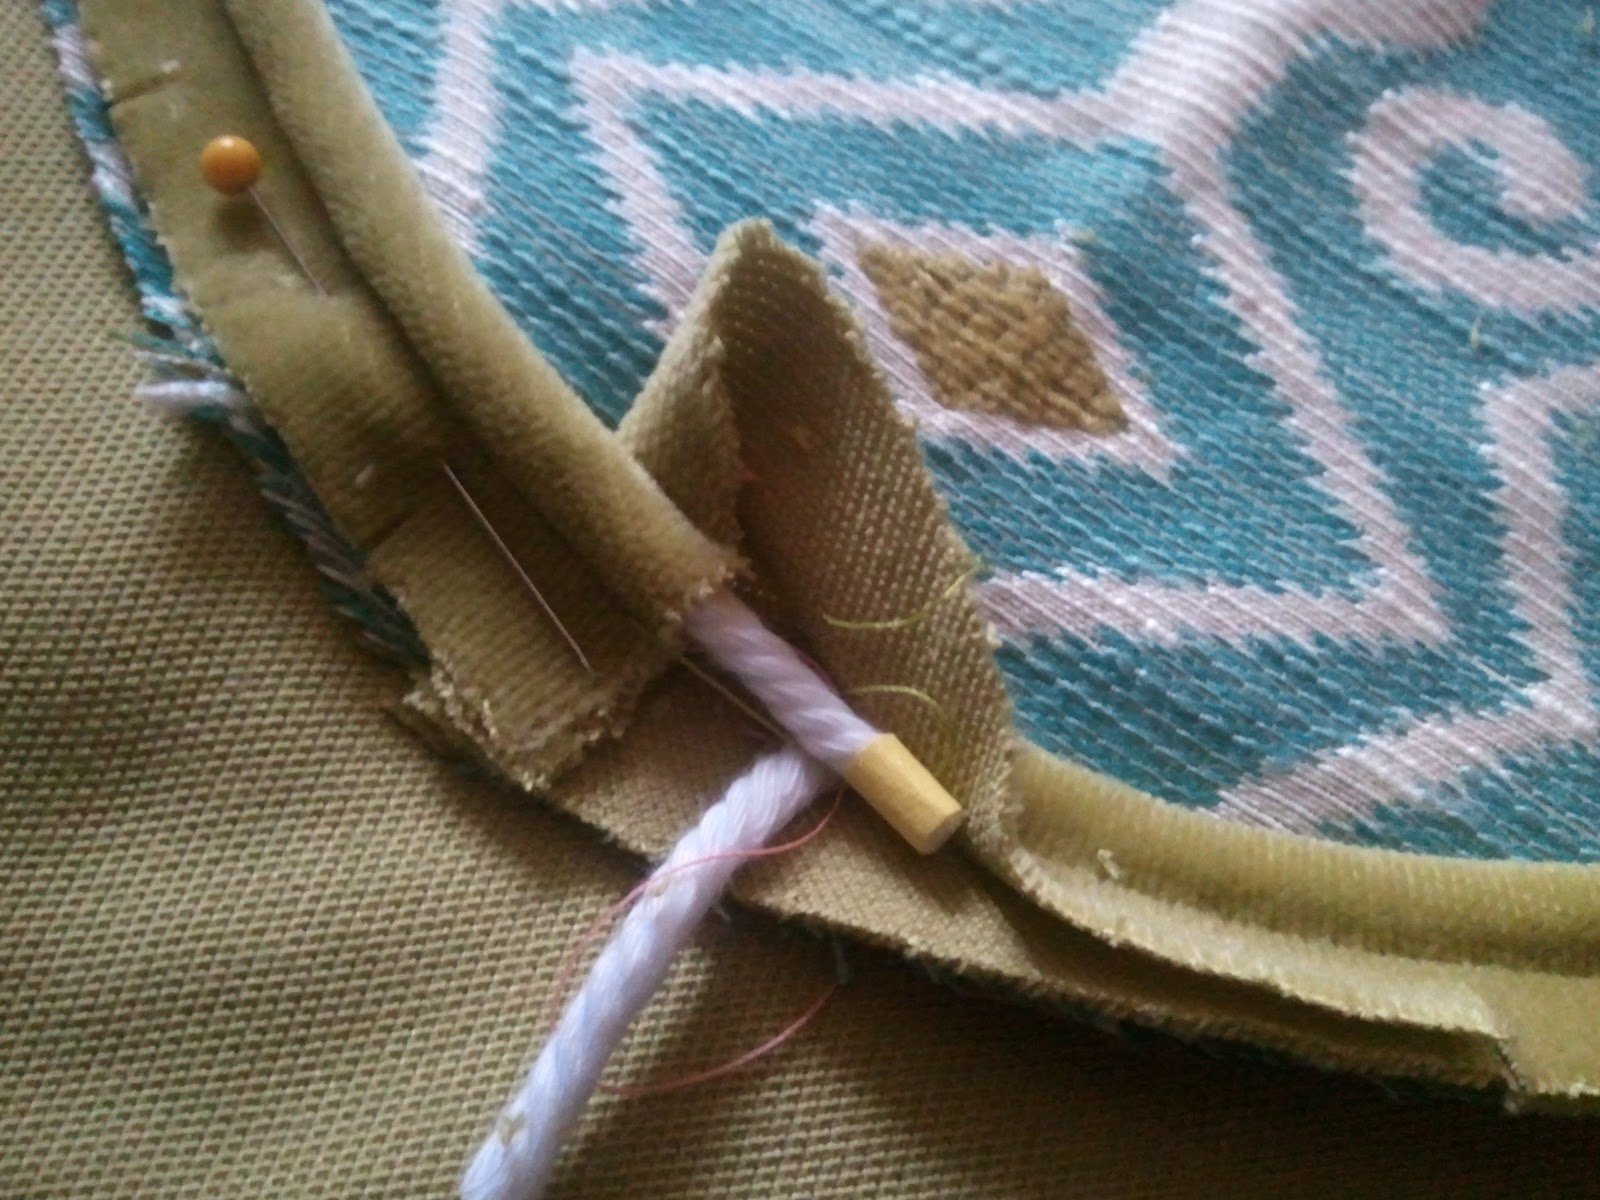
Close the fabric over the cord.
Topstitch it on like this:
Ooooo what a pretty circle 🙂
- Step 6: Okay you’re doing great.
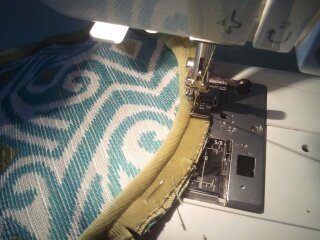
Right sides together, pin the 29″ edge of the rectangle around the circle.
You will need to clip the edge of the rectangle just like you clipped the cording lip.
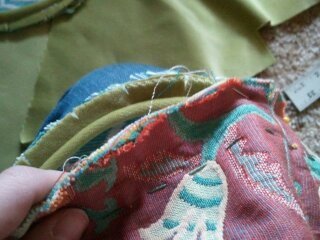
Sew in place (still feeling for the cording – you don’t want to sew over it).
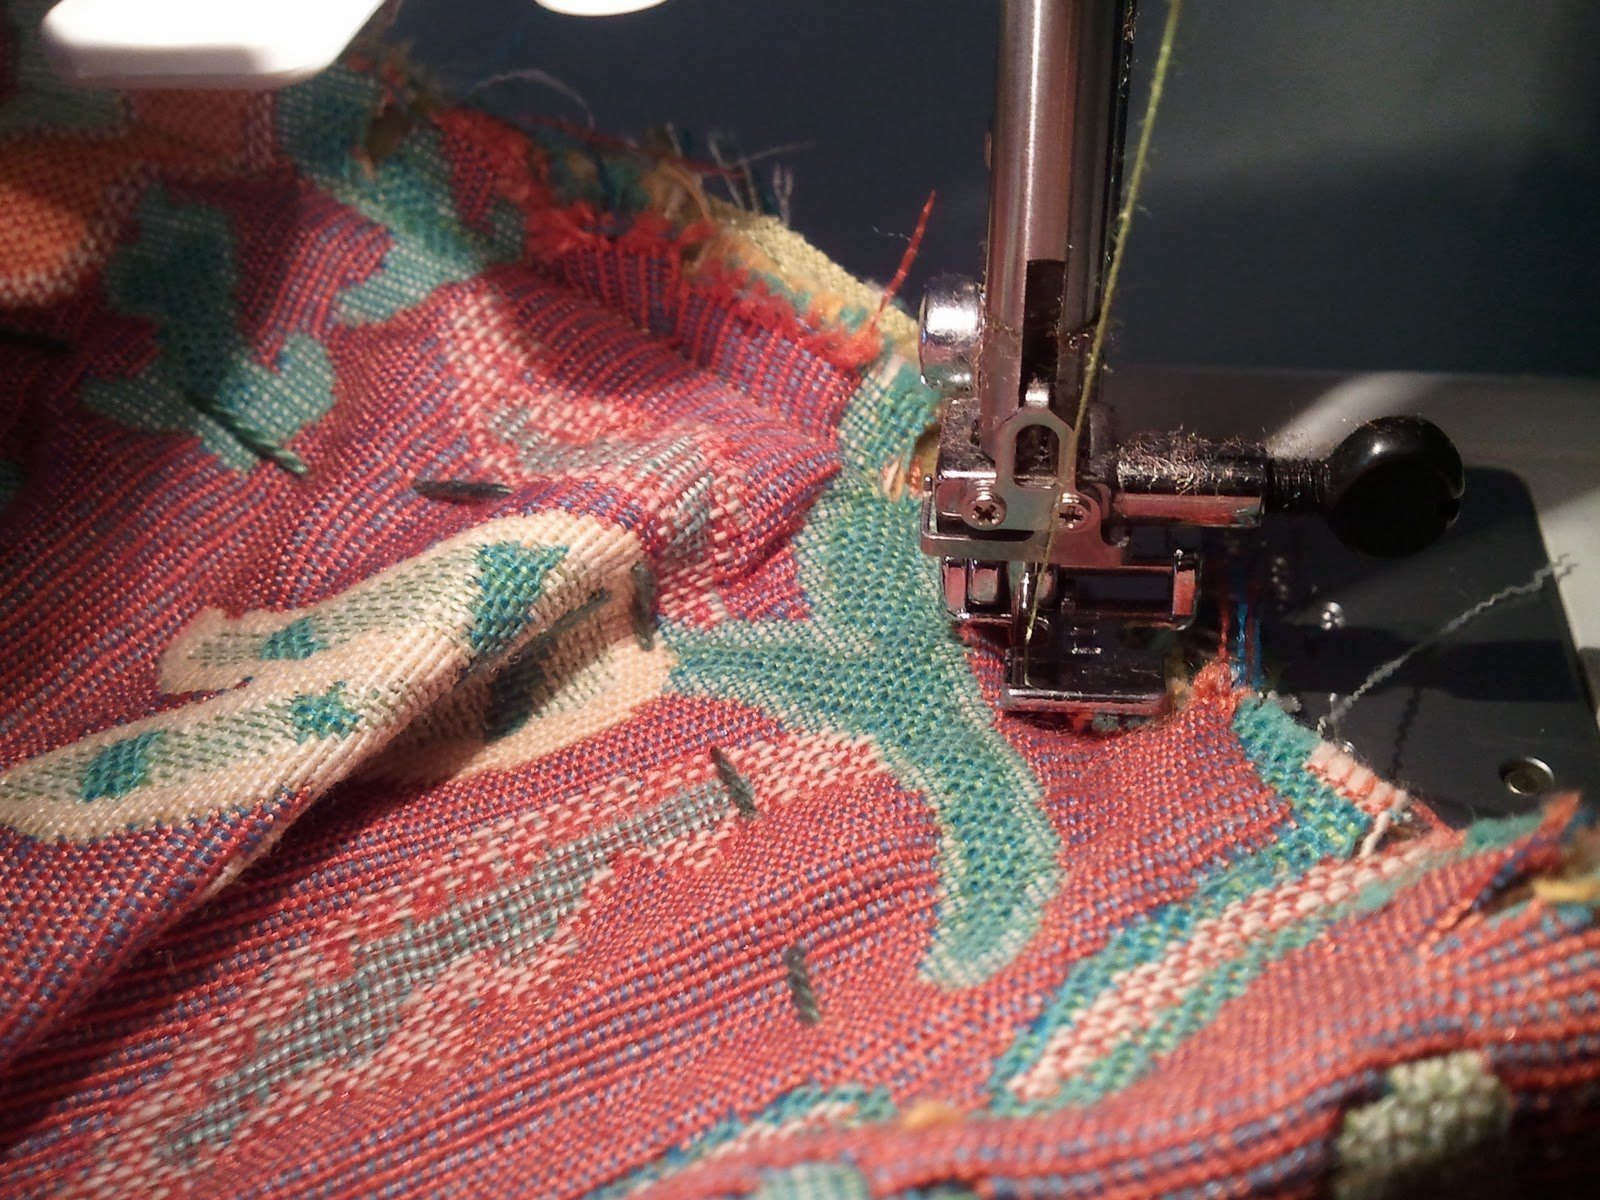
{You basically sew right next to the cording three times – once while making the cording, once around the circle, and once around the rectangle.}
Repeat with the other side or the rectangle.
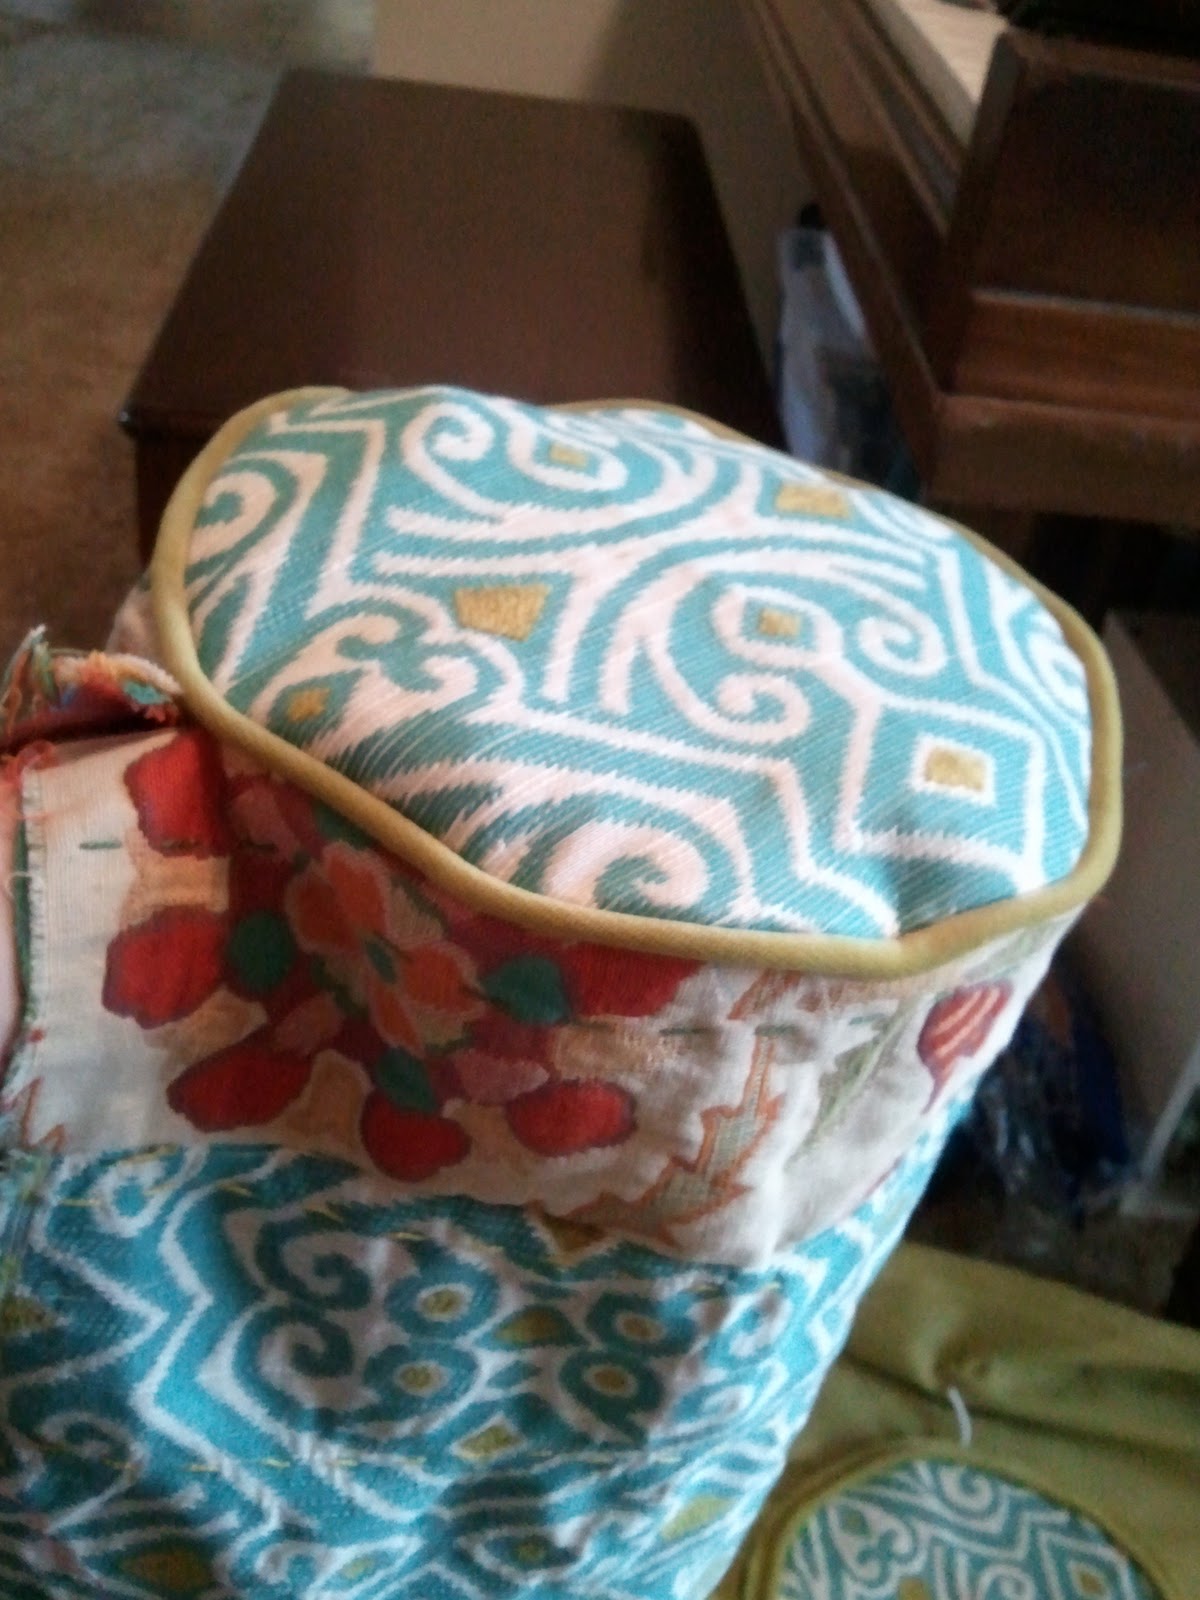
Flip it right side out to make certain it looks pretty.
Then flip it inside out and sew along the 24″ side of the pillow – leave about a 6″ opening for stuffing (if you are using a pillow form you will need to leave a larger opening). - Step 7: Flip the pillow right side out and stuff well with polyfil. Pin the closing.
- Step 8: Whipstitch or blindstitch the opening closed.
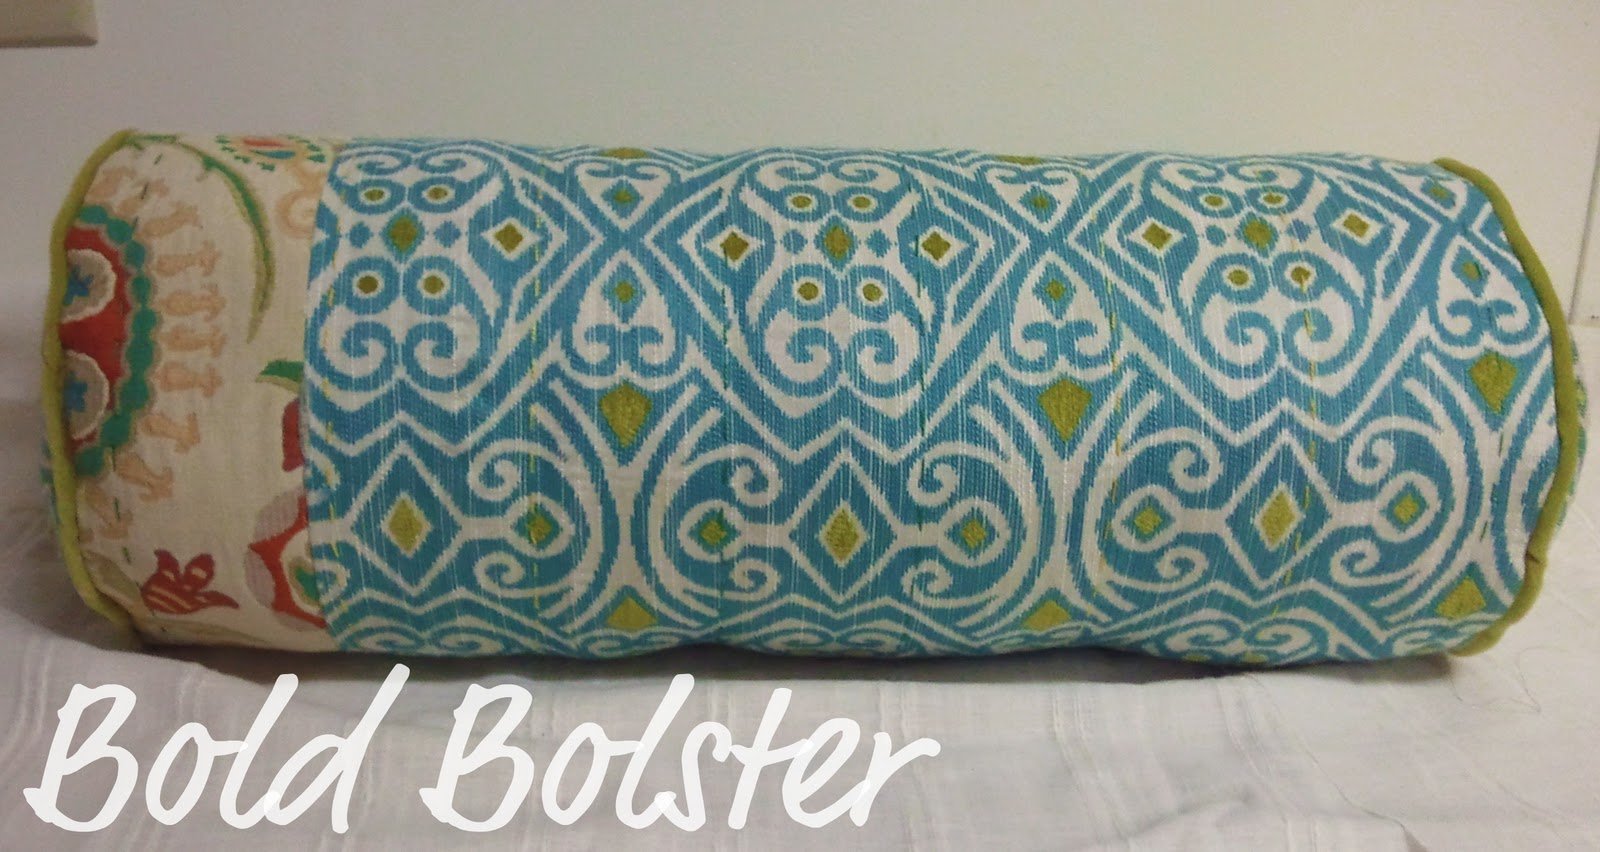
Now stare in AMAZEMENT at your success and
upload a picture of it to the Flickr pool so we can all Oooo and Ahhh…
happy homemaking,
jessica