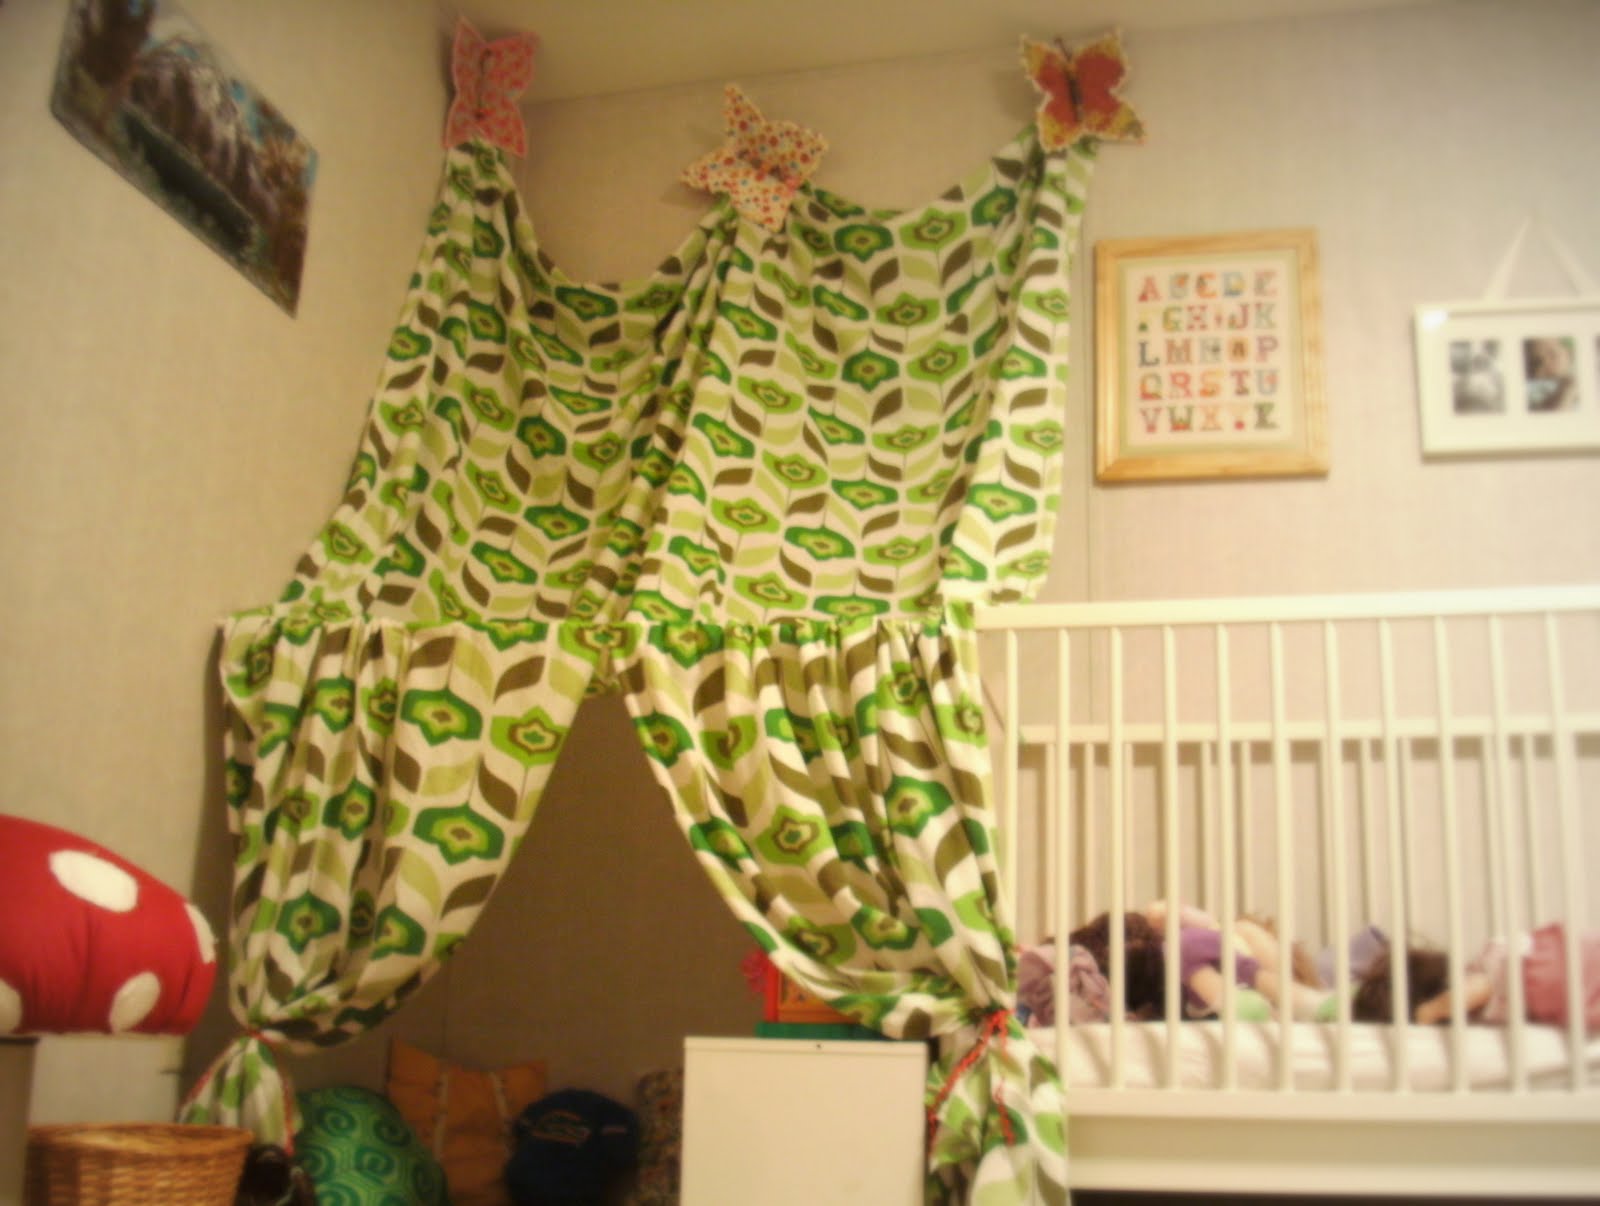
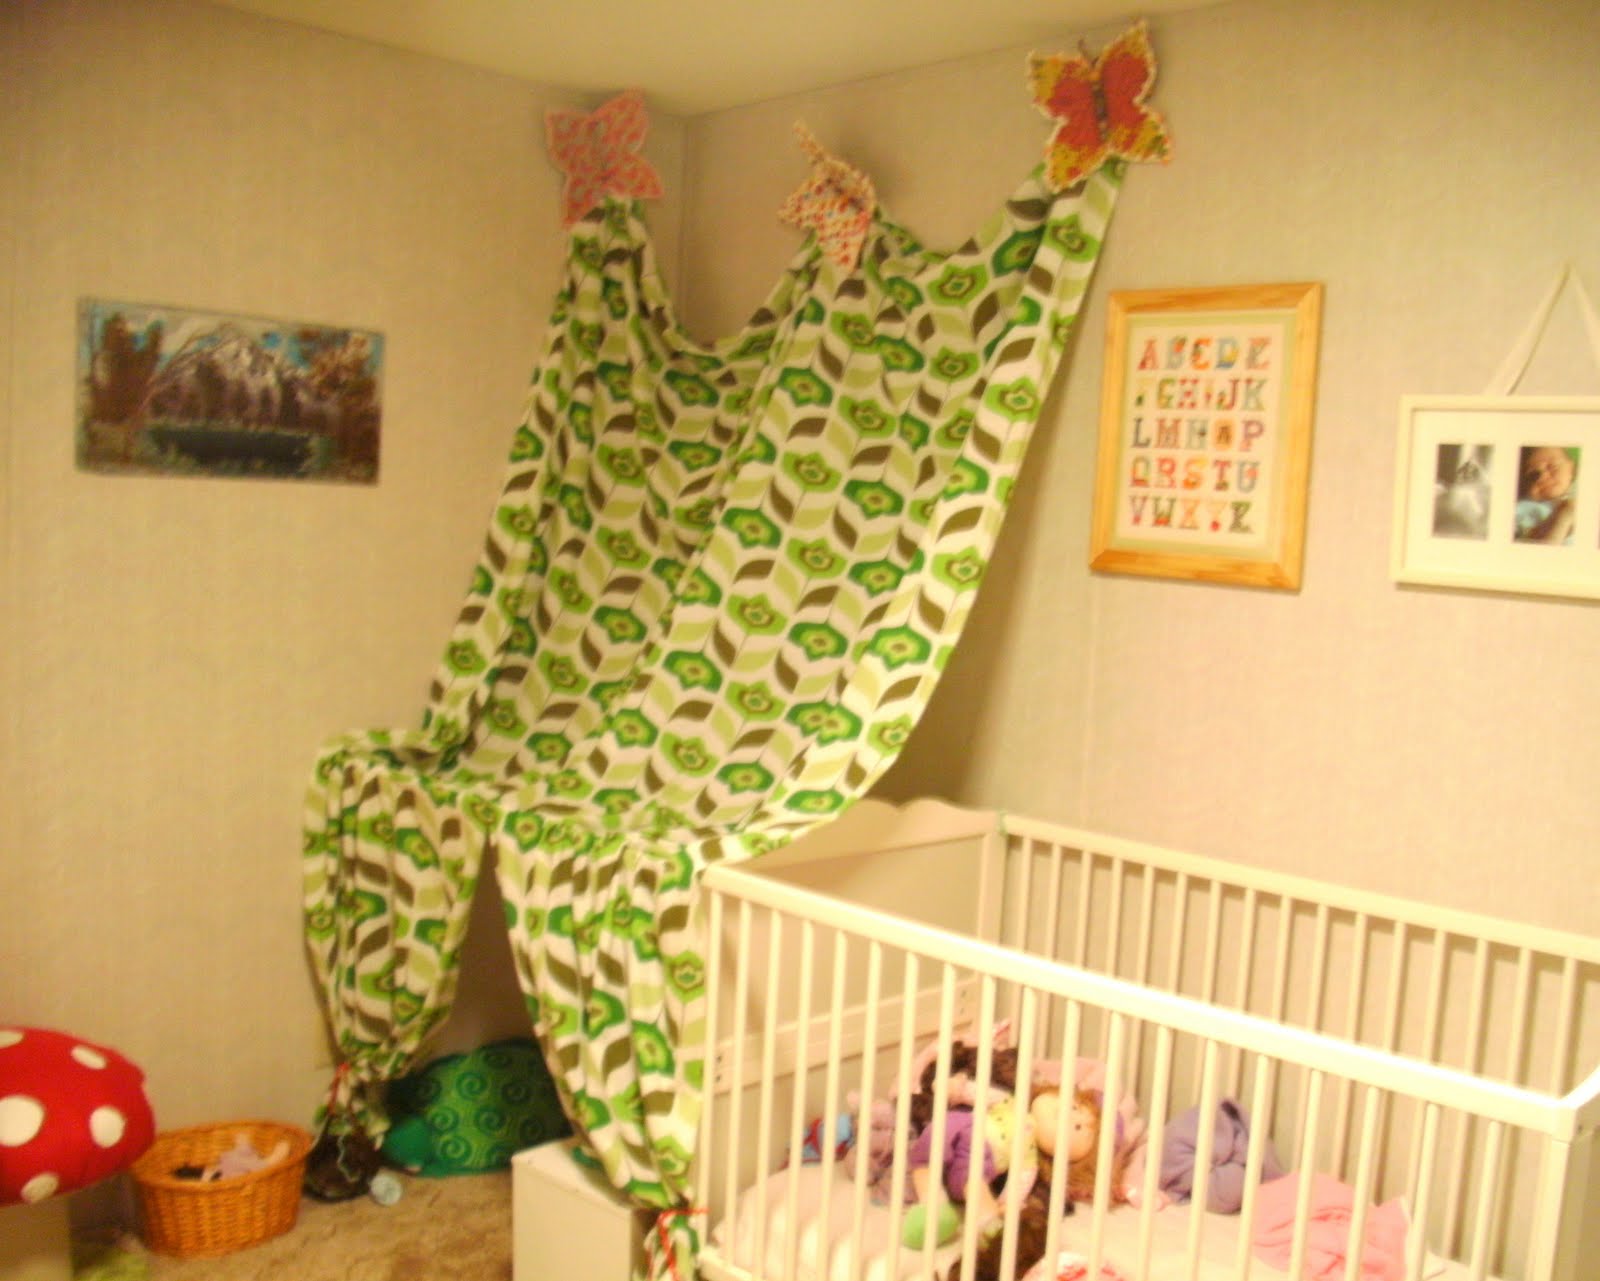
When I redesigned Charlotte’s room, I knew I wanted to create some kind of enchanted little nook – a secret place for her to play (and a secret place for Mommy to hide the mound of toys ;). It took quite a bit of thought, but I came up with this little corner tent. Here’s how I did it – this is so easy I’m almost embarrassed to tell you. For the fabric, I used a tapestry like this one. I love these tapestries because 1. They are already hemmed 2. They are in one piece. 3. If you get them on sale it comes to about $3 a yard – even if they are not on sale it’s about $6 a yard. 4. You can use them for all kinds of things – quilt backs, tablecloths, tents, and on and on. I always buy them when they go on sale so I will have some on hand. Anyway, I nailed the tapestry to the wall in three places.
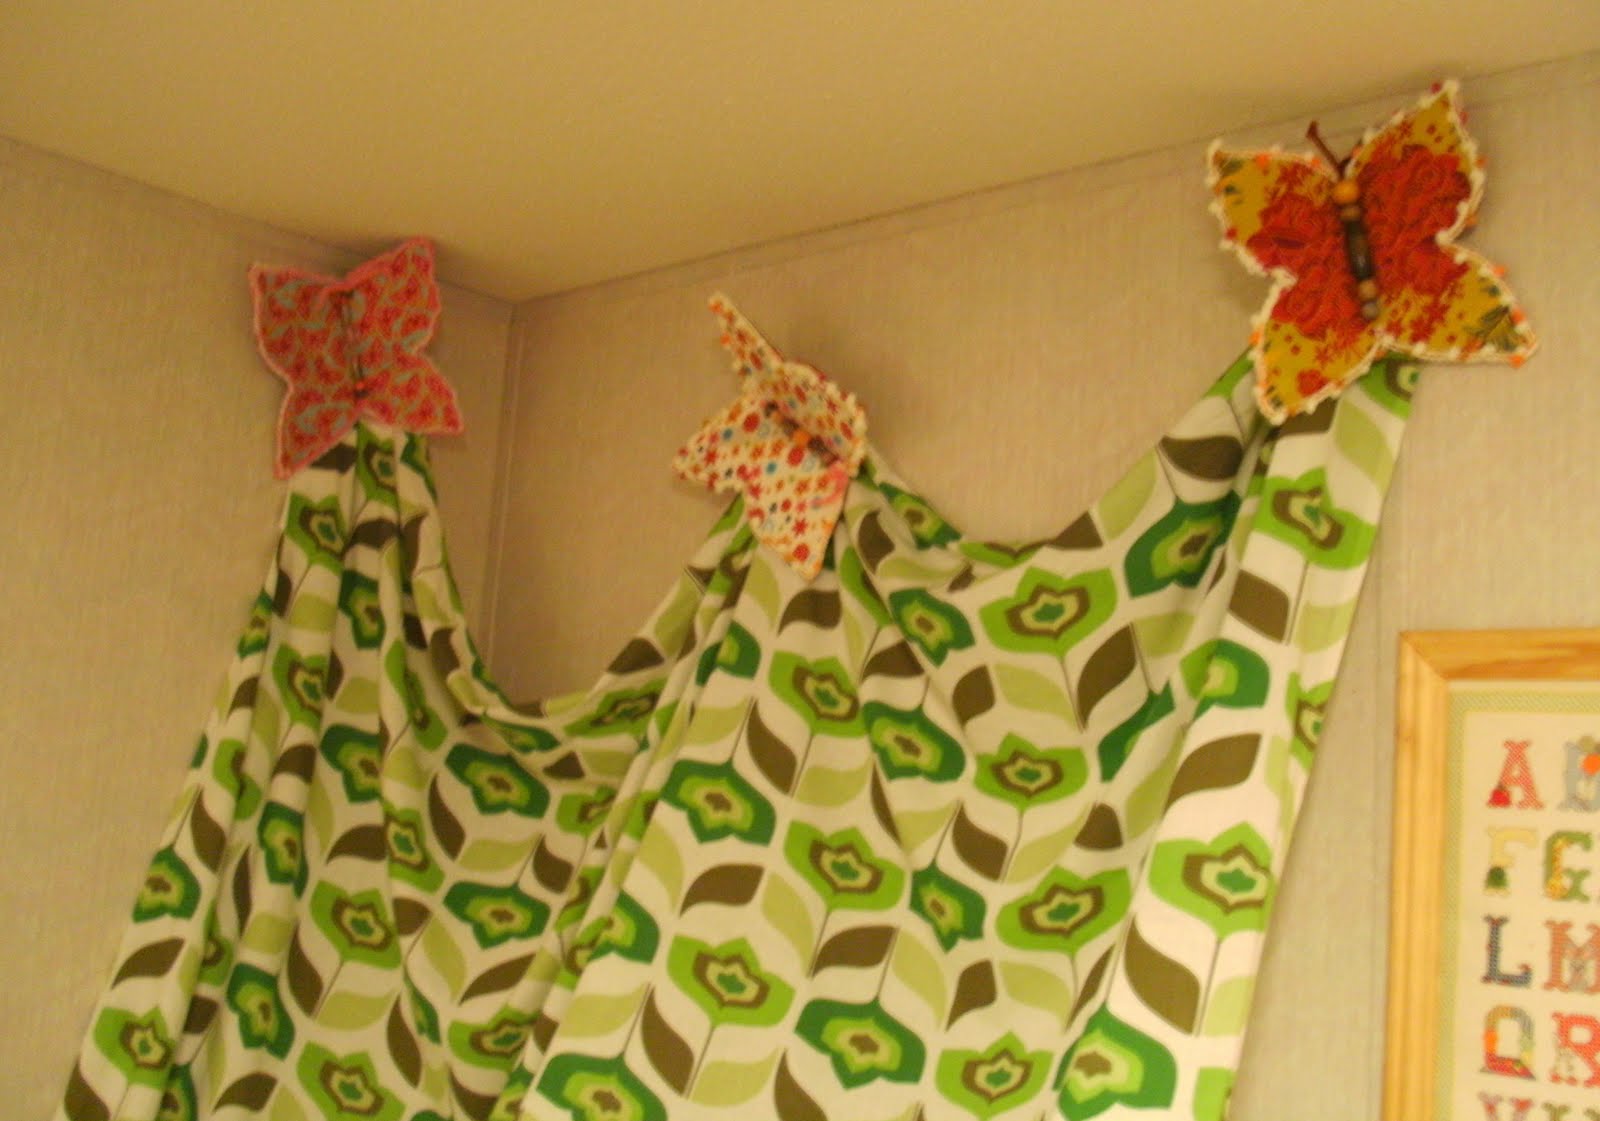
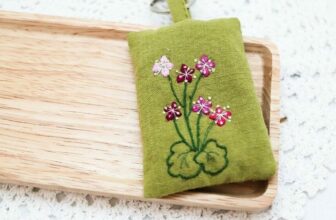
I covered up the nails with these little butterflies – decorations from her party and you can learn how to make them here. I think it kind of looks like the butterflies are carrying the tent. Then I simply draped the fabric down over a tension rod that I had placed between the wall and her crib.
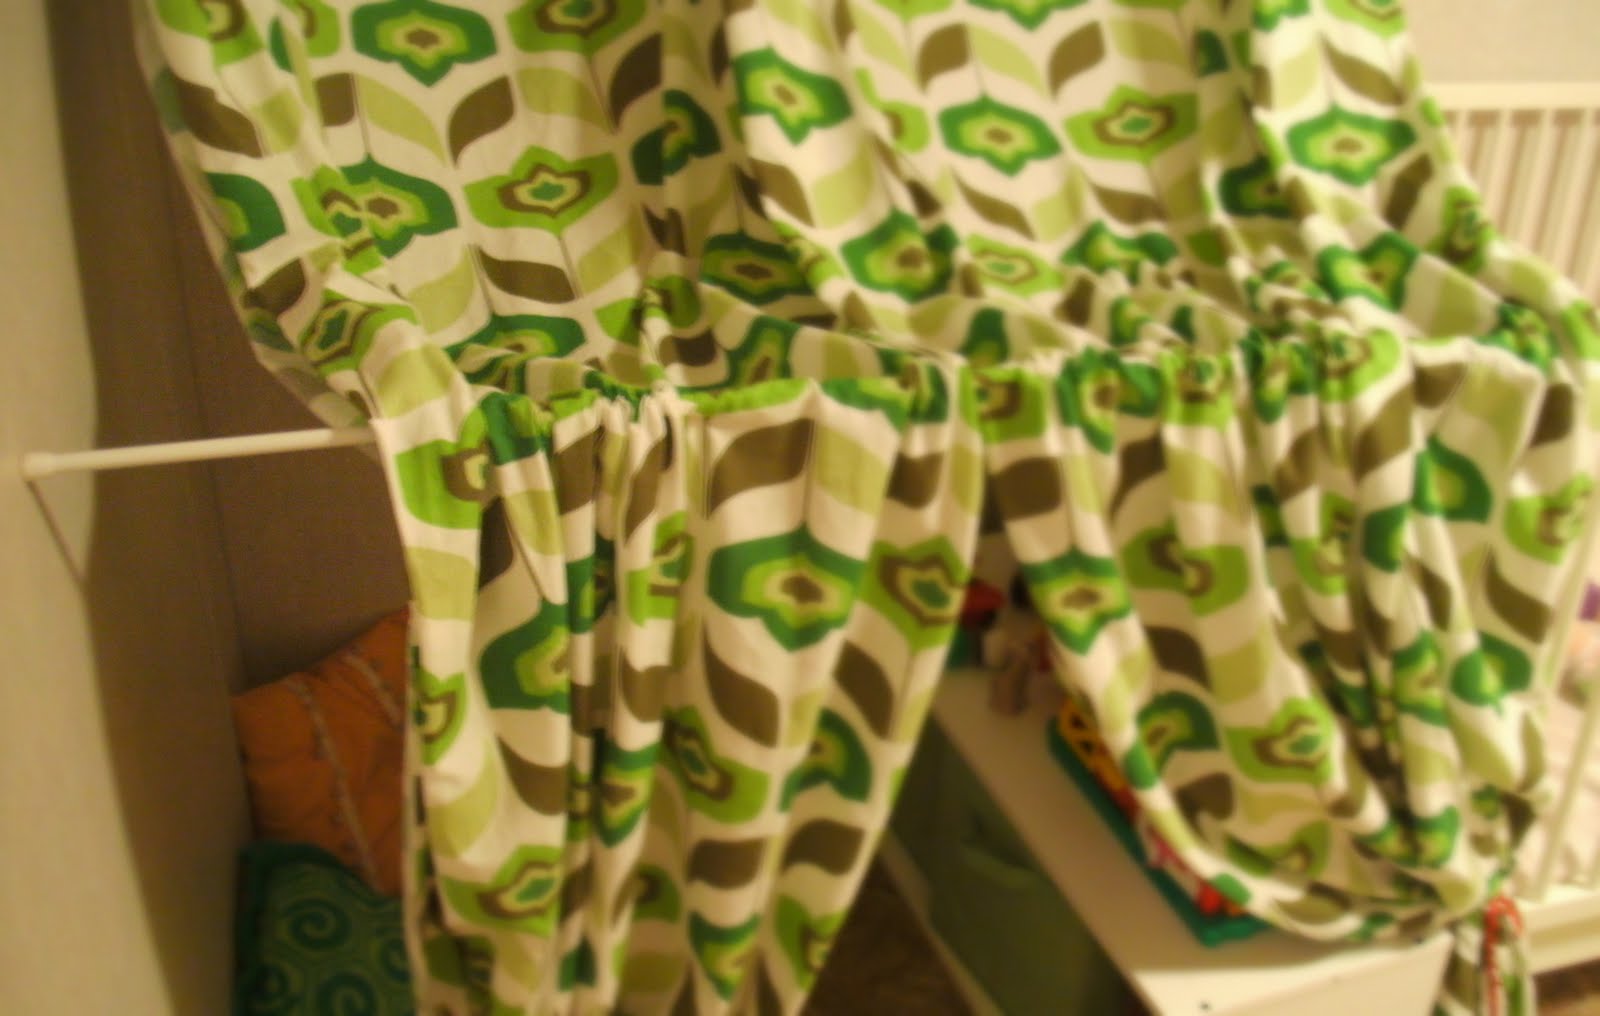
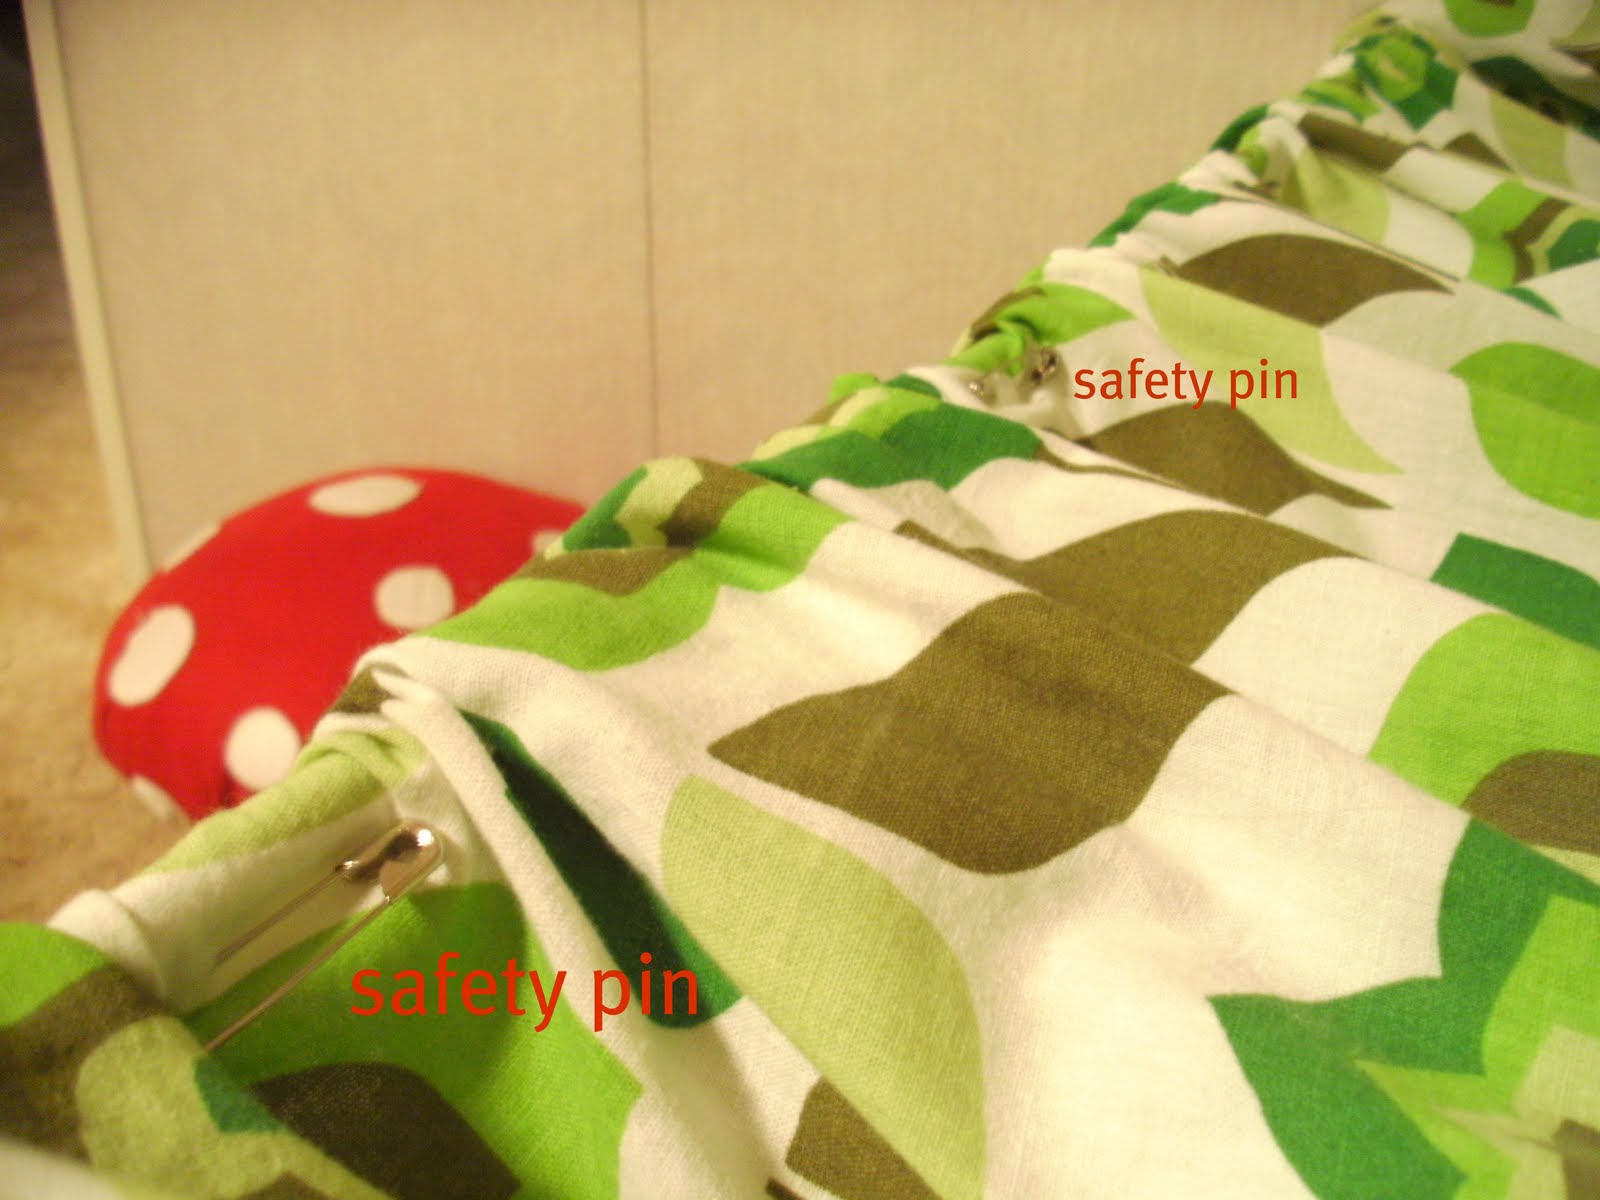
I would like to tell you that I sewed a rod pocket for the tension rod…but I actually just used some safety pins to make a little pocket so it wouldn’t slide. I think I will probably sew one eventually…or maybe not.
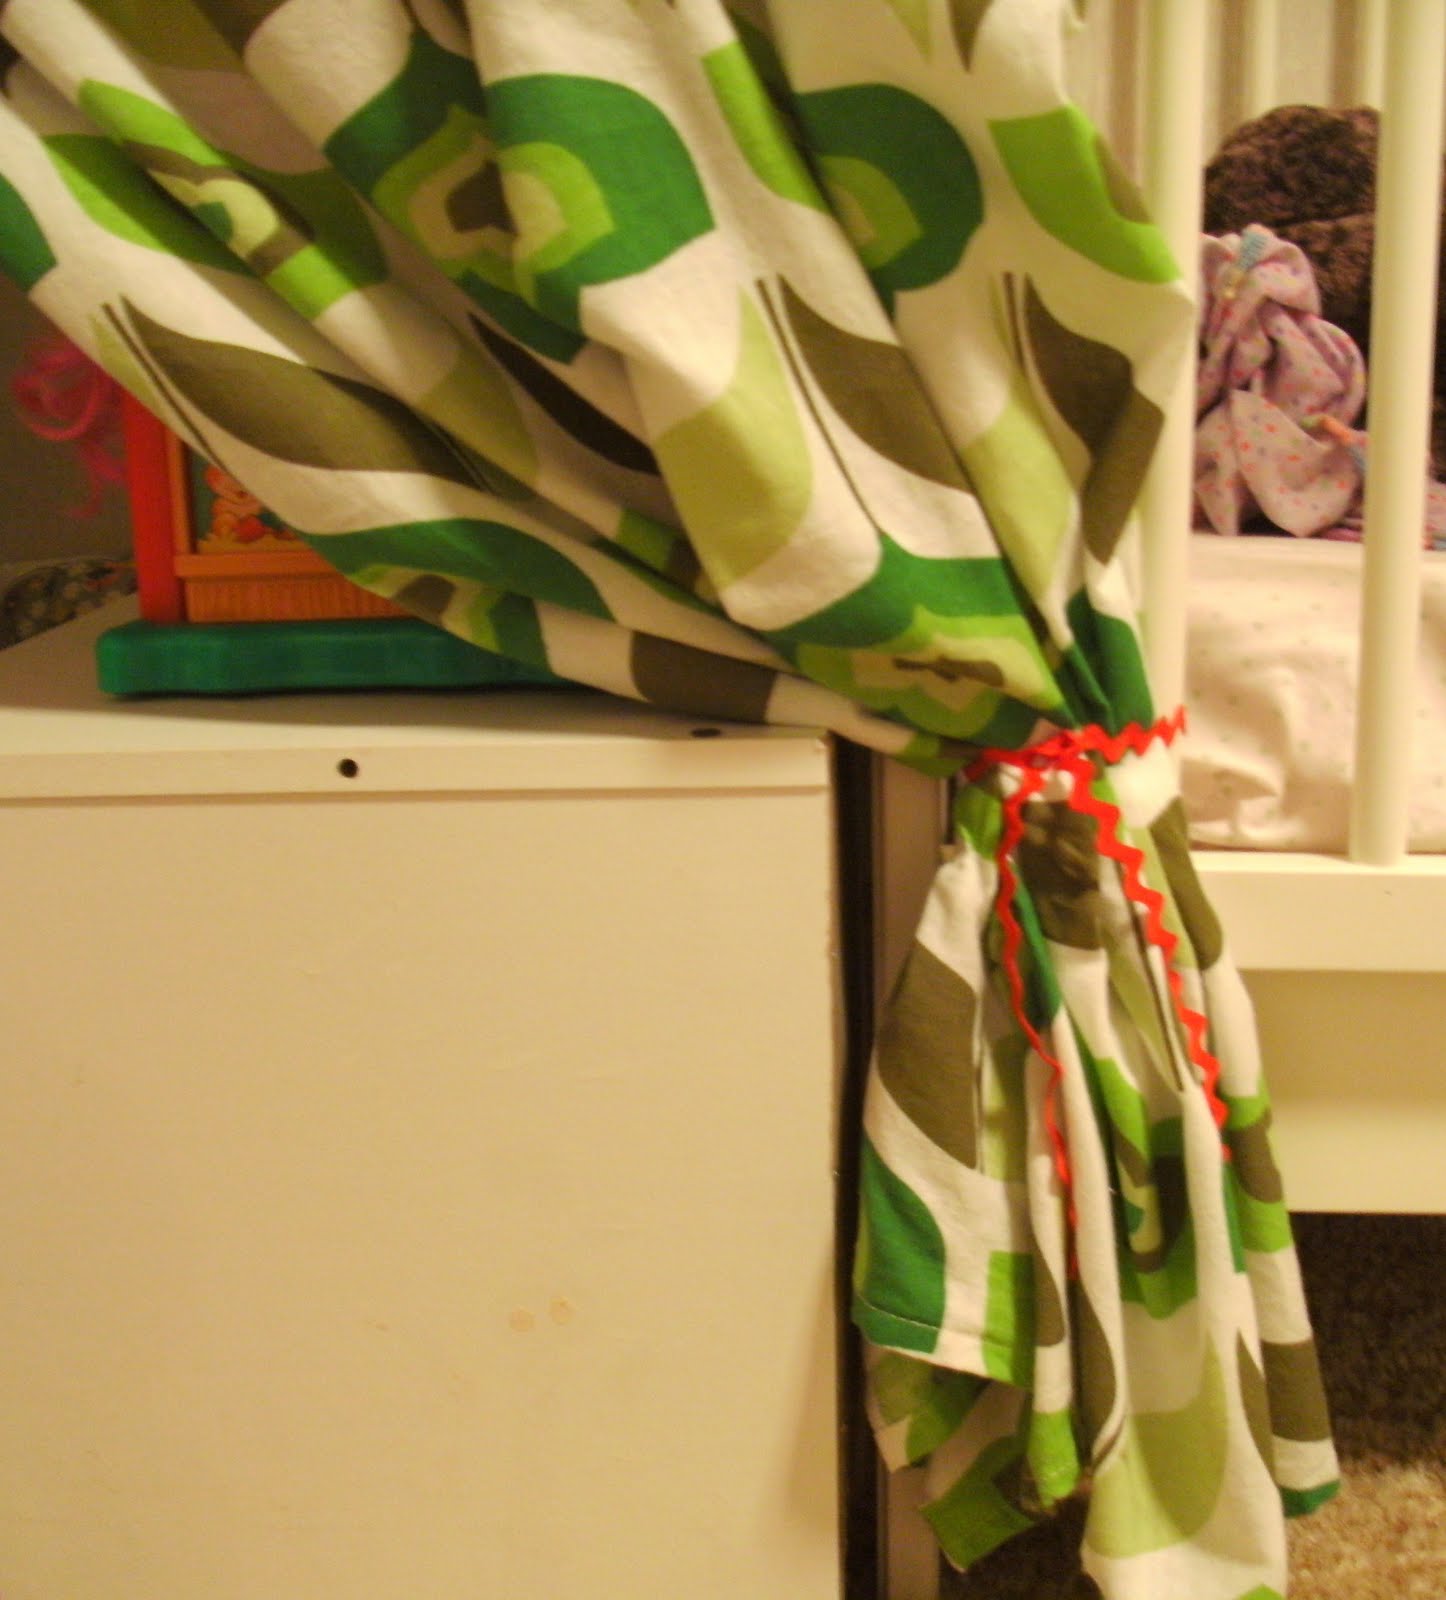
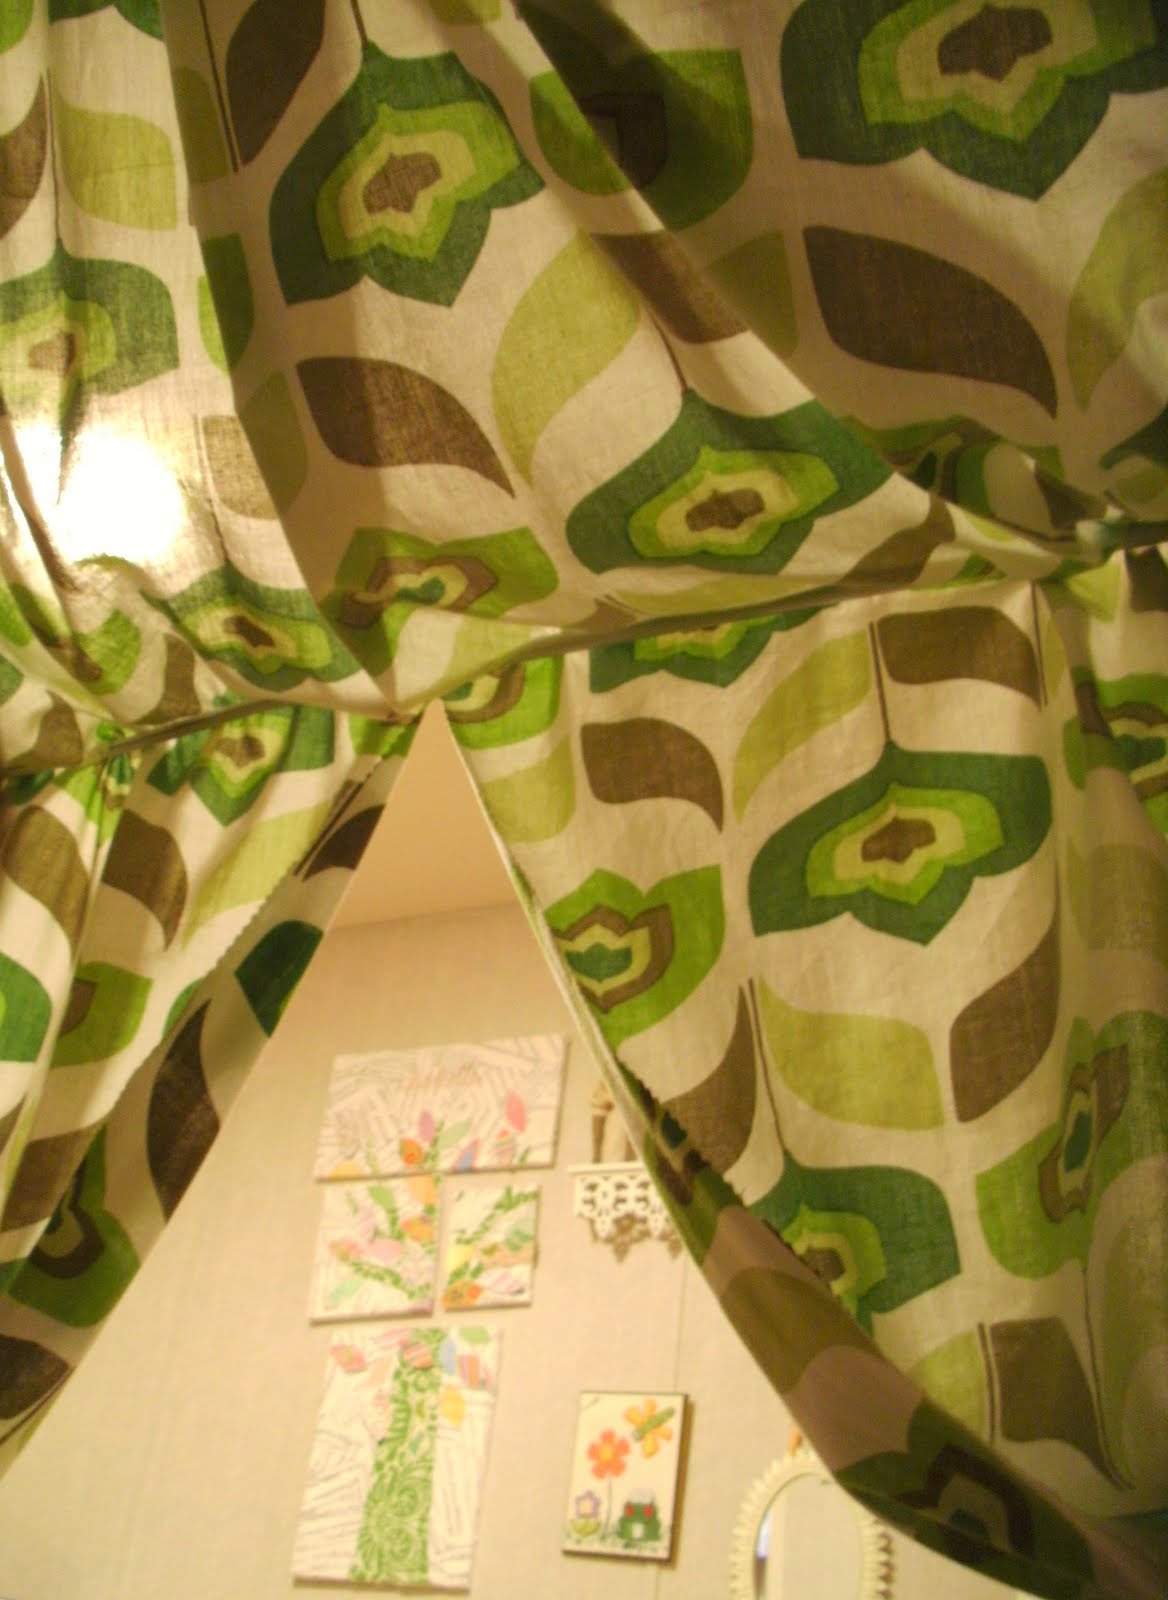
Once I had it in place and to the length I wanted it to be I cut the center with pinking shears from the hem up to the tension rod
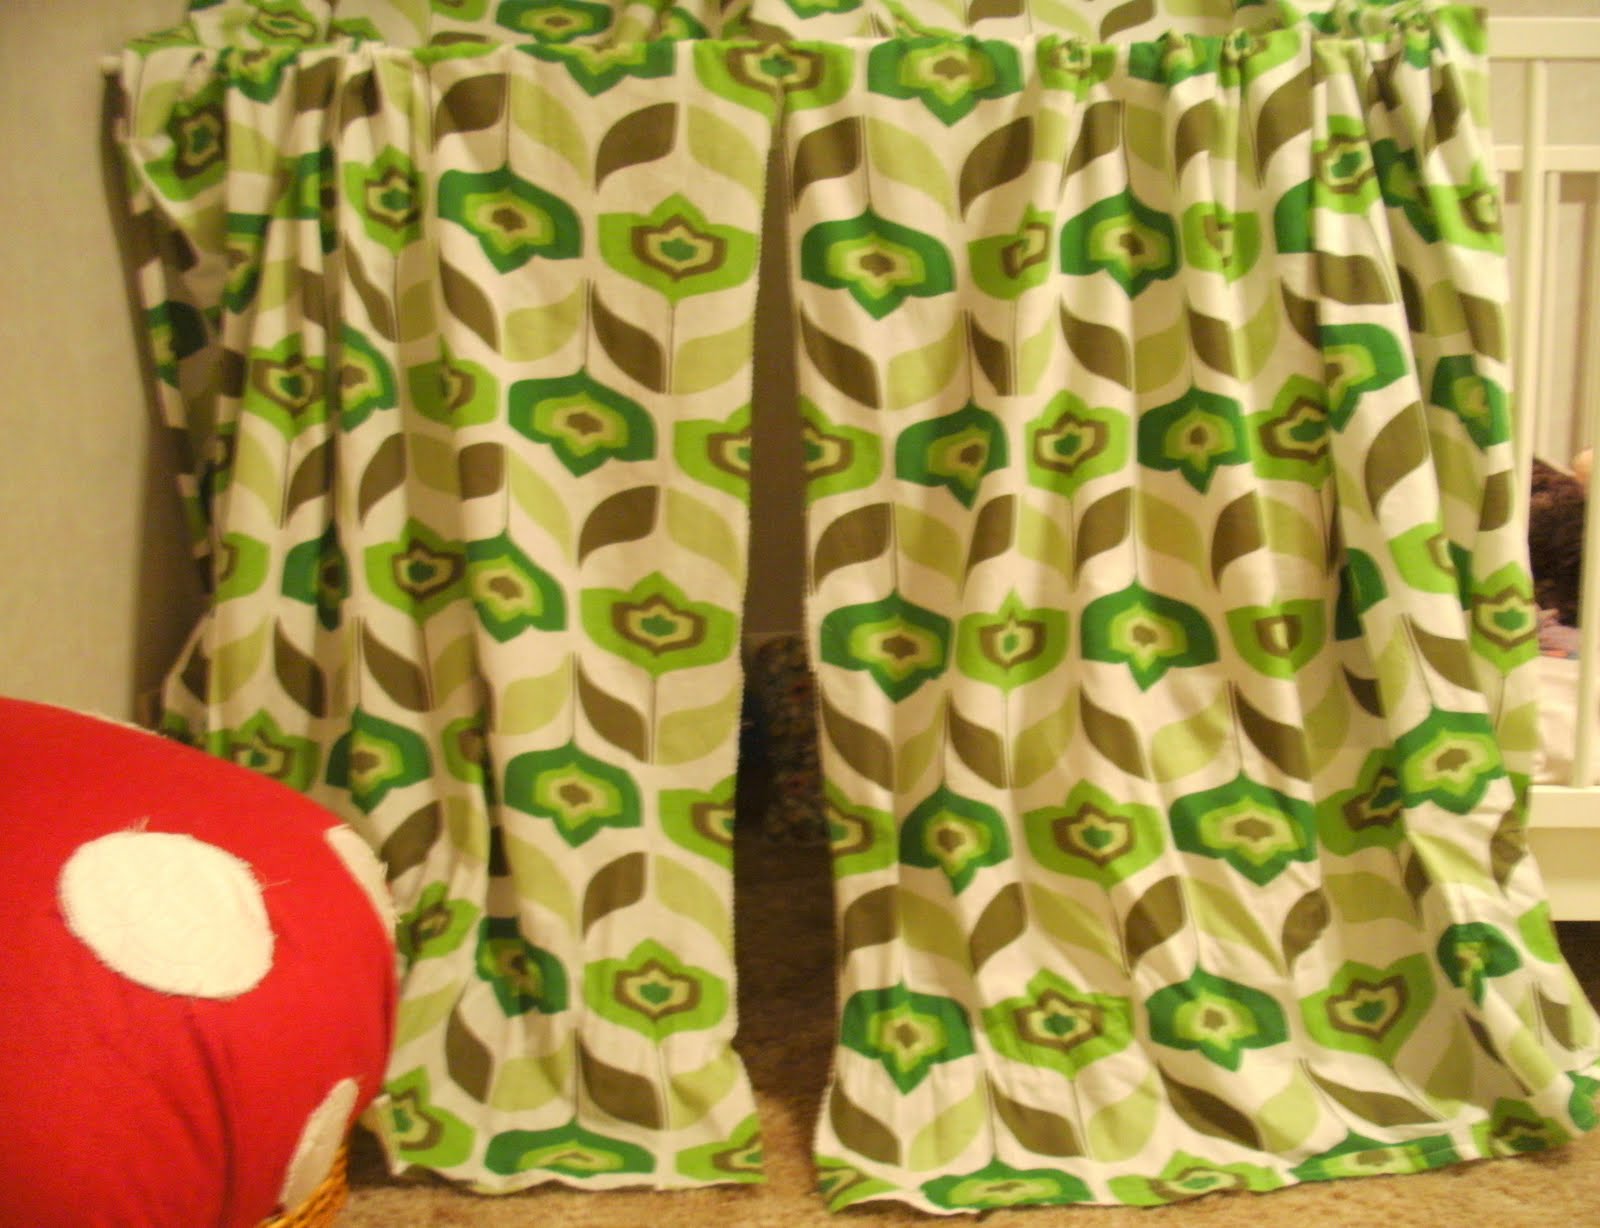
– then tied these back with rick-rack.
That’s it. It’s literally no-sew. (and I mean, hello, it’s not like it’s an heirloom enchanted tent that I will give my grandchildren – it’s just a magical little space for my two-year-old that we will probably change in a year.)
Hope you are inspired to create an enchanting spot for your little one!
jessica