I’ve been wanting to make a tunic for a while.

I browsed around online at Free People and found this for inspiration.

It’s $298.00
So on Friday I went to the fabric store and spent $ 17.00 on a yard of Anna Maria Horner’s gorgeous voile – the perfect thing to make a flowy tunic (or to snuggle with on the floor).

Here’s my Step by Step process – it’s not the most precise tutorial, because I was kind of just free-style sewing it – but I did my best to document it for you in case you would like to make one. I would also like you to know that I really made it goofy the first time. Here’s your comic relief for the morning.

Bad. Too blousy – not enough shape.
So I ripped and ripped and basically started over.
Here’s what you will need:
- 1 yard of voile – 56″ wide
- 3/8″ wide elastic
- sewing machine/thread
- scissors
- measuring tape
- Step 1: Lay the fabric out folded in half.

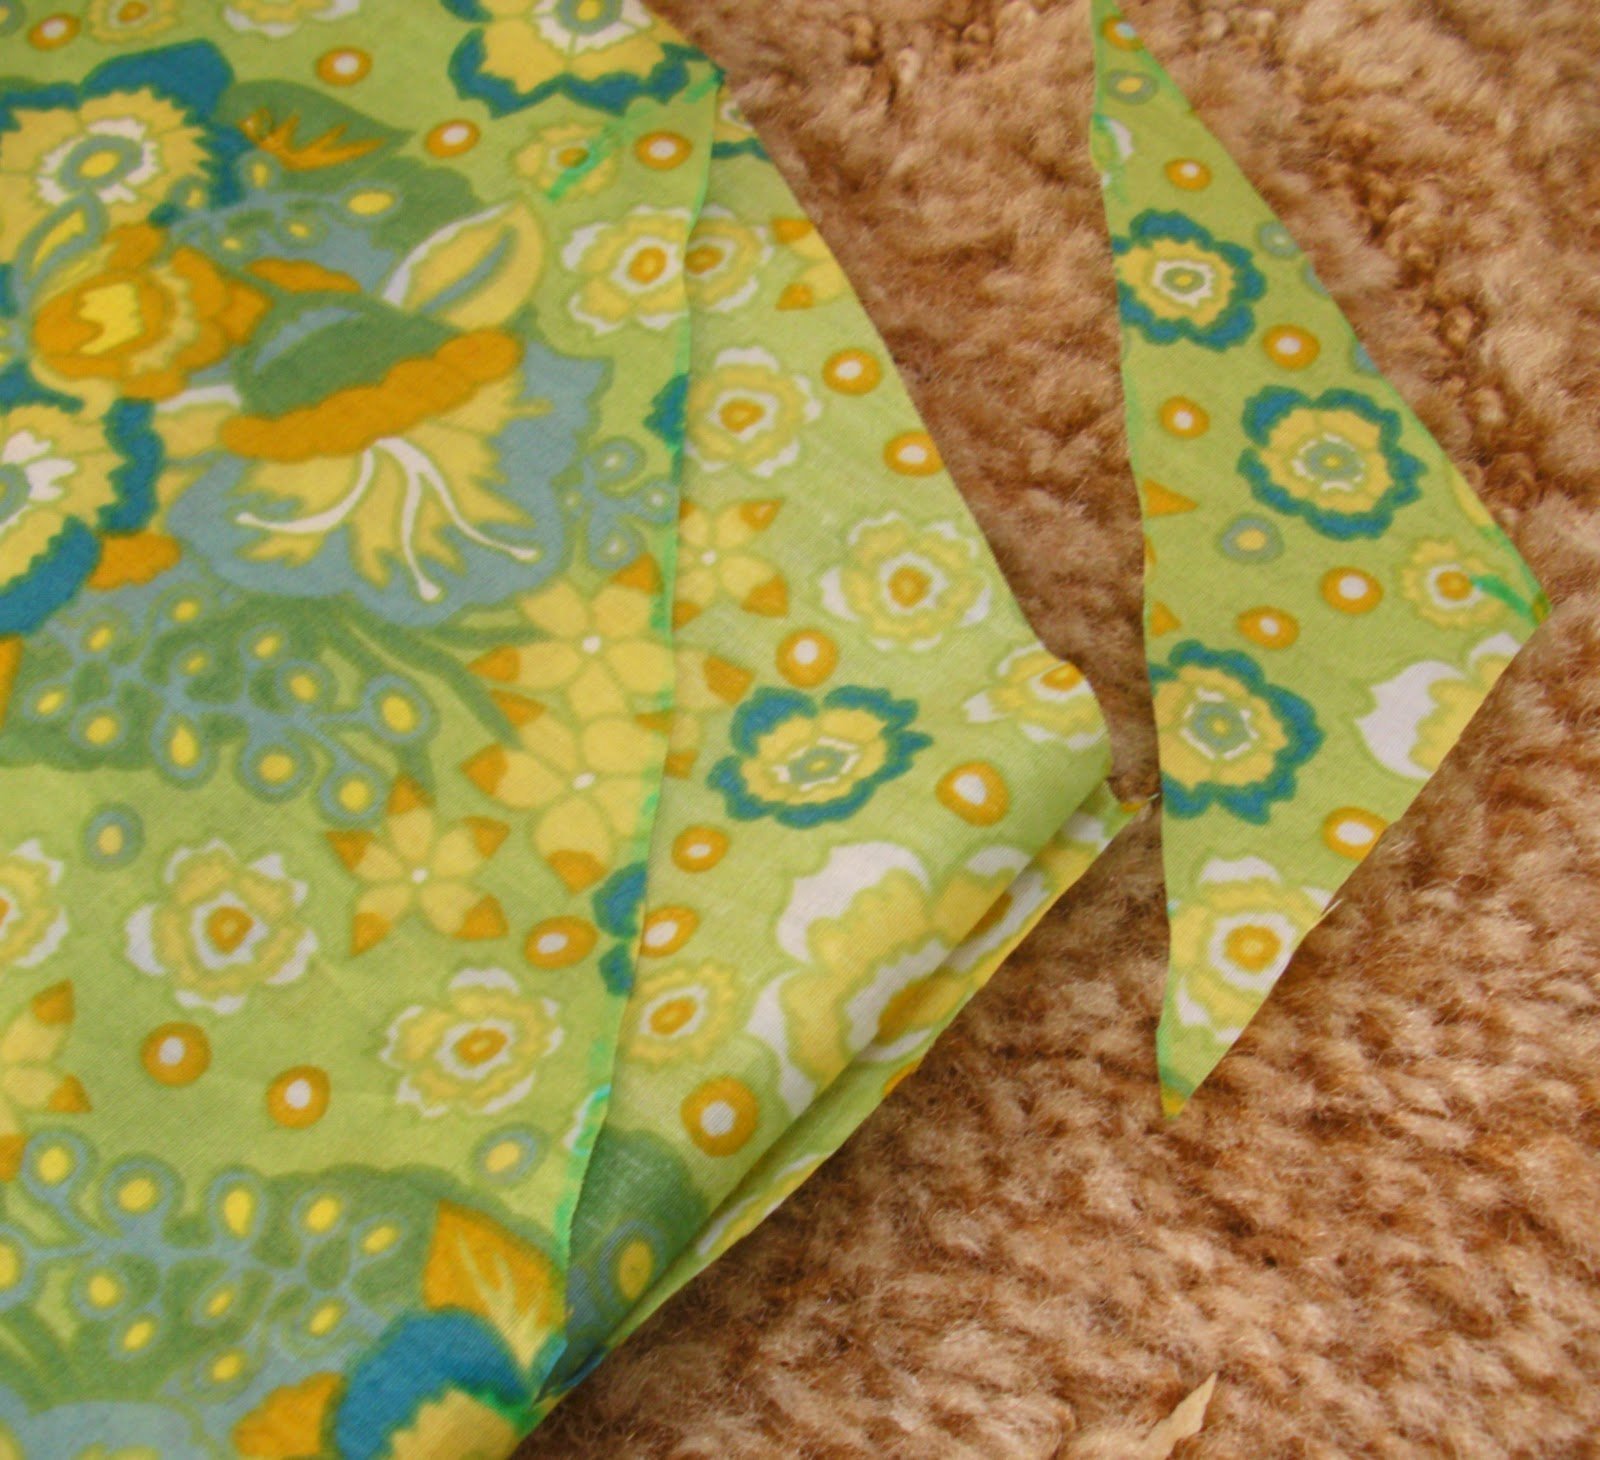
Then fold it in half again. Determine the size of your neckline – I cut a triangle 3″x2″.
 Cut all the layers. This is the back neckline.
Now split the top layer along the fold -about 5″down.

Cut a straight line from the bottom of that slit to the top at the 3″mark (only cut ONE layer). Flip the fabric over and repeat on the other side. - Step 2: Hem all of the sides and the neckline. Turn each edge over once and then again and press. Pin it well and topstitch the hem.

- Step 3: Now it’s time to give it some shape (the Step I skipped the first time 🙂
Measure your waist at your bellybutton. Mine was 31″.
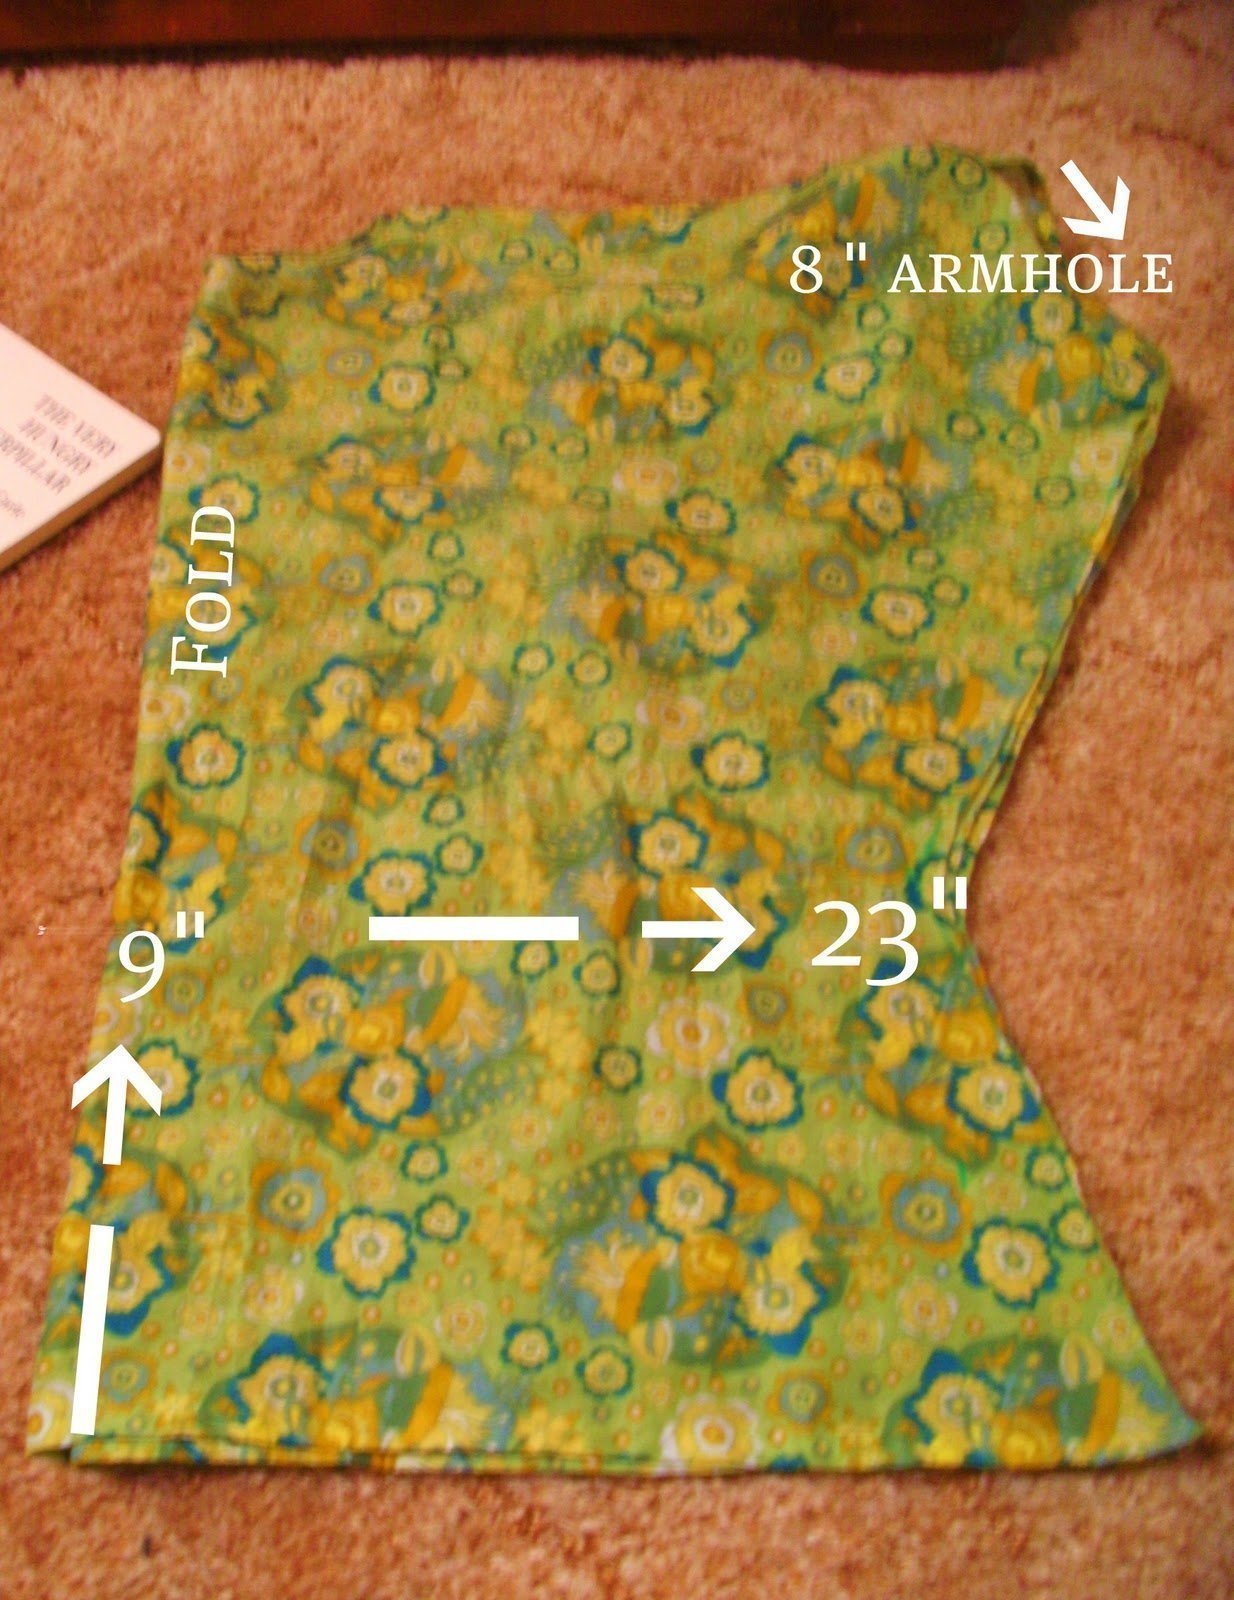
Now take half of that measurement and add it to the original measurement. Mine was 31+15 1/2″ = 46 1/2″ Now divide that by 2. 46″/2 = 23″ – we’ll call this measurement C
Fold the tunic in half. Along the fold, measure 9″ up from the hem. Then measure your C measurement out from the 9″ mark. At the corner edge of the tunic draw a line to the 23″ marking. - Step 4: Now measure your armhole. From the top right edge measure down 8″. (or more if you think you might need it). From that 8″ marking, draw a line to the 23″ mark. It will look kinda like this once you cut it.
 Are you still with me? 🙂
 - Step 5: Cut along those lines through all layers. Open up your tunic and turn it right sides together. Now we are going to add the elastic.
- Step 6: Find the center of the front of the tunic. Measure up 9″ and place a pin. Starting at the edge, 5″ up from the hem, draw a curved line up to the 9″ measurement and then back down to the other 5″ marking.

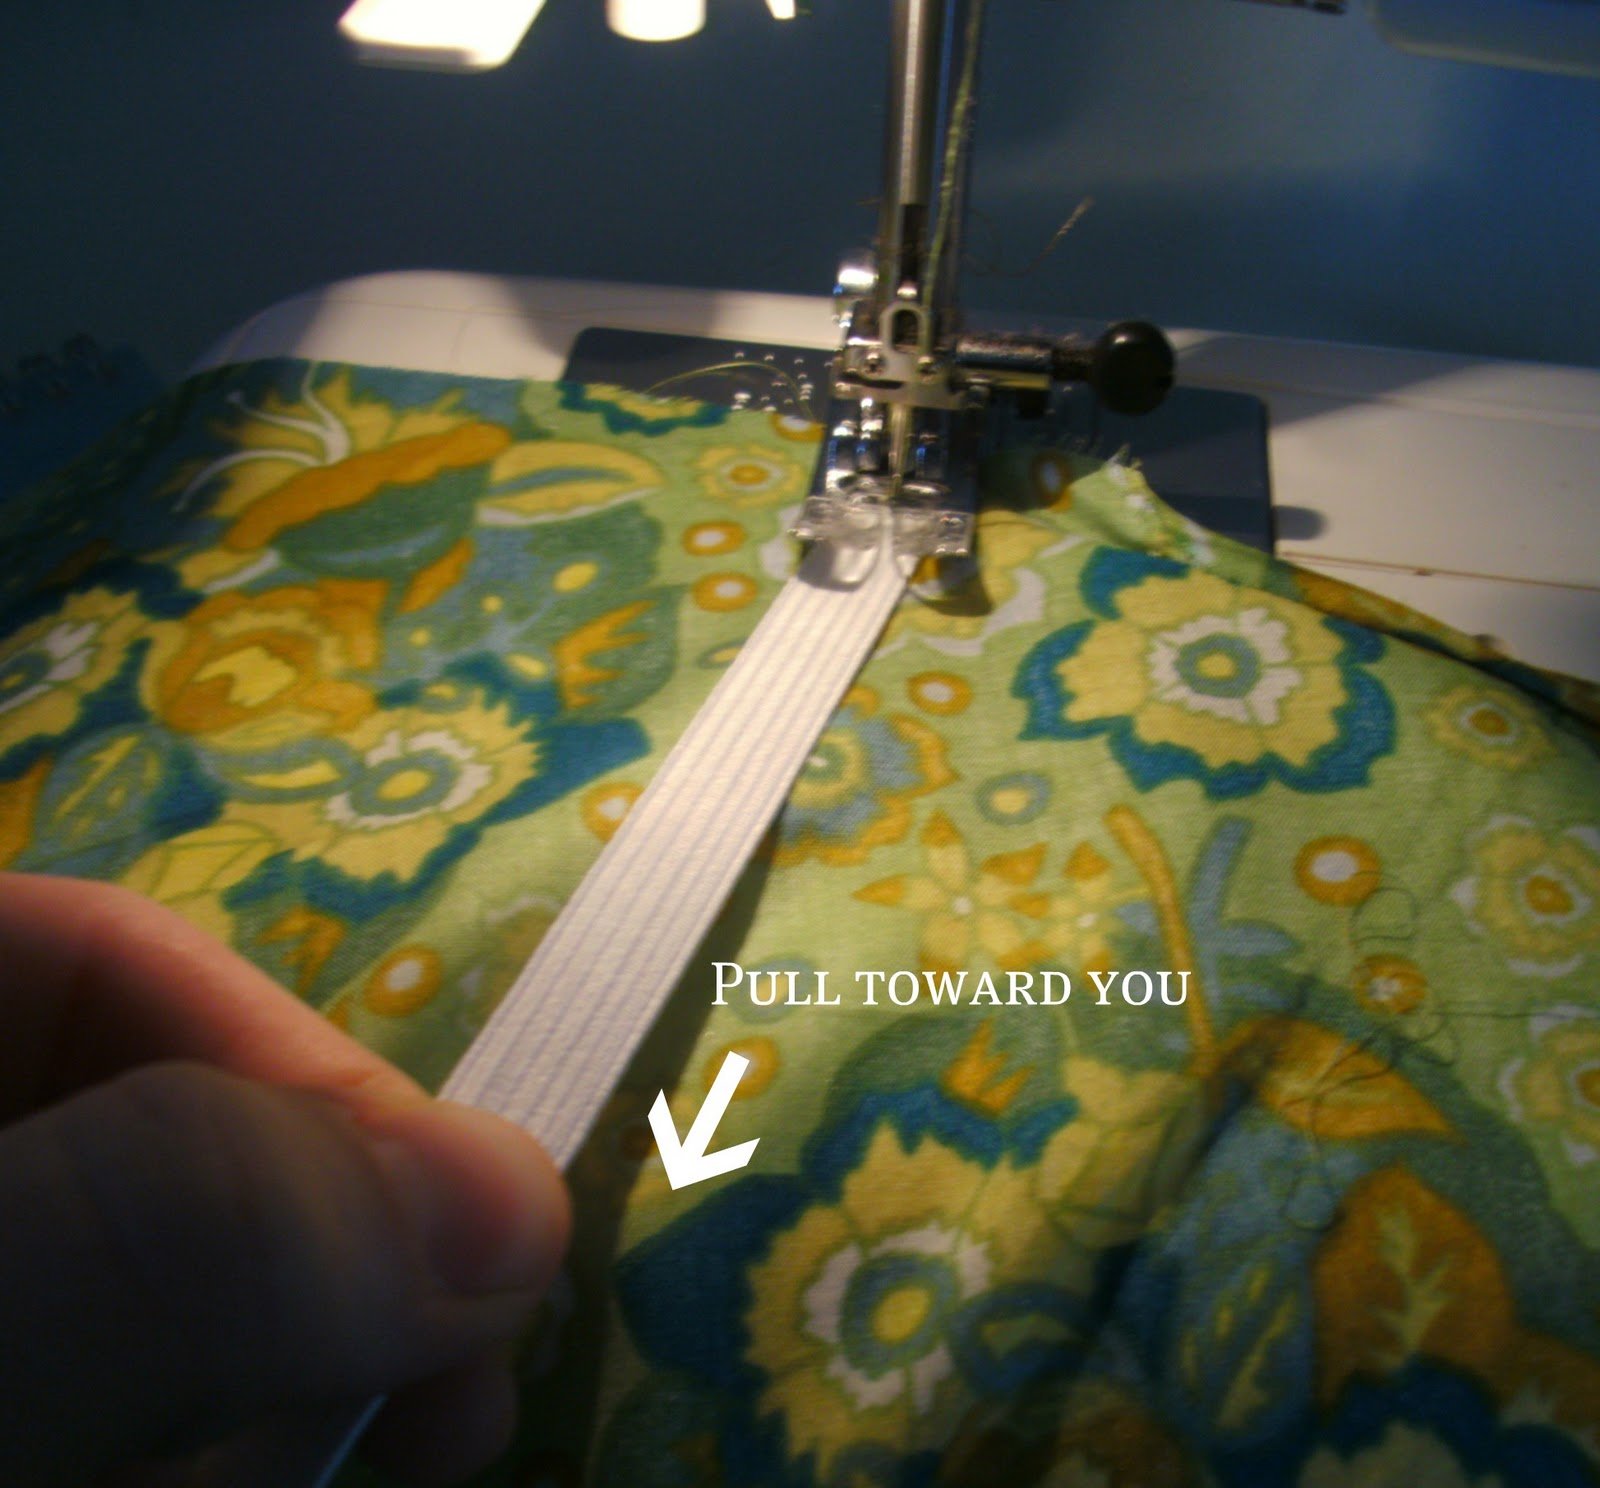
Pin the elastic to one edge and sew it on – pulling it tight towards you as you go (this will make it gather).

- Step 7: Still right sides together, lay the tunic down back side facing you. Draw a line 5″ up from the hem straight across the tunic back. Pin the elastic to one edge and sew it on using the same method as before.
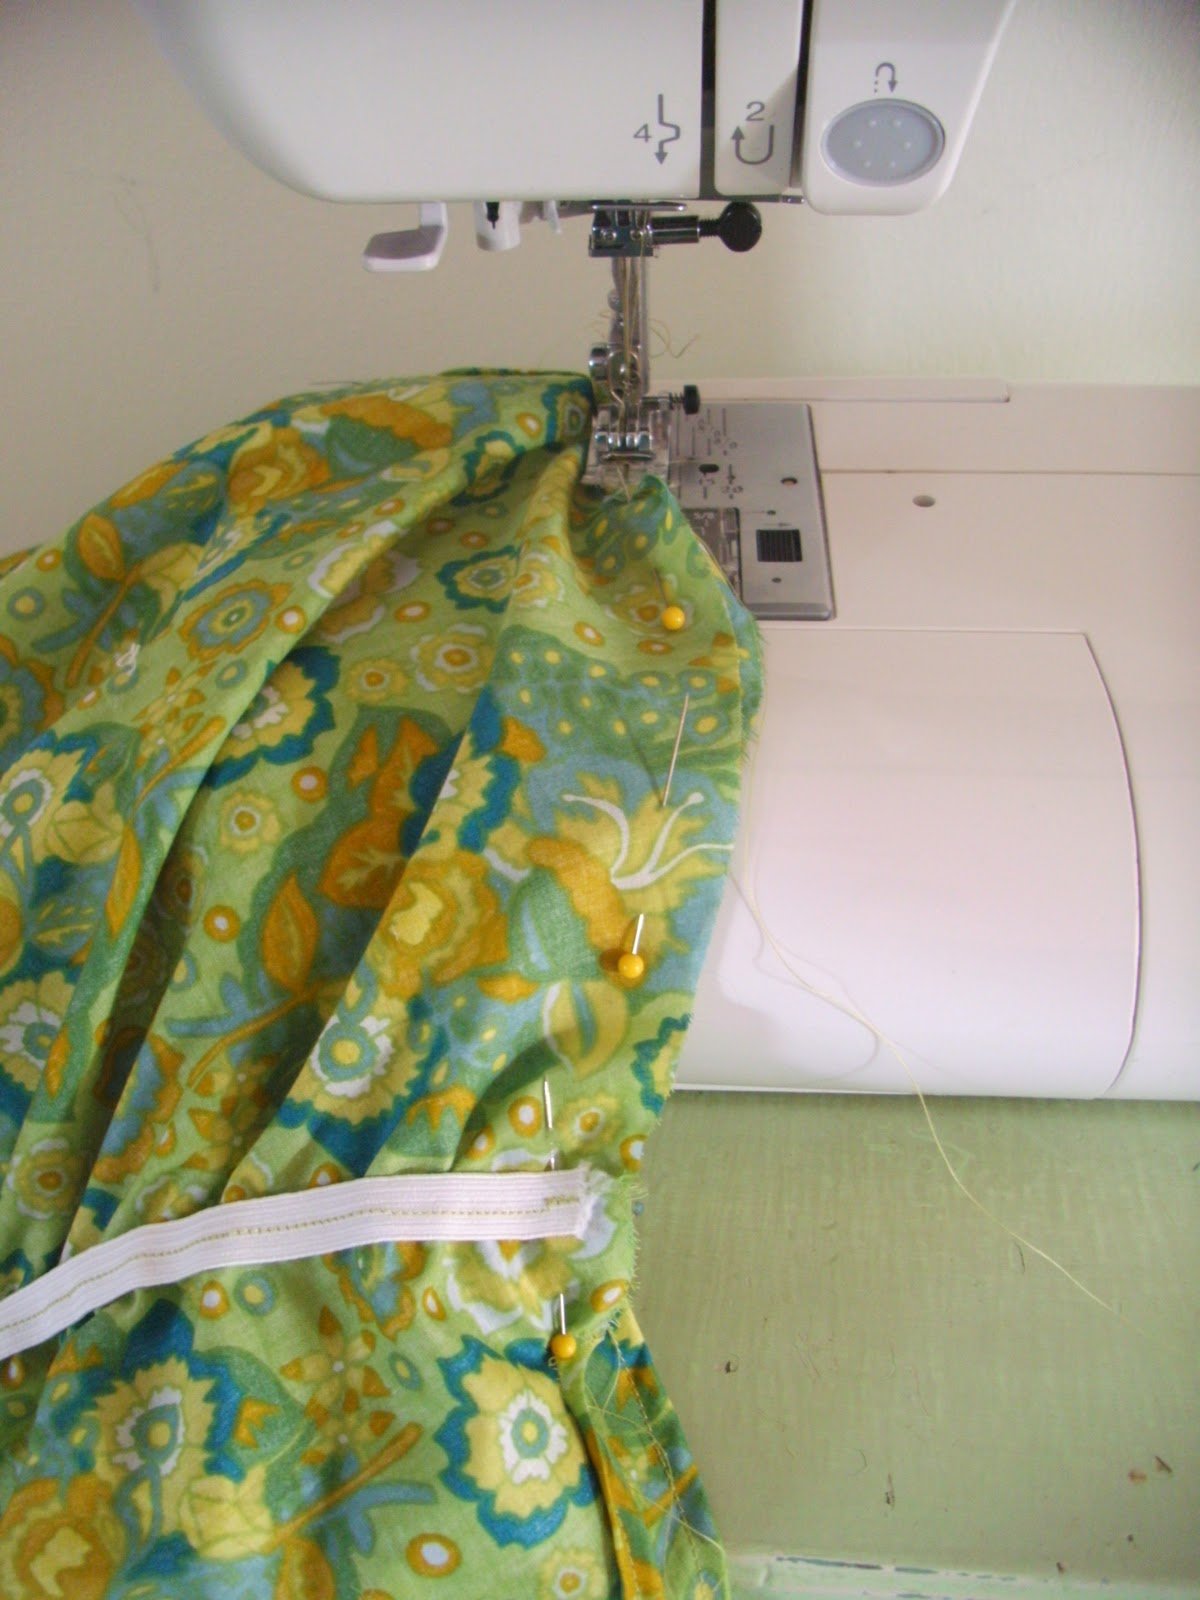
- Step 8: You’re almost done!! From the 8″ mark (at the bottom of the armhole) sew the side seams,right sides together, using a 1/2″ seam. Stop at the 5″ mark before the hem – so that you will have the slits on the sides.

- Step 9: Sleeve detail. Find the center top of the sleeve. Sew a basting stitch about 7-8″ along the center of the sleeve. Gather it – more towards the edge of the sleeve – when you are happy with it – secure it with a regular topstitch.

Wow – so if you made it through all that and even remotely understood what I was talking about – BRAVO!! Load a pic up to the Flickr Pool so I can see!and remember – it’s the last day to leave a comment for a chance to win the “kick up your heels” apron!Happy sewing,
jessica


