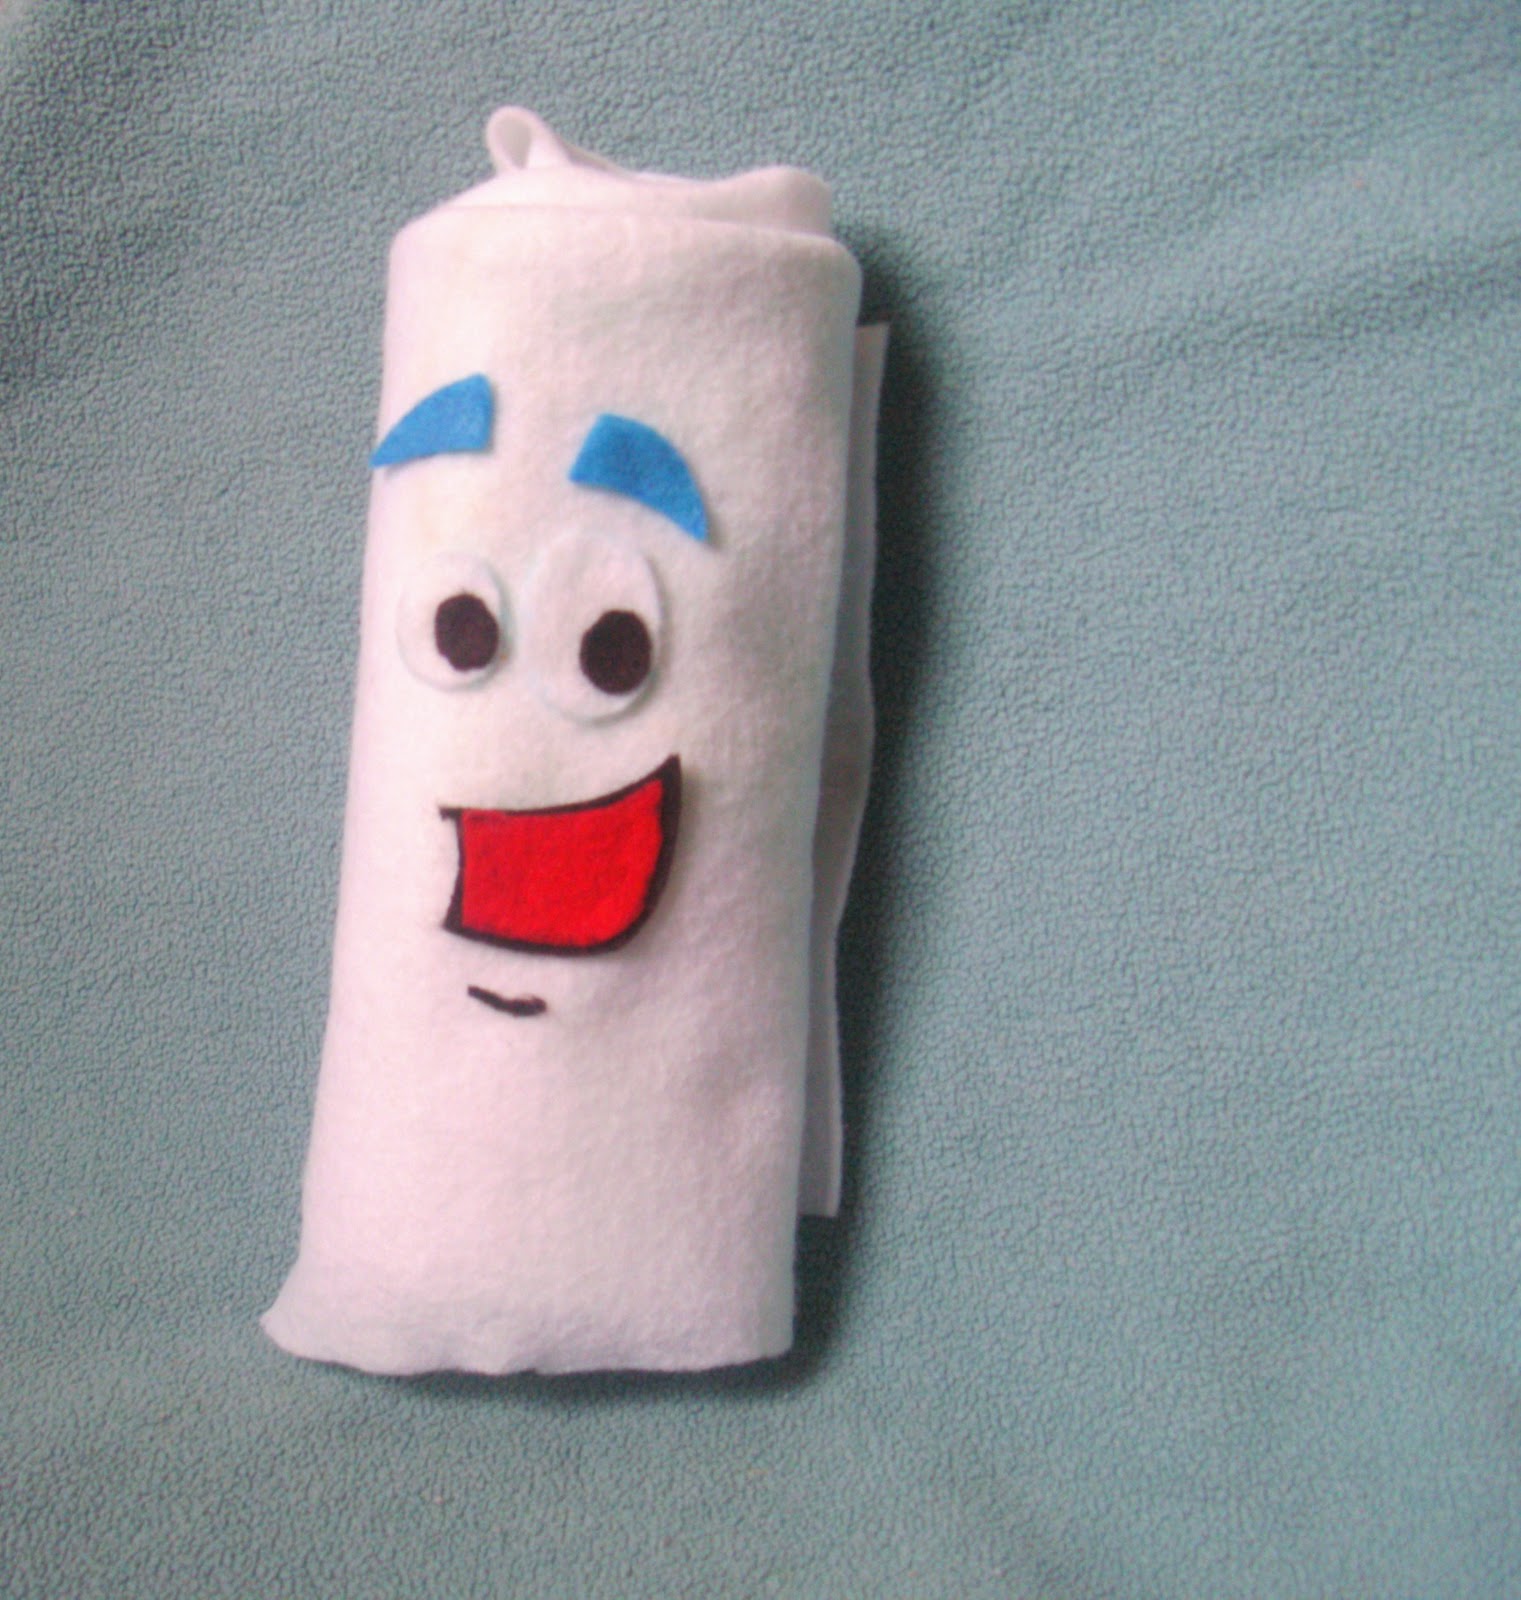
This isn’t really a tutorial – it’s an example. But it’s pretty self-explanatory. You can make one just from looking at the pictures. I know you can. SO – Saturday Charlotte and I took Ryan to the airport to fly to California. I started talking to her about his trip, and about my trip (I’m joining him on Tuesday), and I decided we needed a visual aid. Well, of course she looooves Dora -so we made a Map!
If you would like to make one too – here is what you will need:
- felt: white, blue, black, red, green, and various other colors of your choice
- hot glue gun – or fabric glue
- cardstock
- ribbon
- printout of the US (or your country) – just find a pic on Google
- printout of whatever states you would like to add – we did Tennessee, Florida, and California
- picture of an airplane – either print one you can trace, or just freehand it

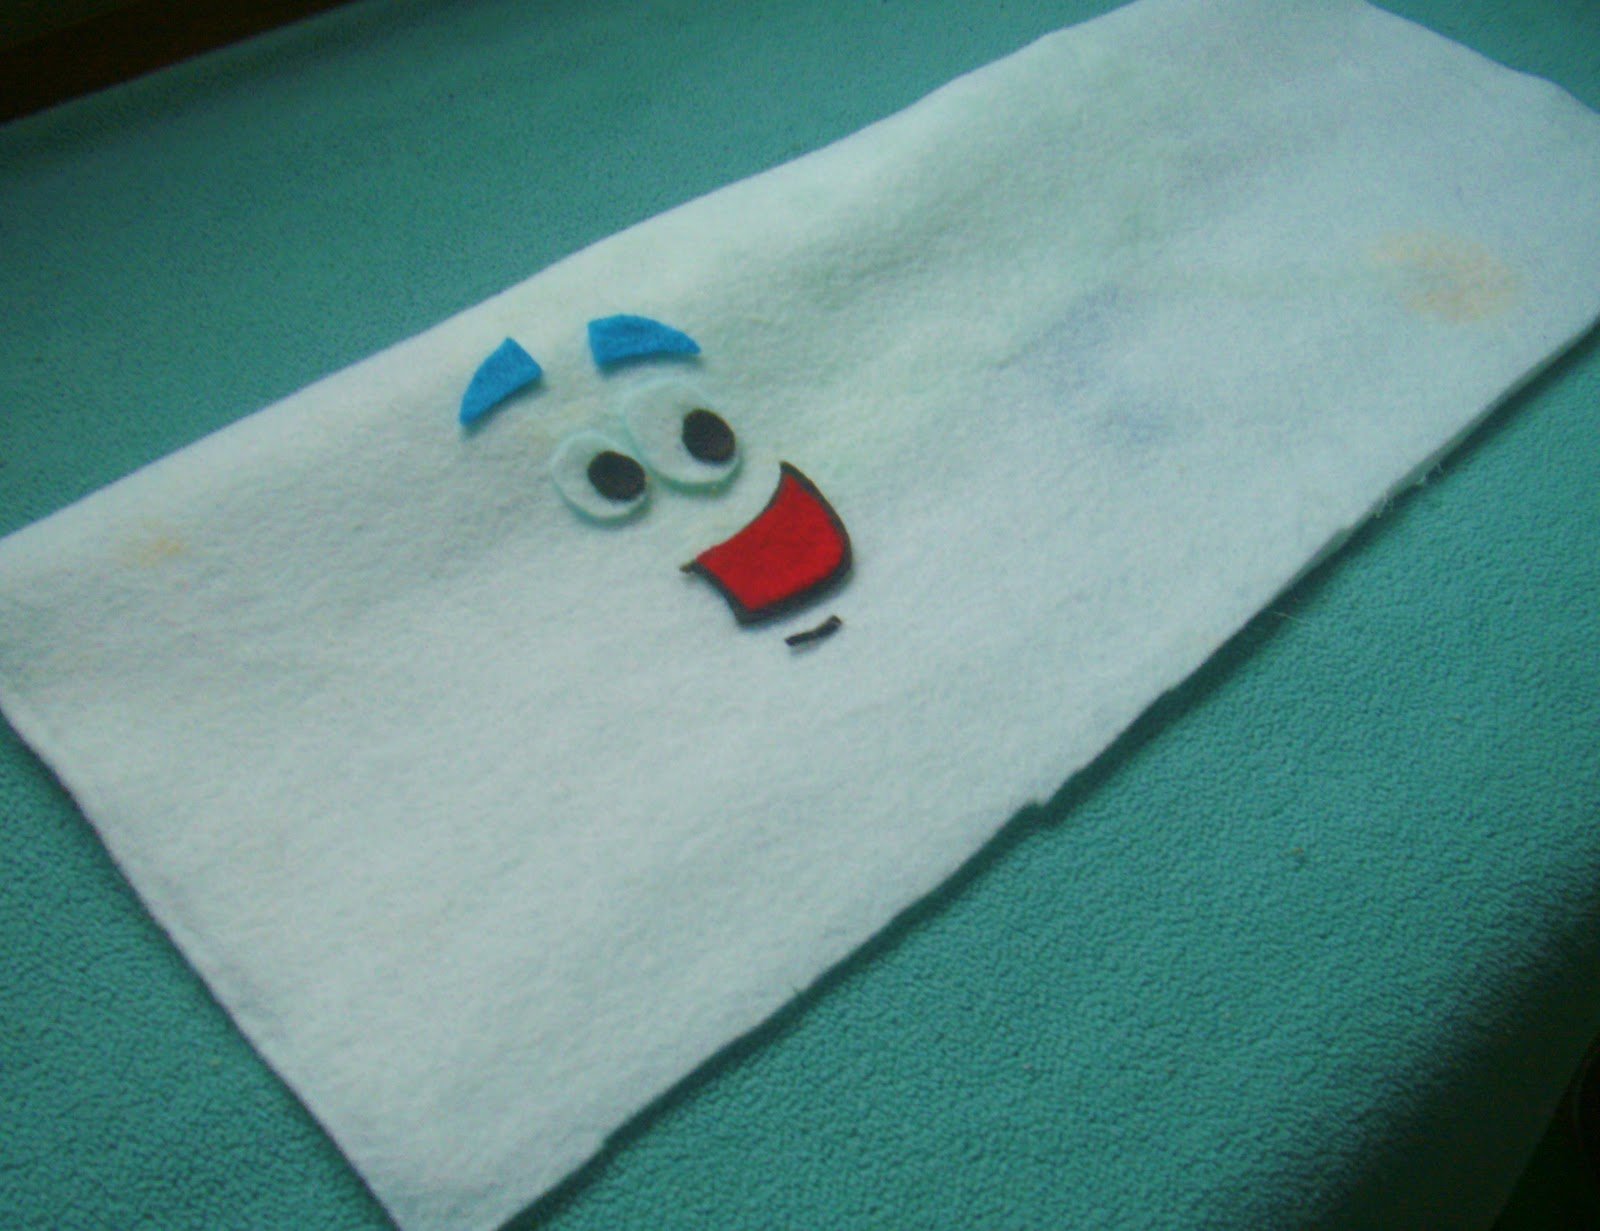
I simply cut a large white rectangle to be “the Map”, then folded it over and rolled it up – so I could place the Map’s face. I cut out two blue triangles for his eyebrows, two white ovals (one larger than the other) and two black circles (one larger than the other) for the eyes. Then I looked at a picture of the Map to draw his mouth – a large piece of black felt placed behind the red felt forms the outline. You also need the little “chin line”. After I had cut out all of those pieces, I hot glued them on.
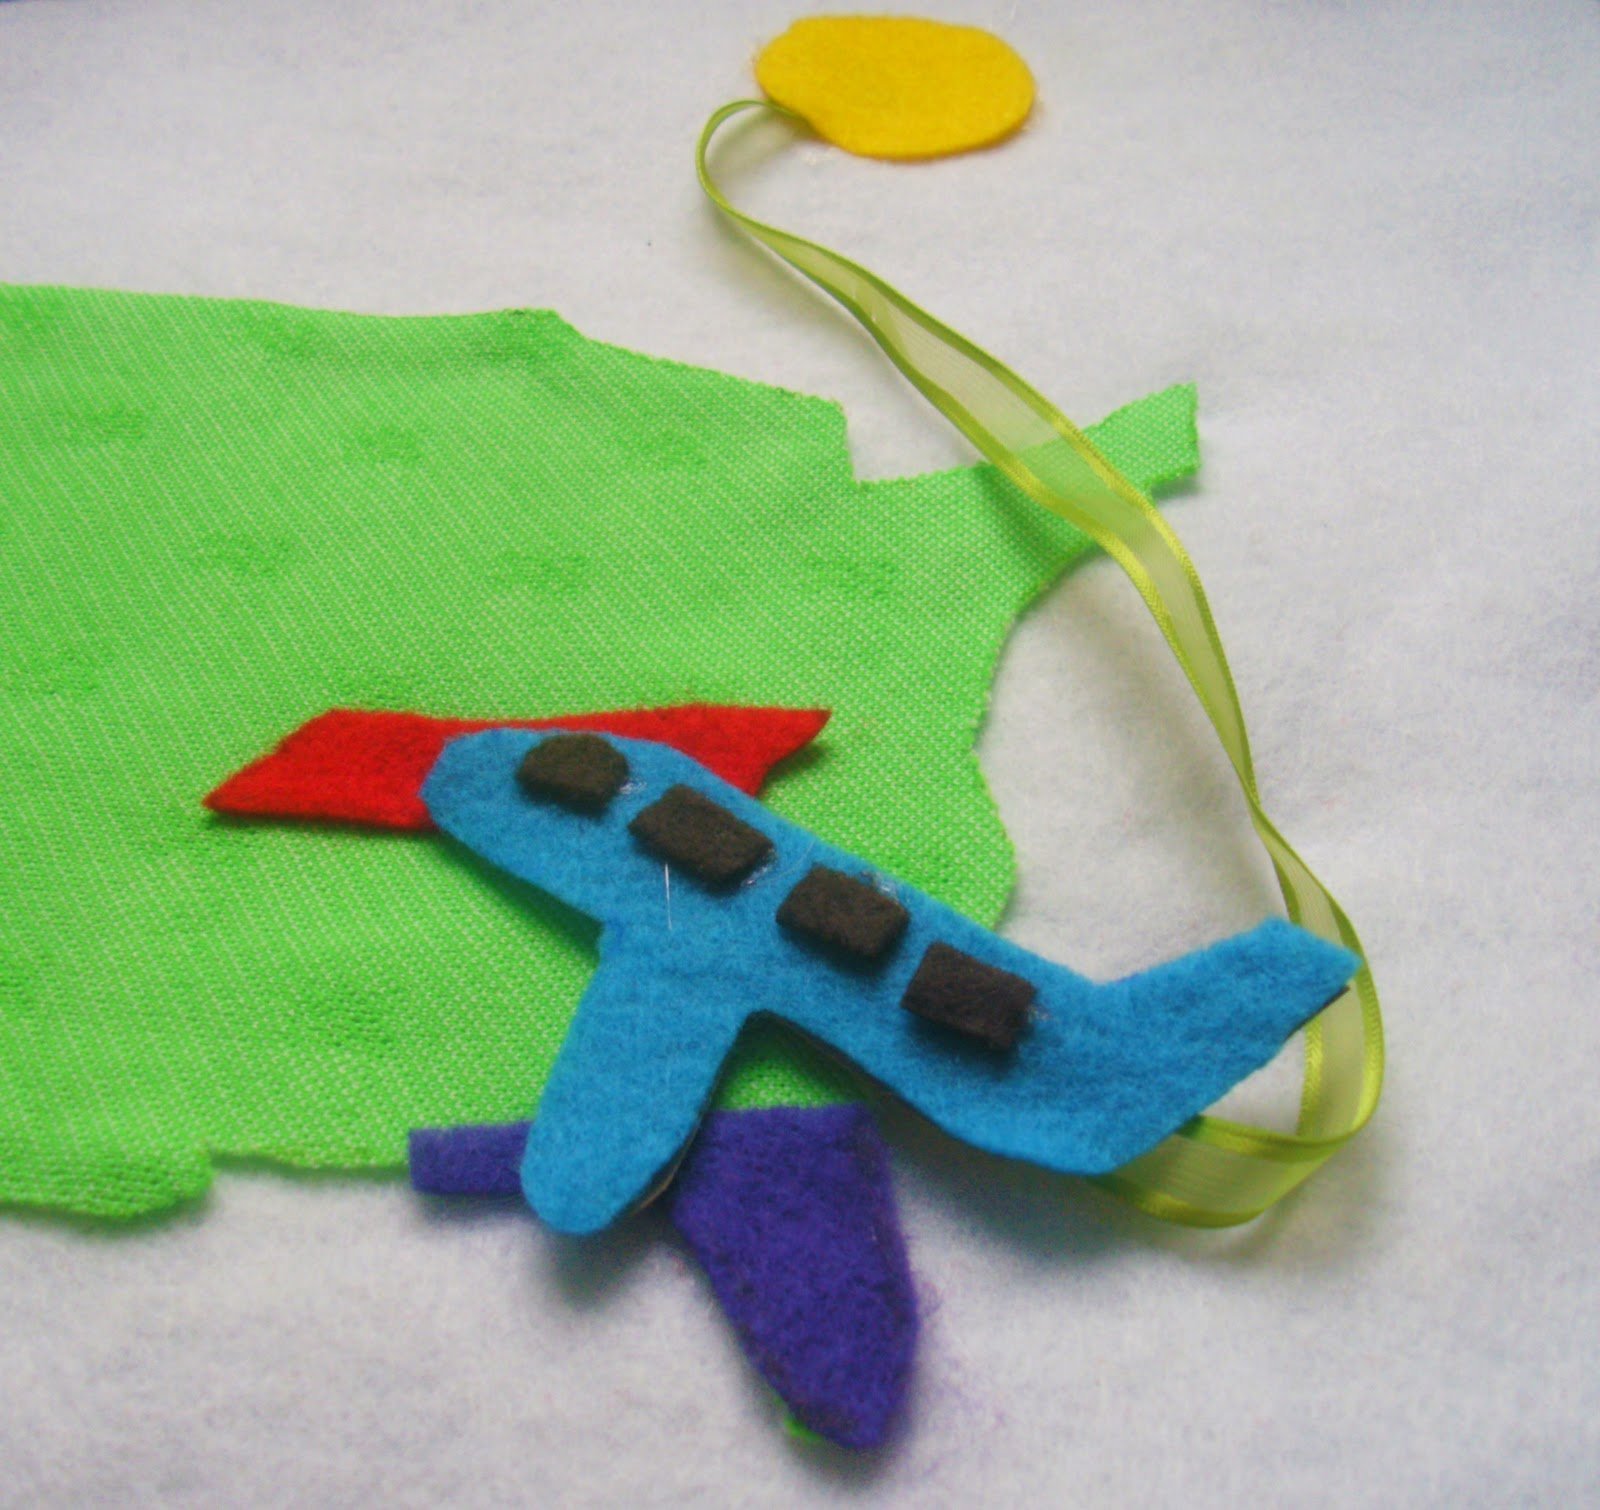
Then I opened the Map and cut out all of the geographical pieces. Just hot glued those on too. Then I cut the airplane – one out of felt, one out of cardstock. I also cut out those little windows – it looked bare without them. Hot glued all of that together.
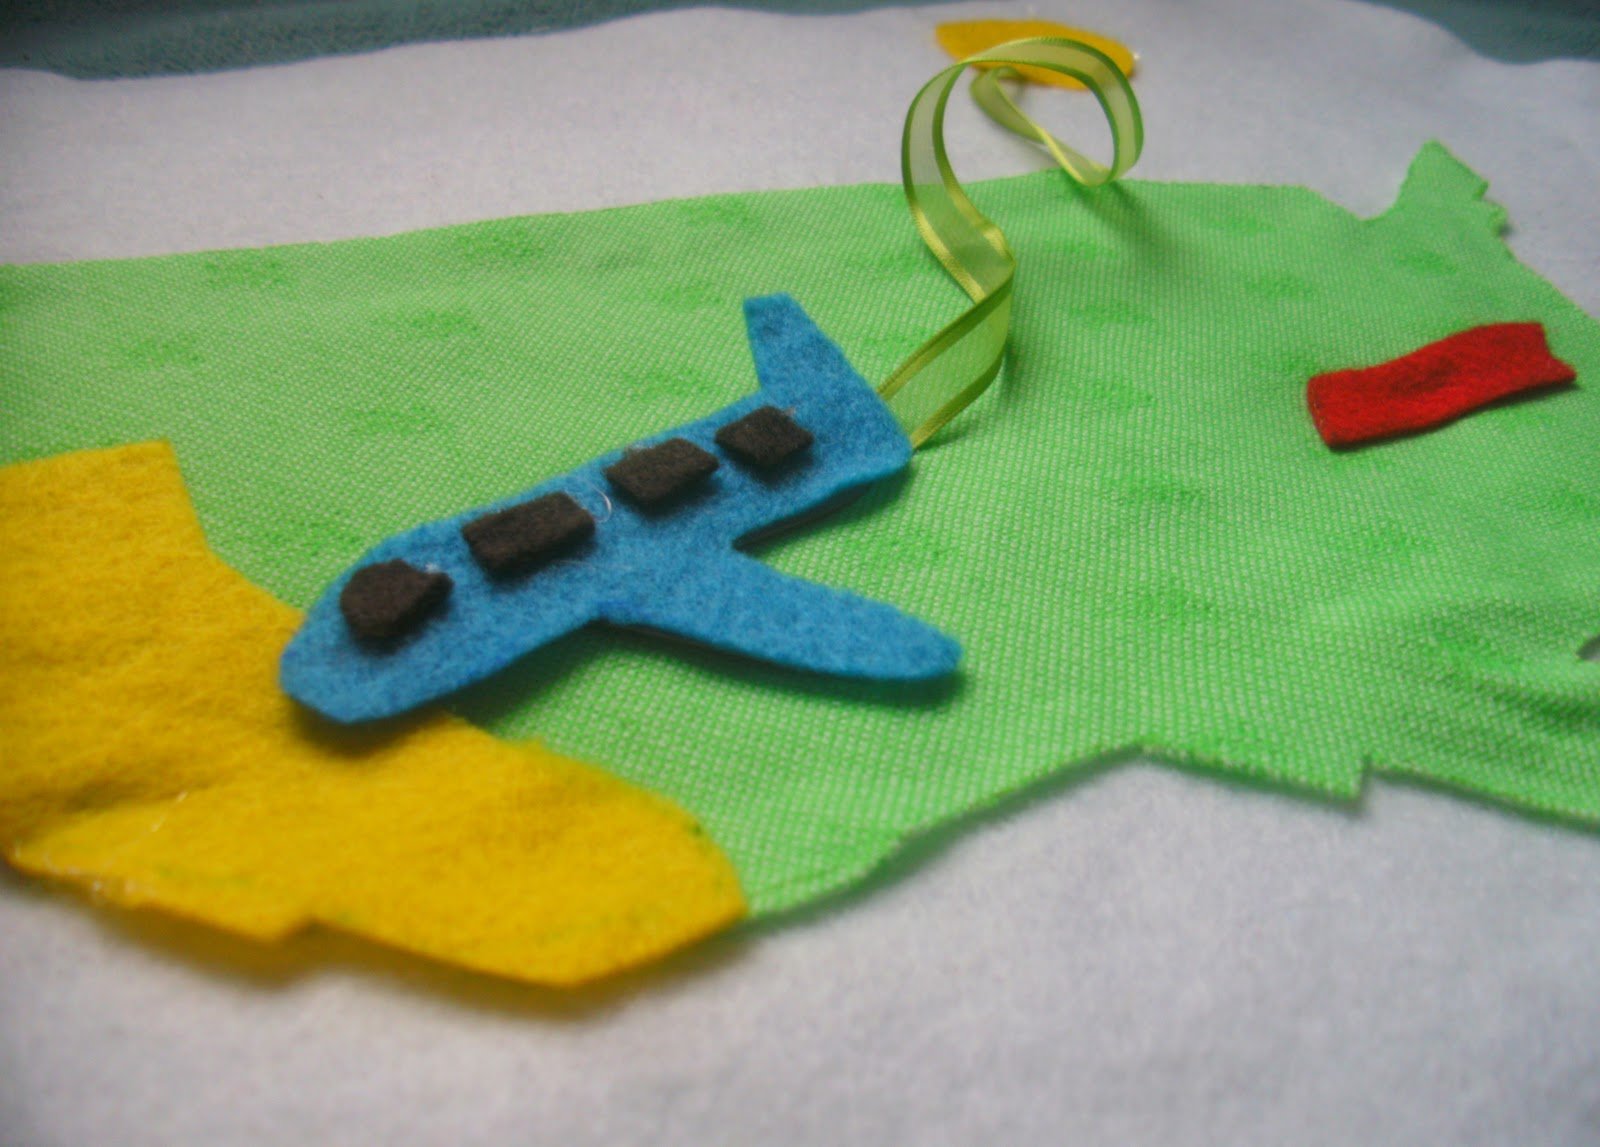
Lastly I glued one end of the ribbon to the back of the plane, and one end to the Map (I covered that end with a felt dot to make it look finished – which also turned out to look like the sun). Ta da! Charlotte’s very own Dora Map to show where Mommy and Daddy are flying off to this week, and where Momma J is coming from to visit her.
Adios mi amigos!
jessica


