So someone clicked the “Suggest a DIY” button(which I was thrilled about!) and asked for a pillowcase dress tutorial. I have to admit, I’m not crazy about pillowcase dresses. In fact, I’d never made one{gasp!} – I know. It’s like a staple clothing item for little girls….isn’t it even a requirement to make one if you have a crafty blog?!
So first I though I’d make a really modern, edgy one.
Well 3 hrs later it looked like a clown costume…
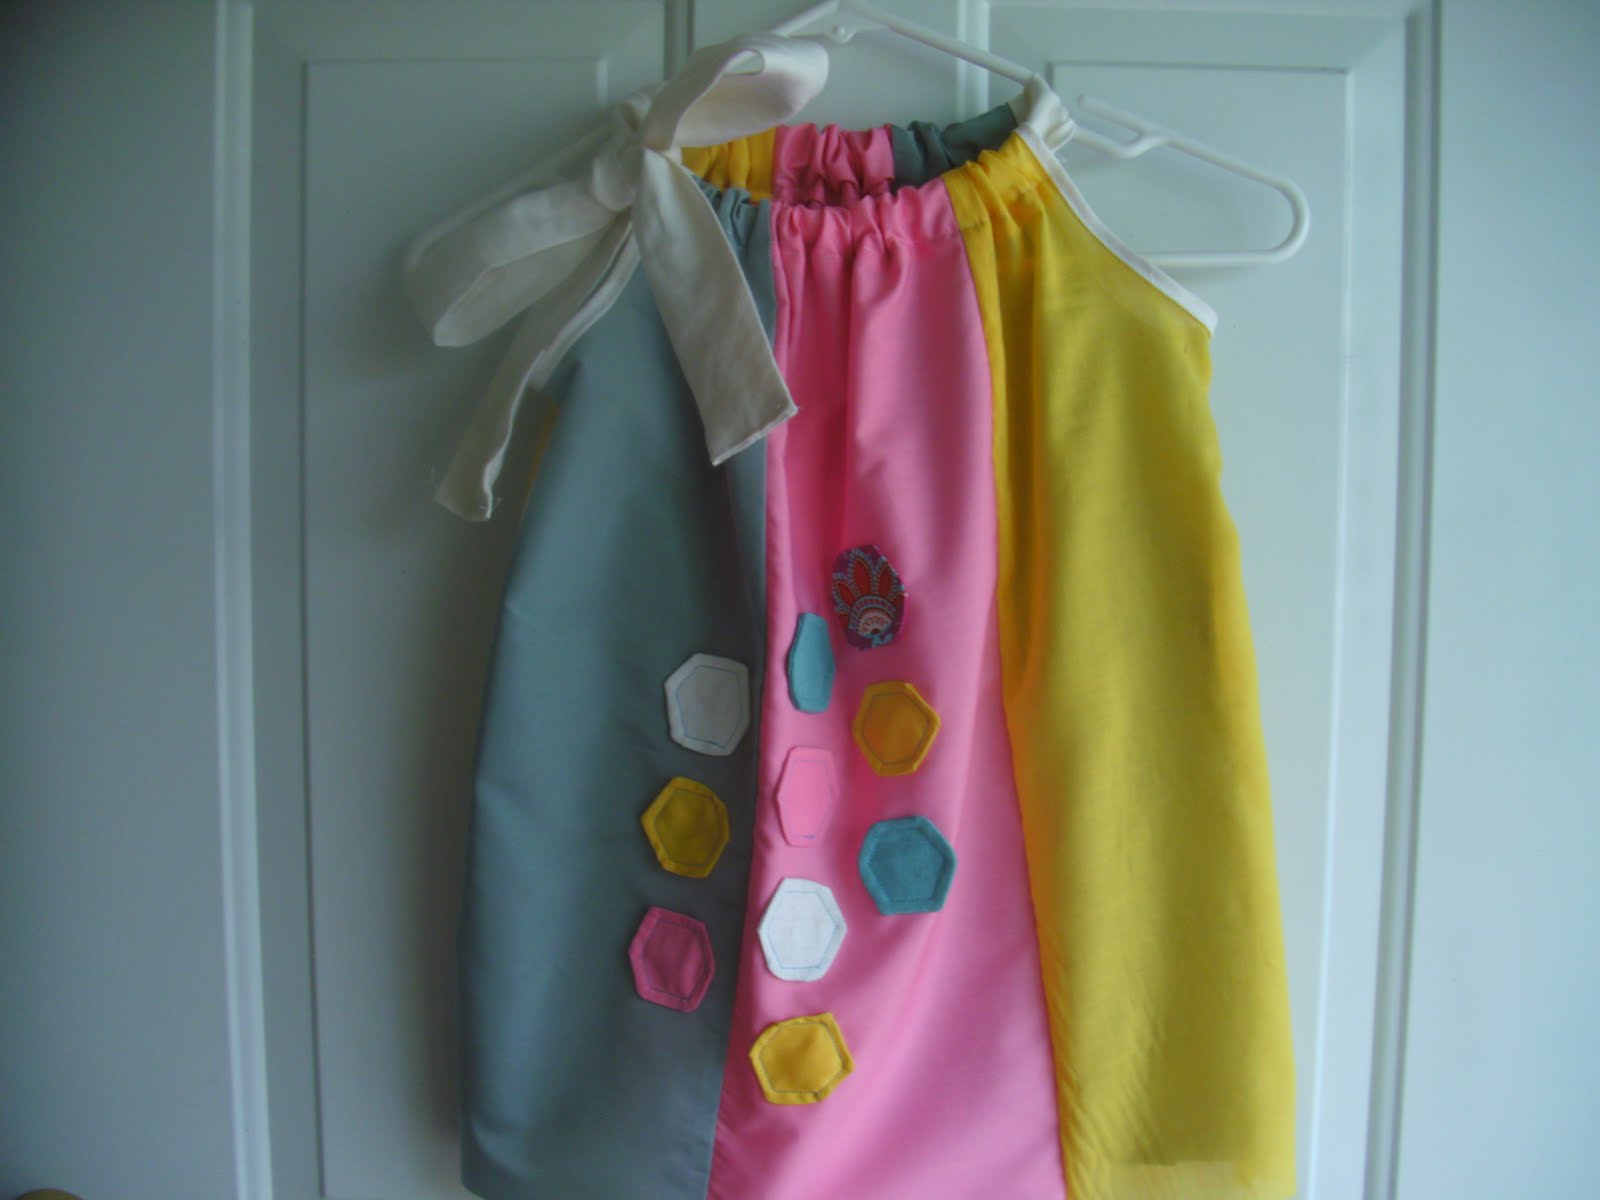
It’s okay to laugh. I am.
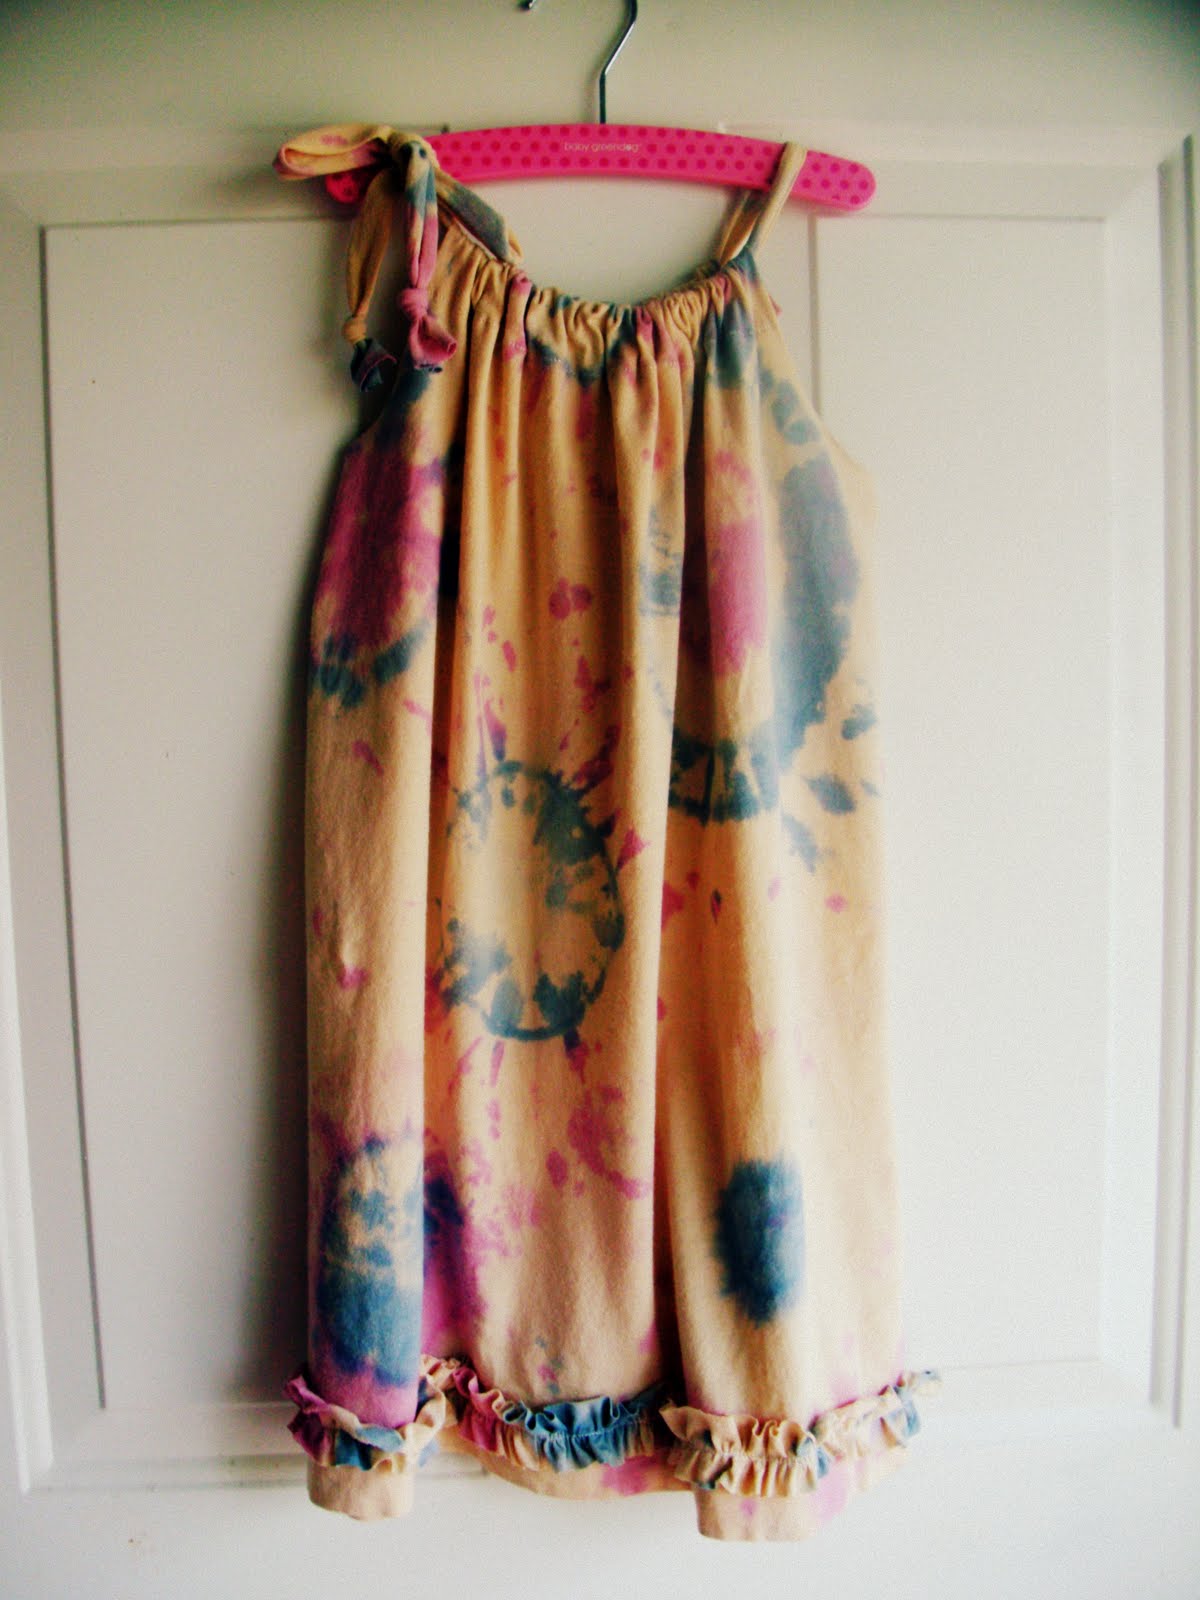
Sooooo I started over and decided to use an actual pillowcase. I used a jersey knit pillowcase that will be great for play. The other fantastic thing about jersey knit is you don’t have to finish edges – like around those pesky armholes. I also tie-dyed it for fun. Here’s sweet Charlotte wearing it:

Ready to rock and roll? Here we go.
Supplies:
- jersey knit pillowcase
- tie-dye kit (if you’re so inclined)
- sewing machine
- thread
- scissors/yardstick
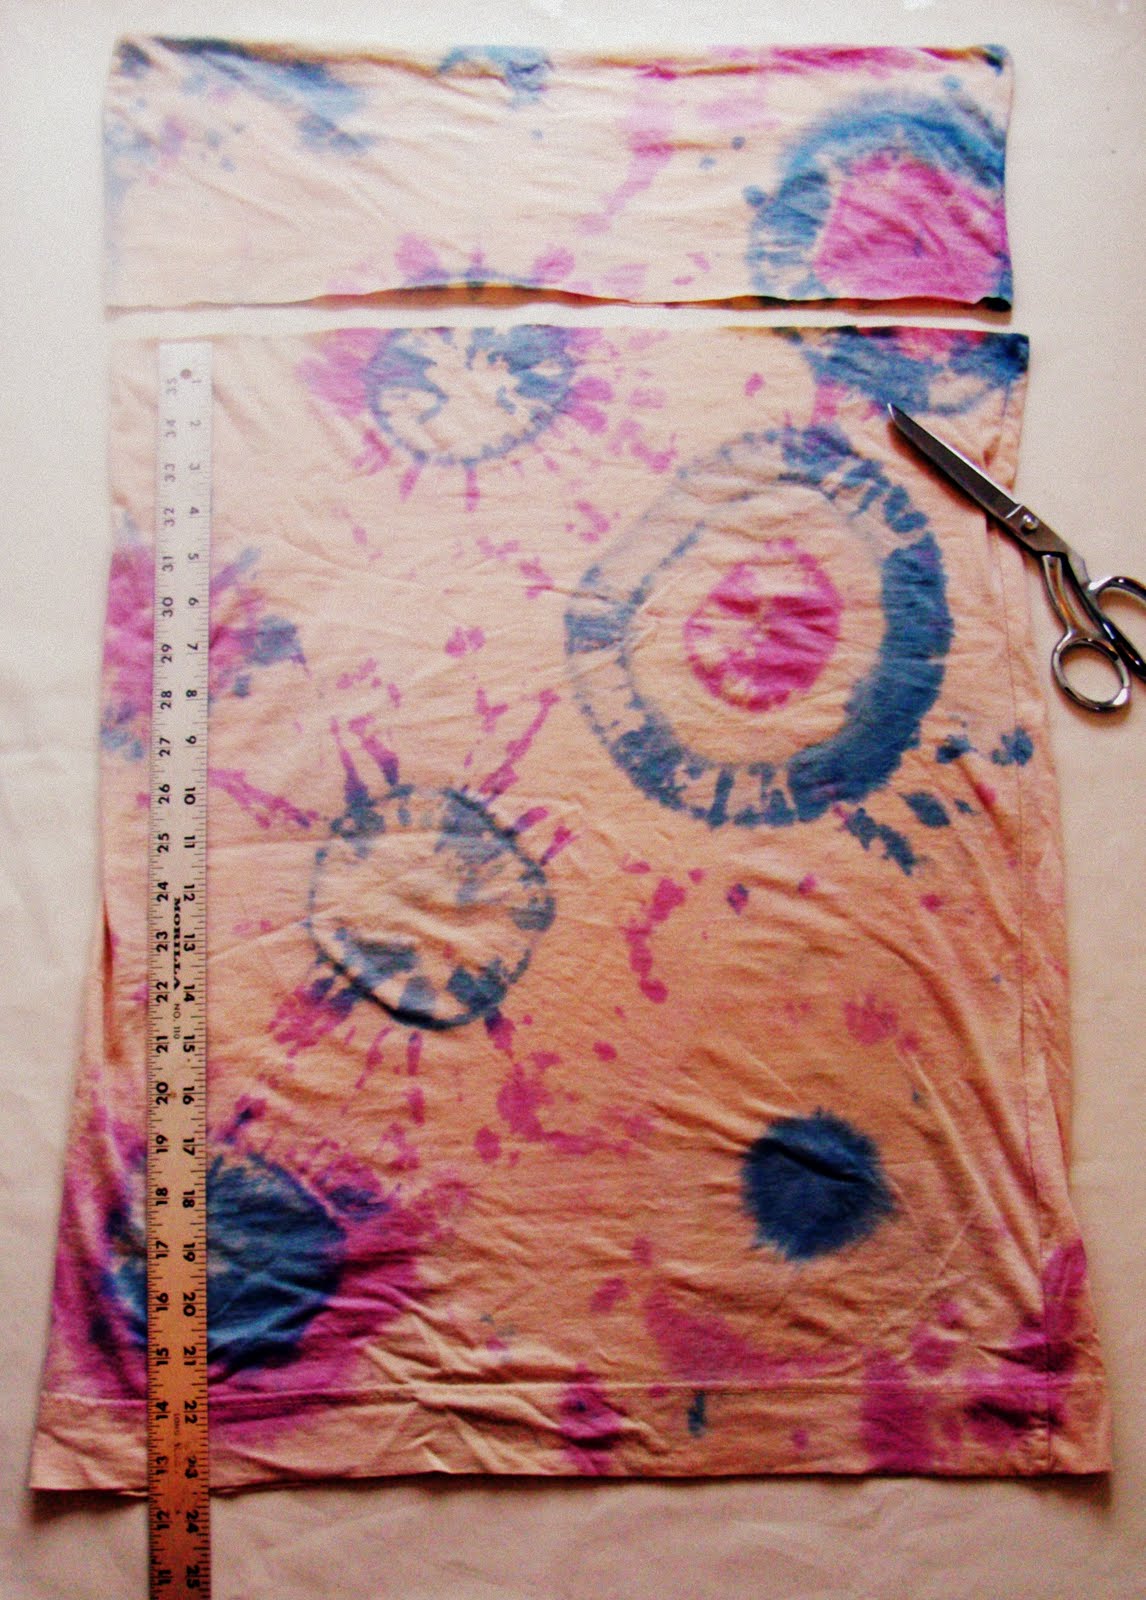
- Step 1: Tie-dye the pillowcase. You remember from camp right? Pull a section of the pillowcase up and wrap rubber bands around it.
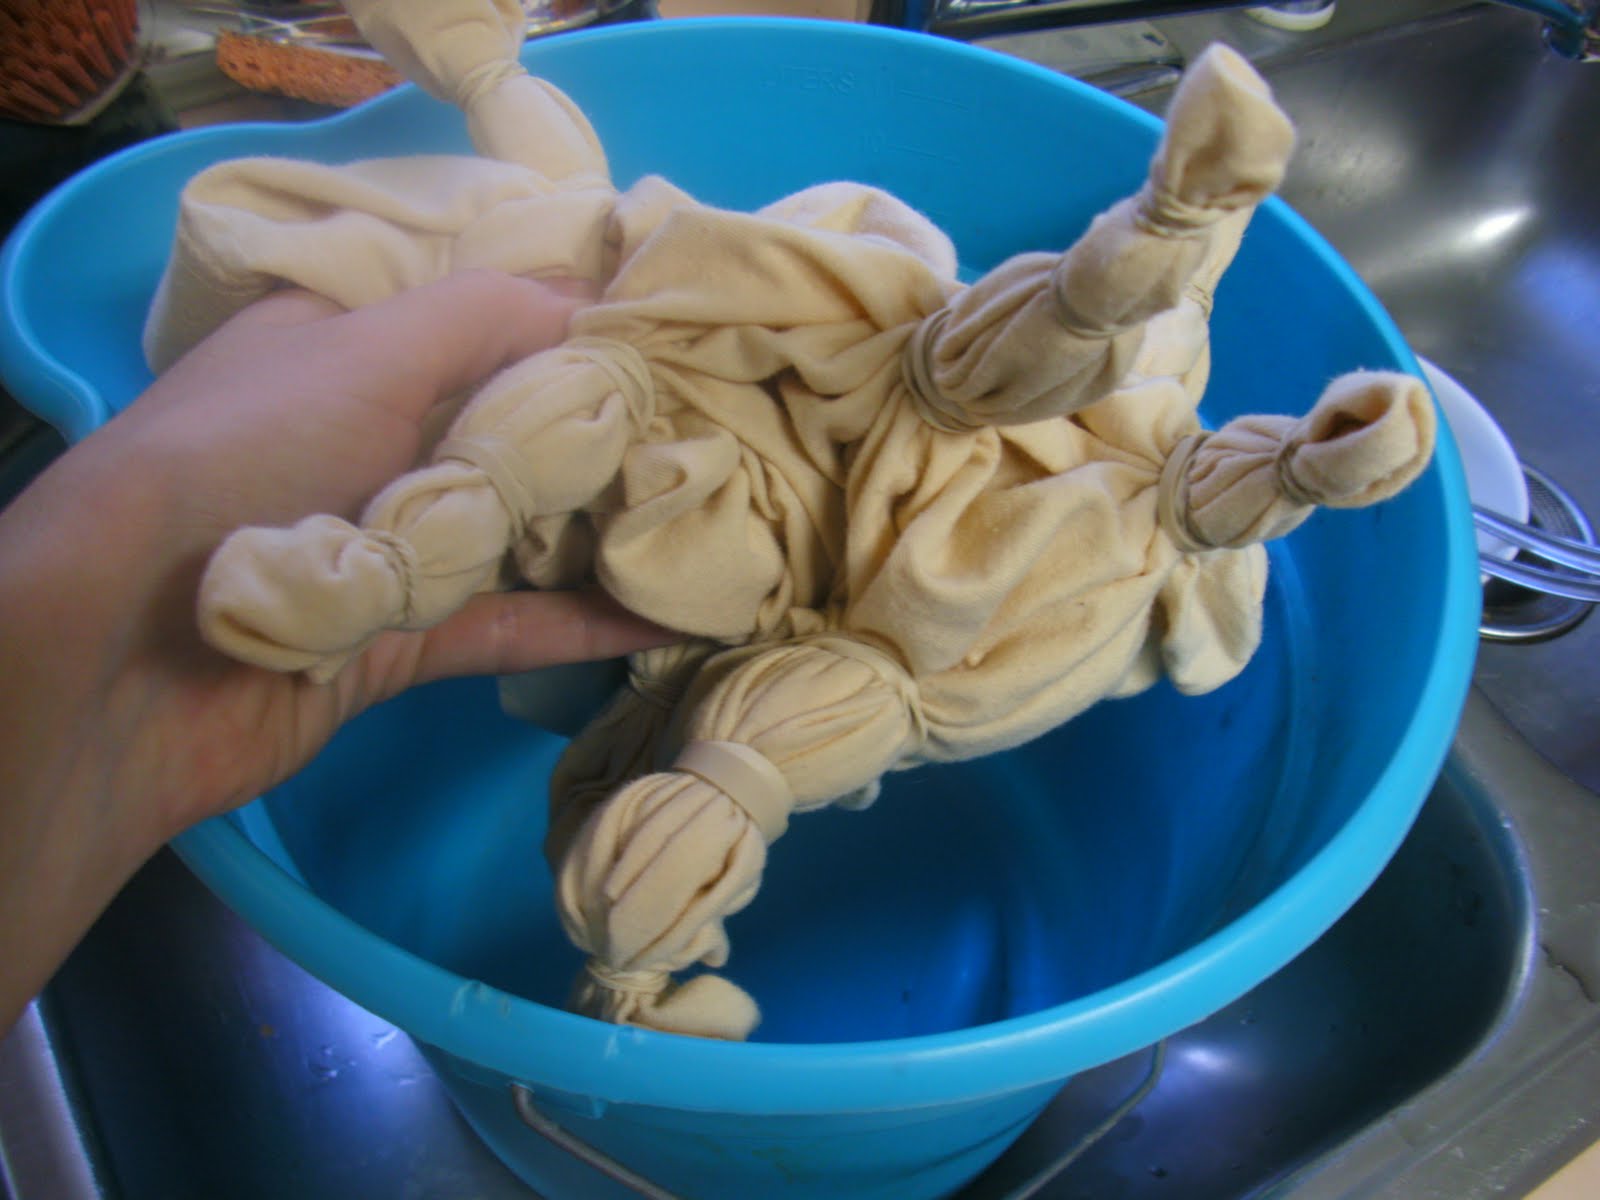
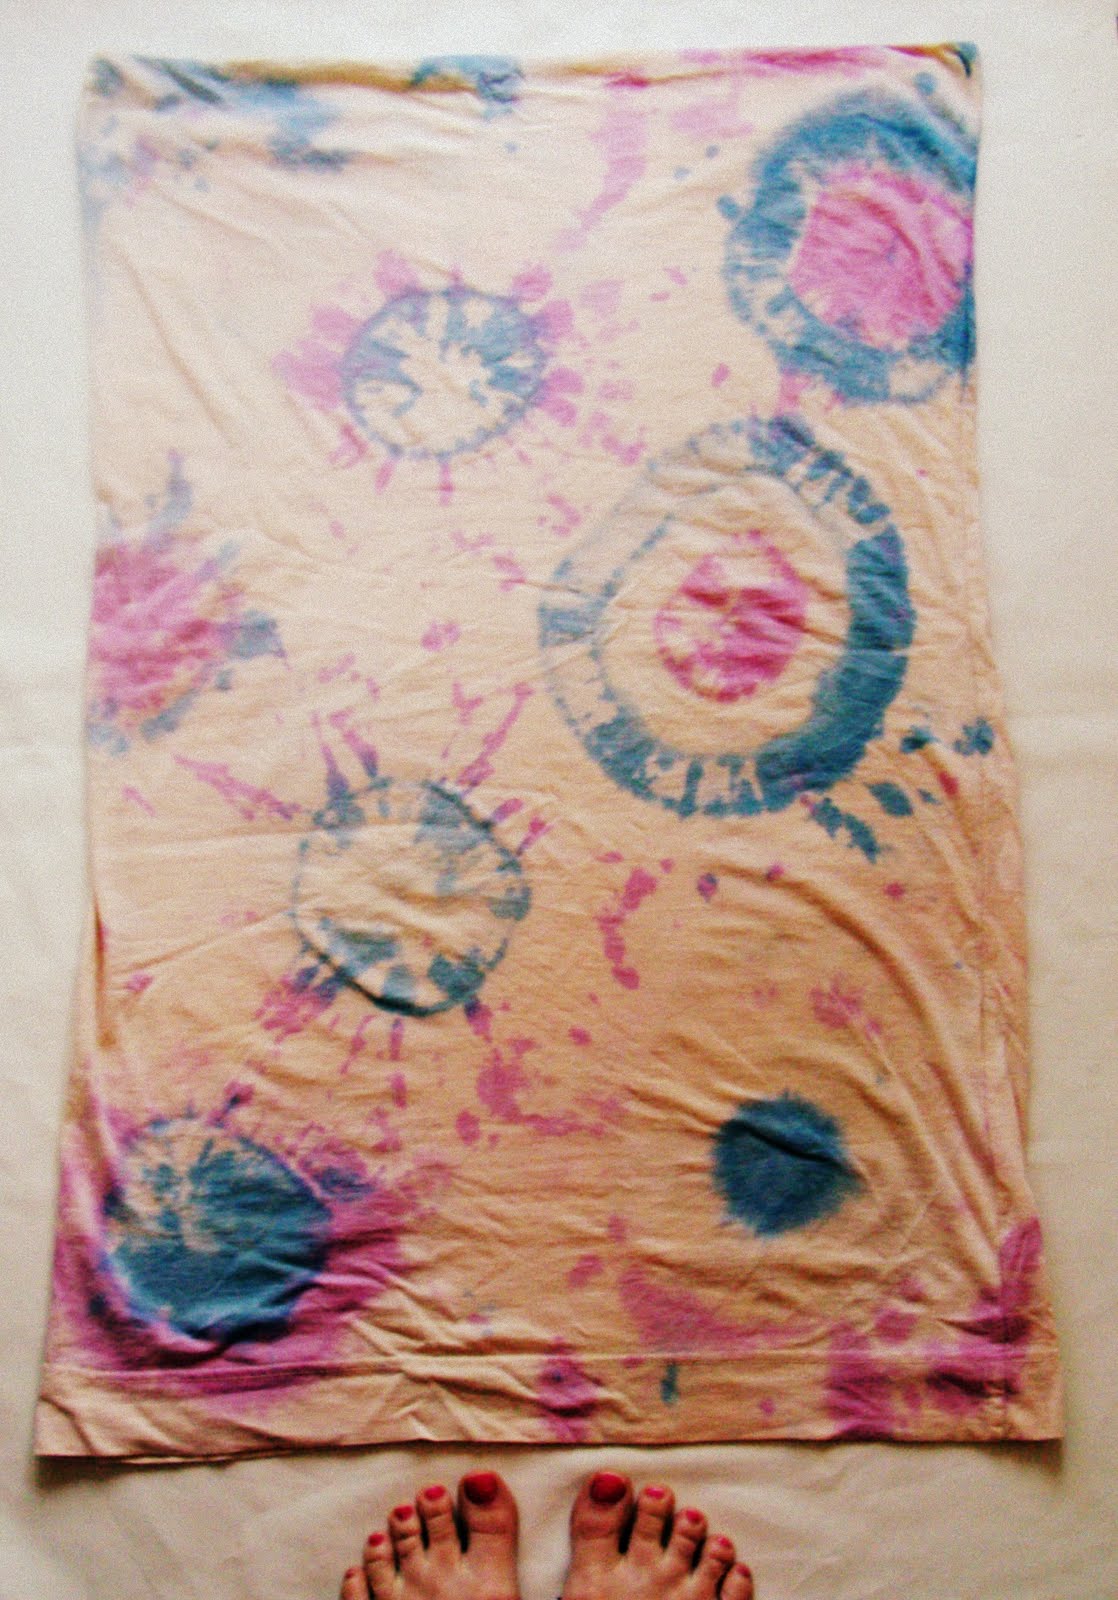
Squirt the dye on and let it sit. Rinse it off and then wash it and dry it. Now you’re ready to sew.
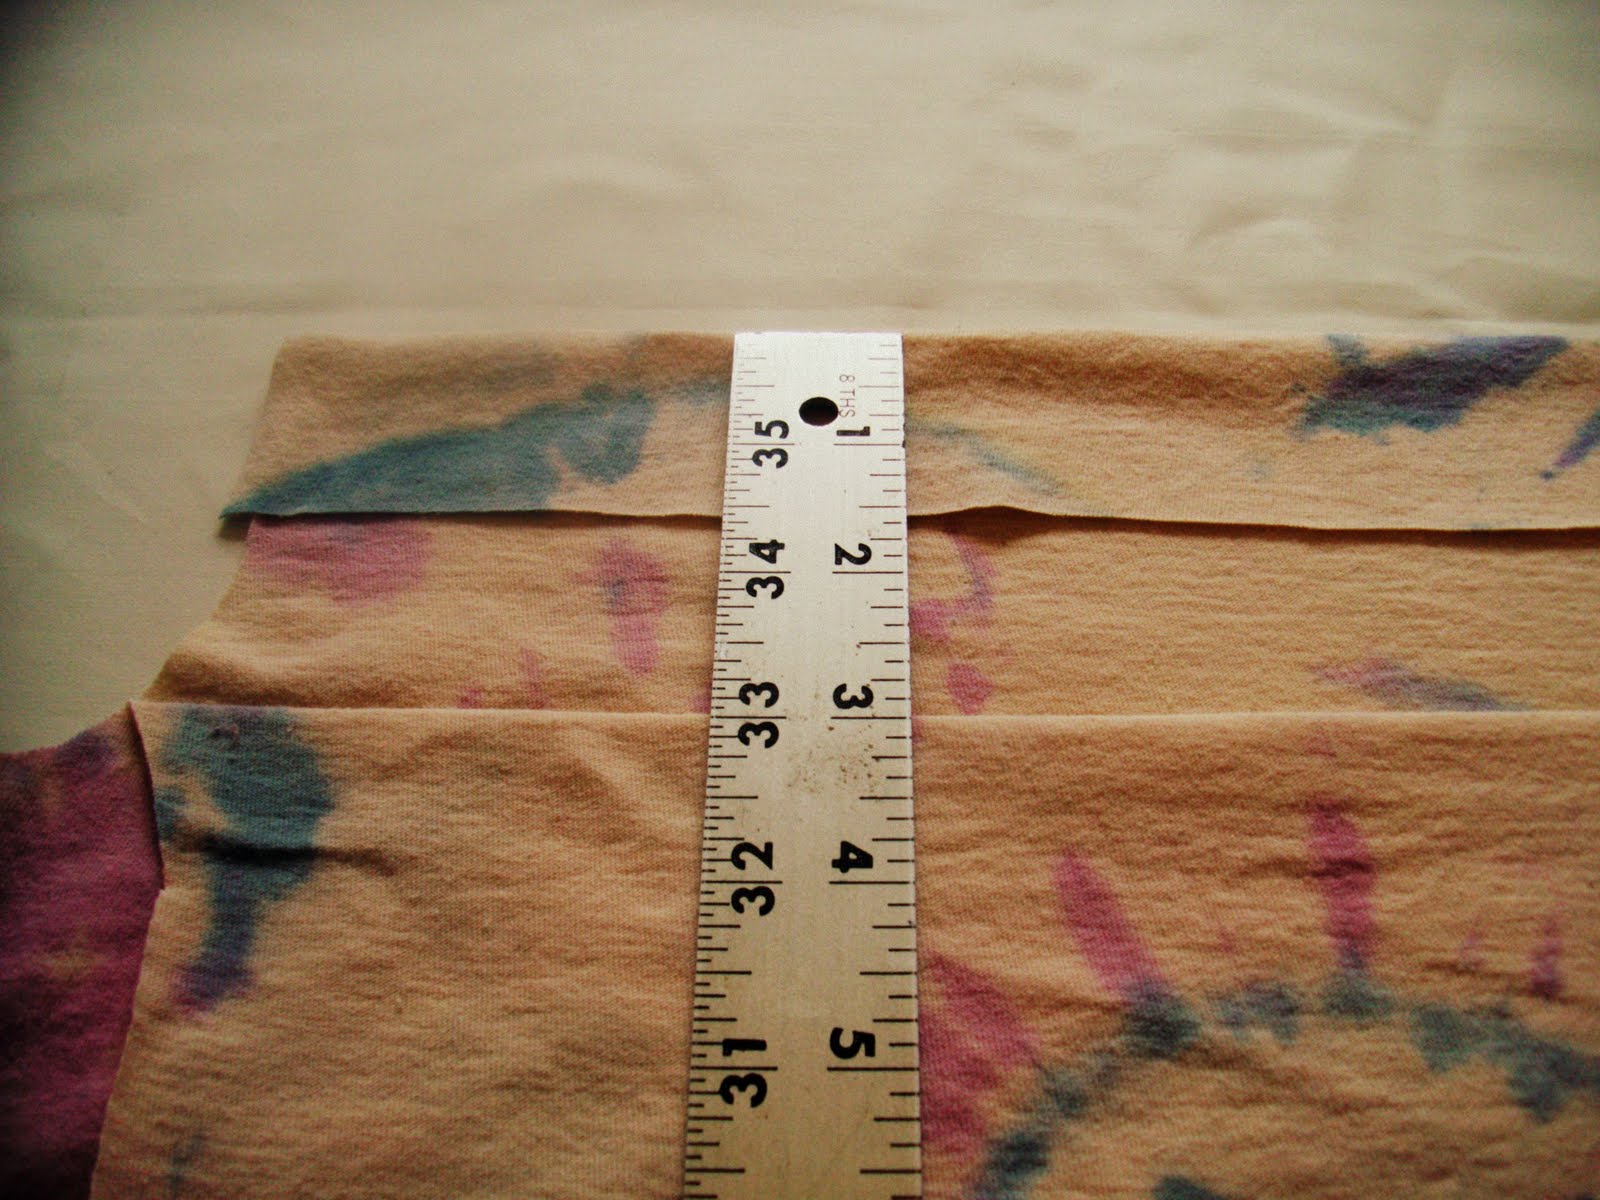
- Step 2: Determine the length of the dress. For Charlotte (size 3T) I went with.22″. Add an 1 1/2″ for the casing and cut the top of the pillowcase off so that is measures your length (I cut mine at 23 1/2″).
- Step 3: Cut the arm holes. Fold the pillowcase in half lengthwise and measure 2″ in and 5″ down (4″ for a smaller size, 6″ for a larger size).
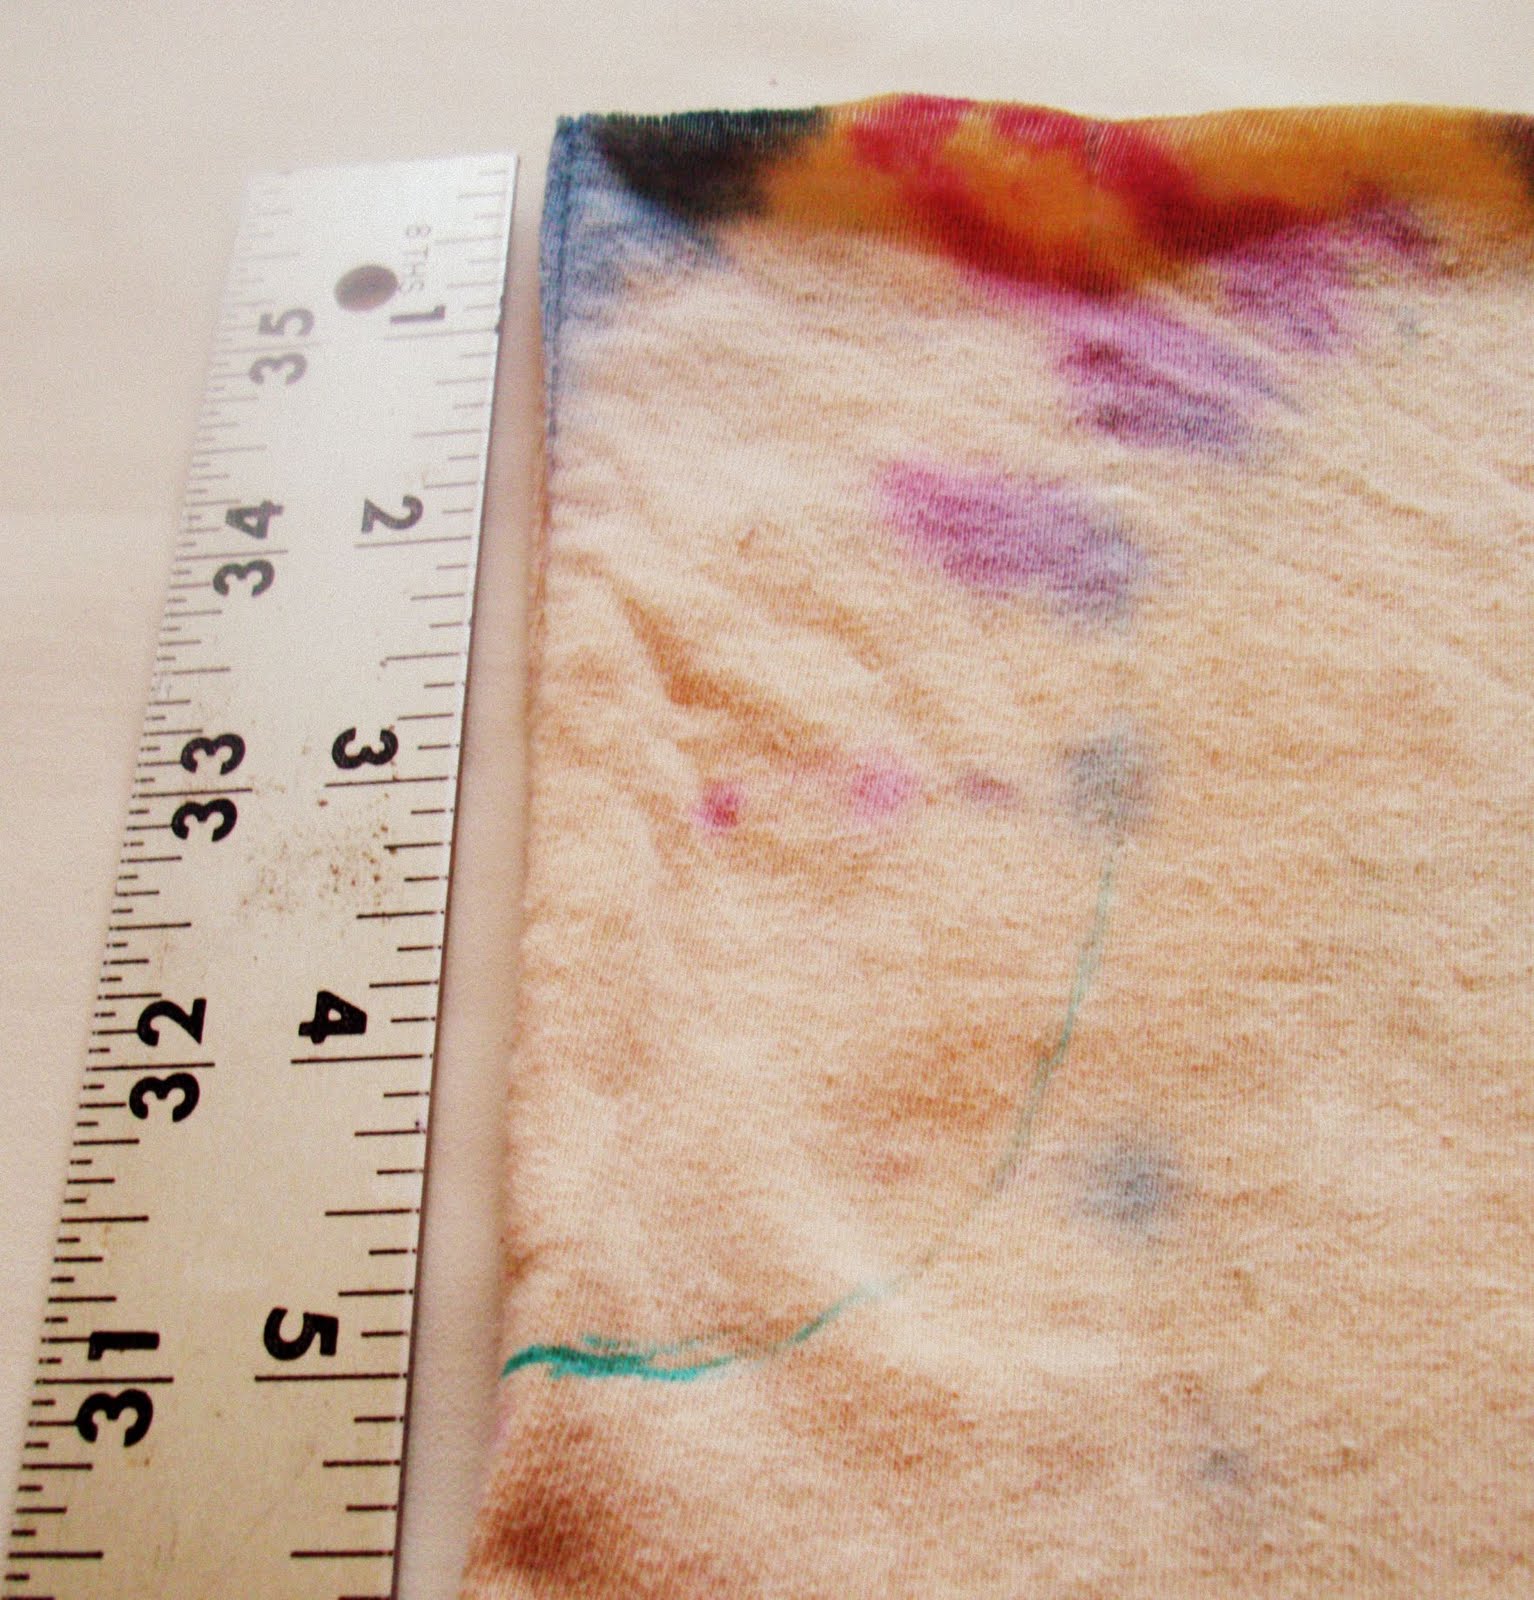
Cut a curved line from the 5″ mark to the 2″ mark.
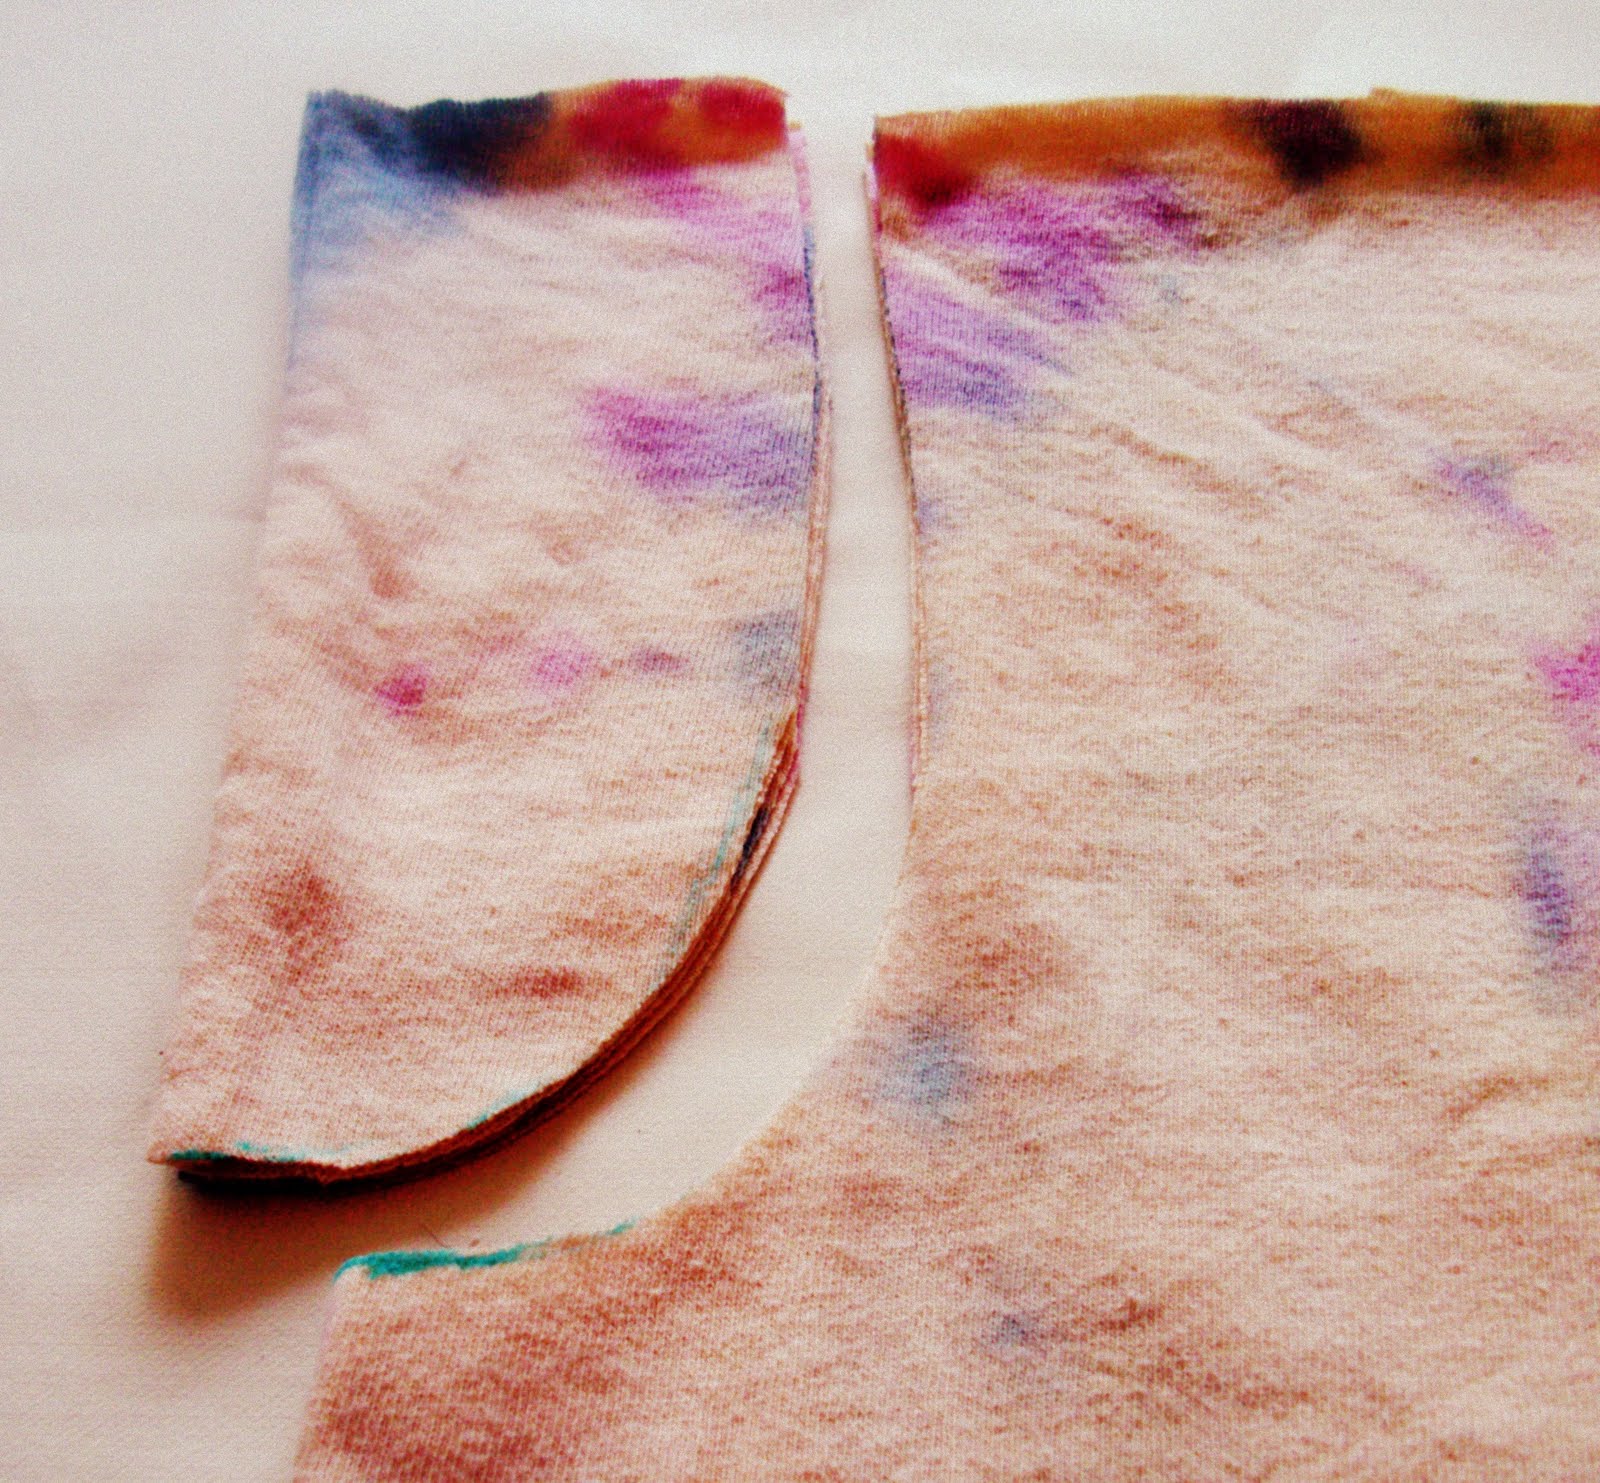
Armholes. Done.
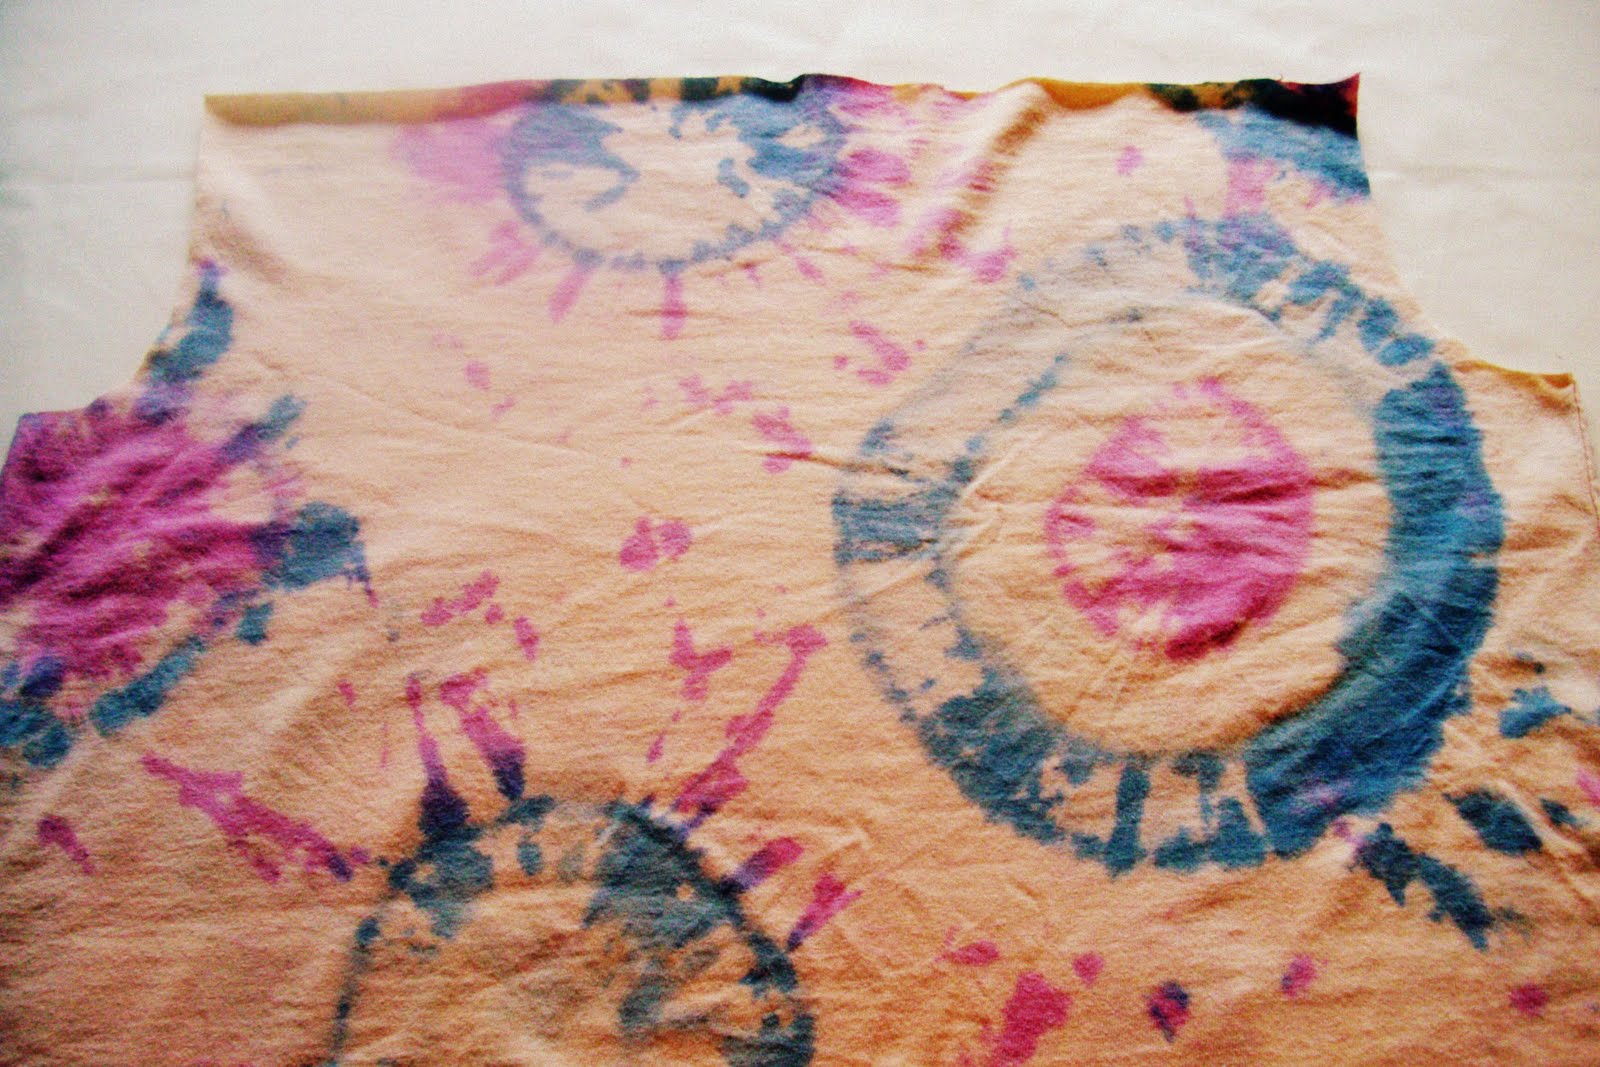
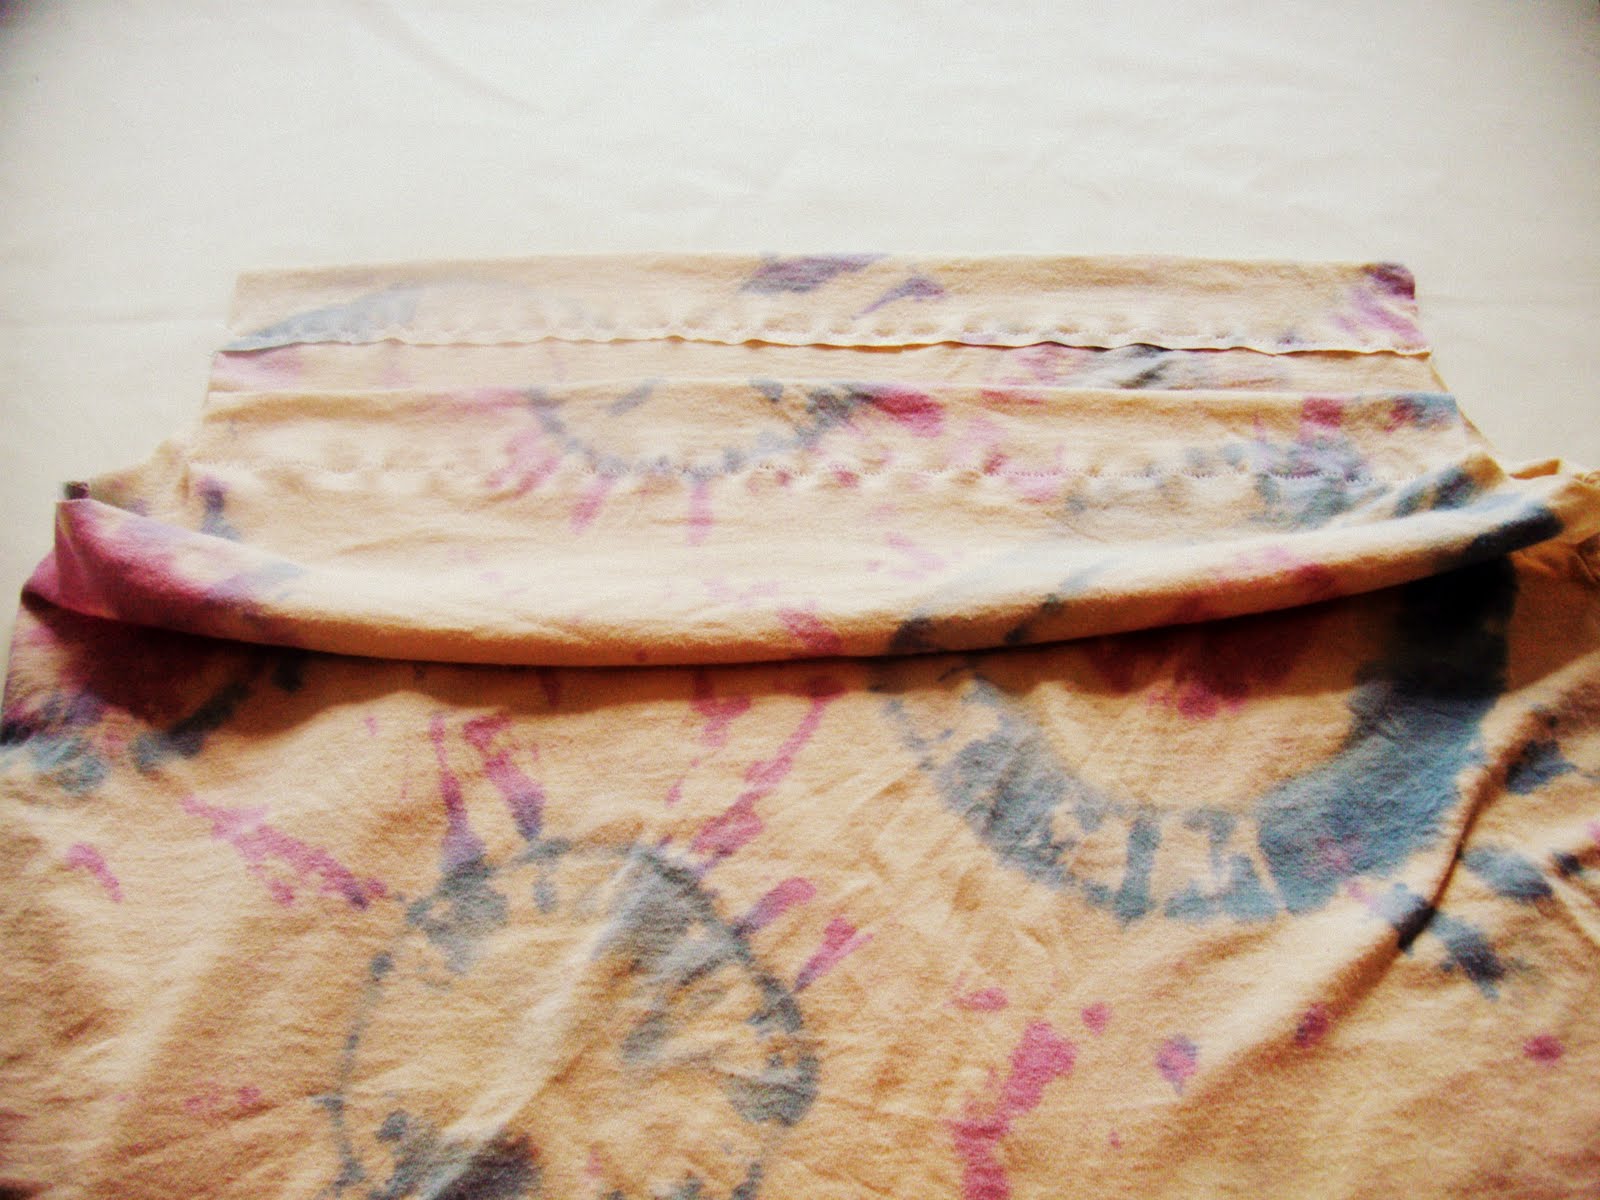
- Step 4: Now fold over the back top edge 1 1/2″
and sew across. Repeat with the front top edge. Neckcasing. Done.
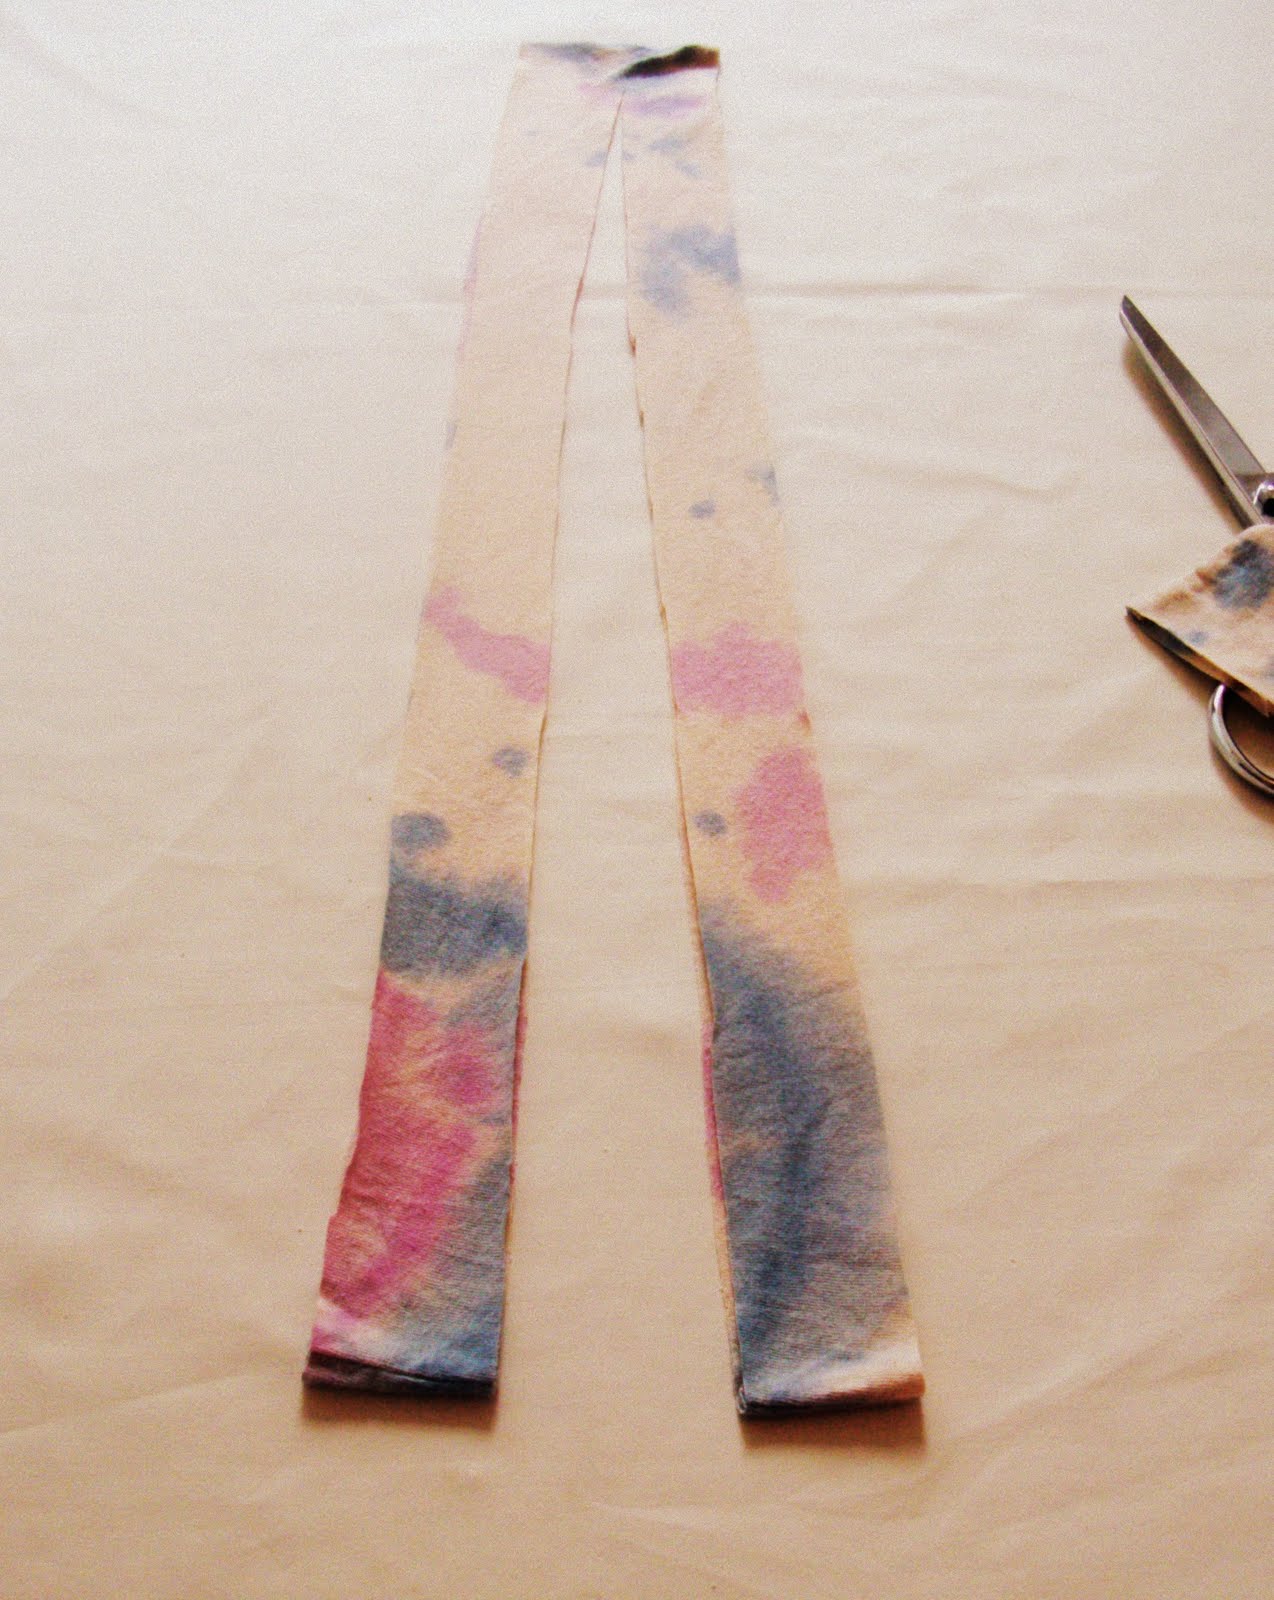
- Step 5: Make the tie. Cut a 2″ strip from the extra fabric. It will be in a loop.
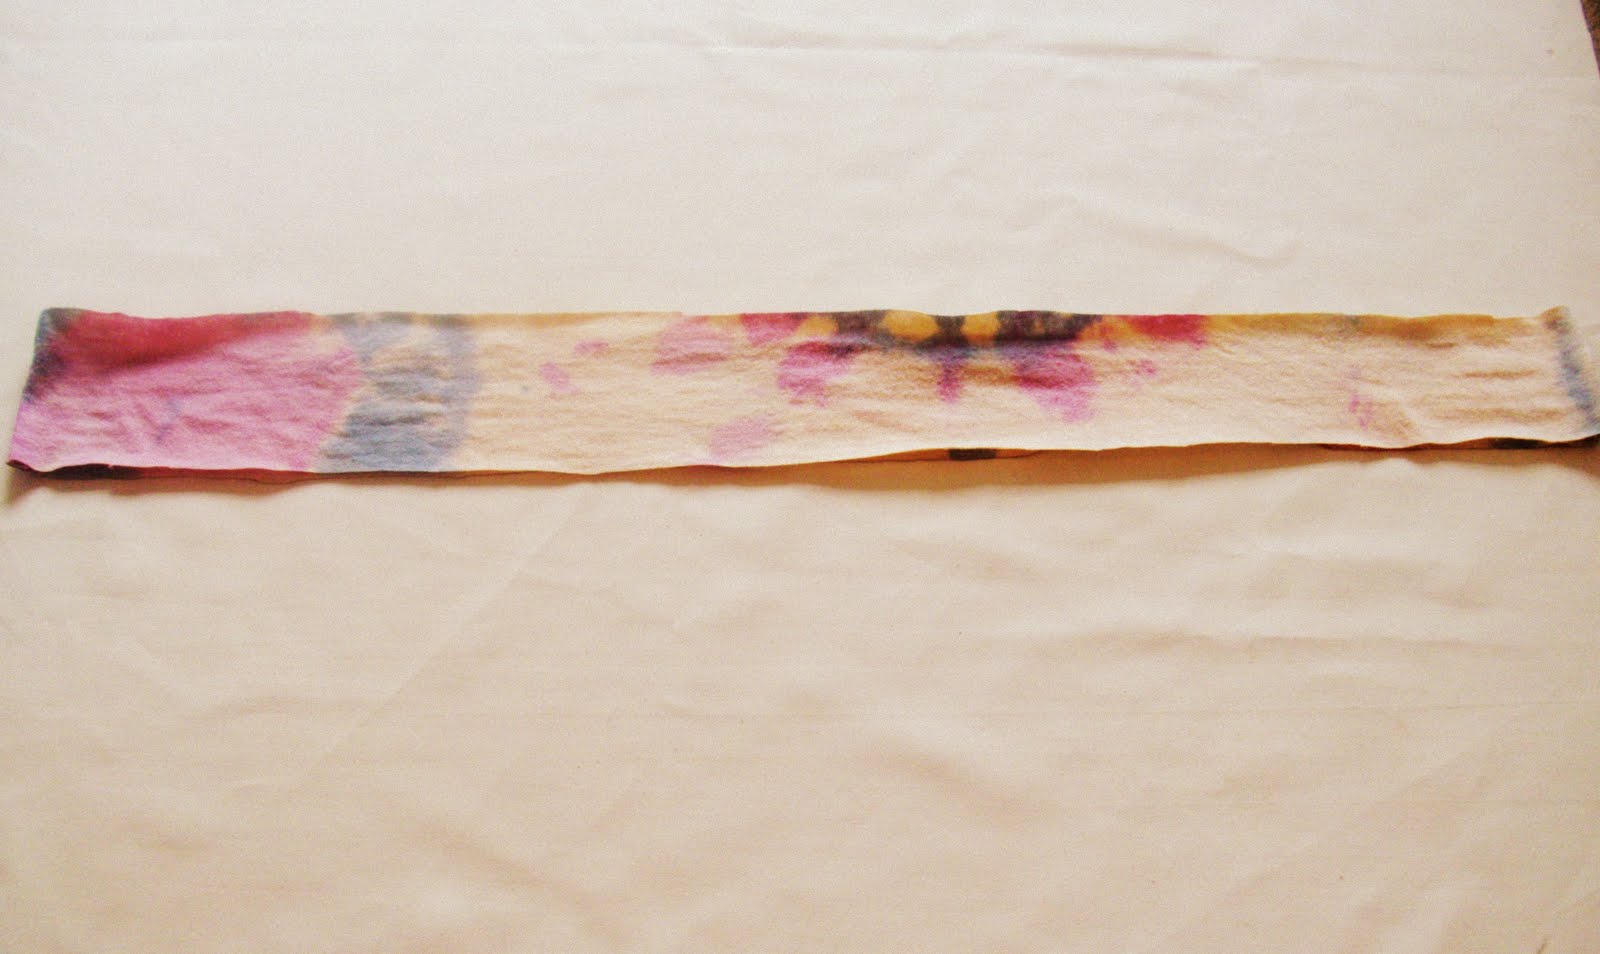
Cut one side so that it is one long piece.
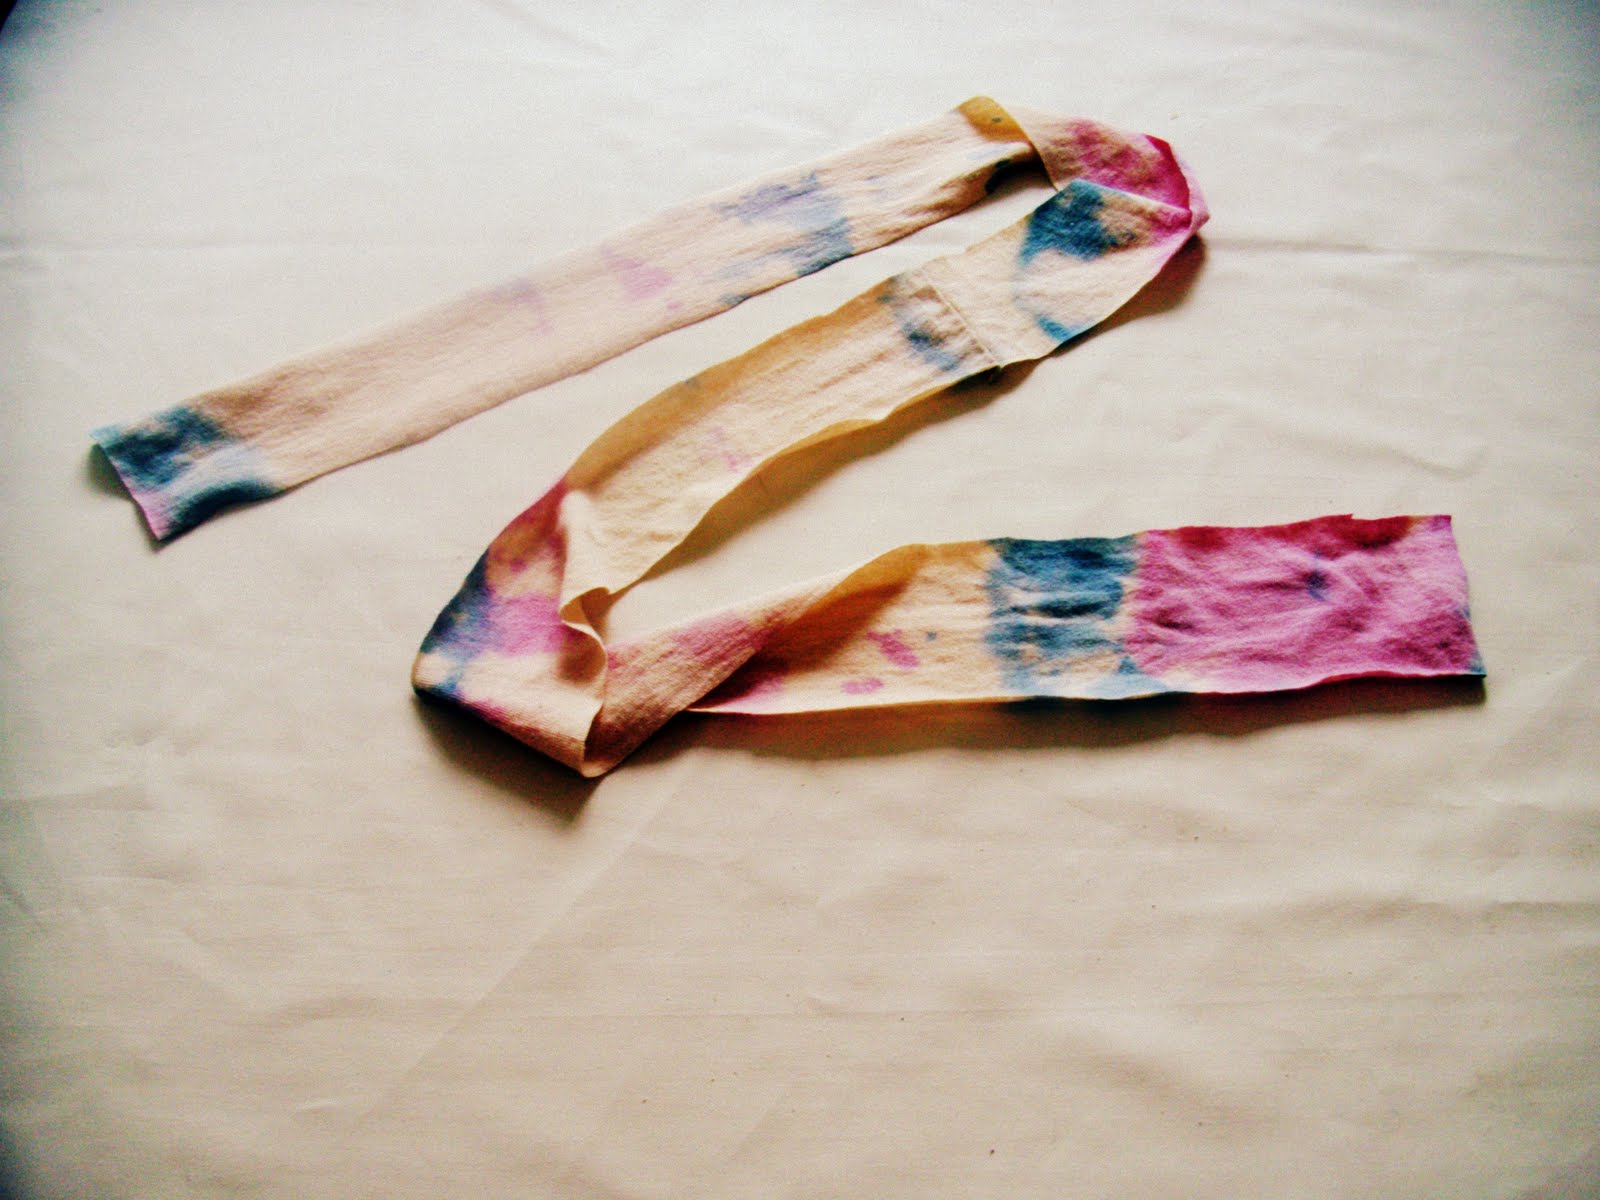
Attach a safety pin to one end and feed it through the front and back casing. Tie in a bow.

- Optional Step 6: Cut a strip about 1 1/2″ wide to about 1 1/2″ from the edge and stop. Repeat but this time cut all the way through. It will look like this.
Take the part that is connected and lay it out flat and cut it in two diagonals like this:
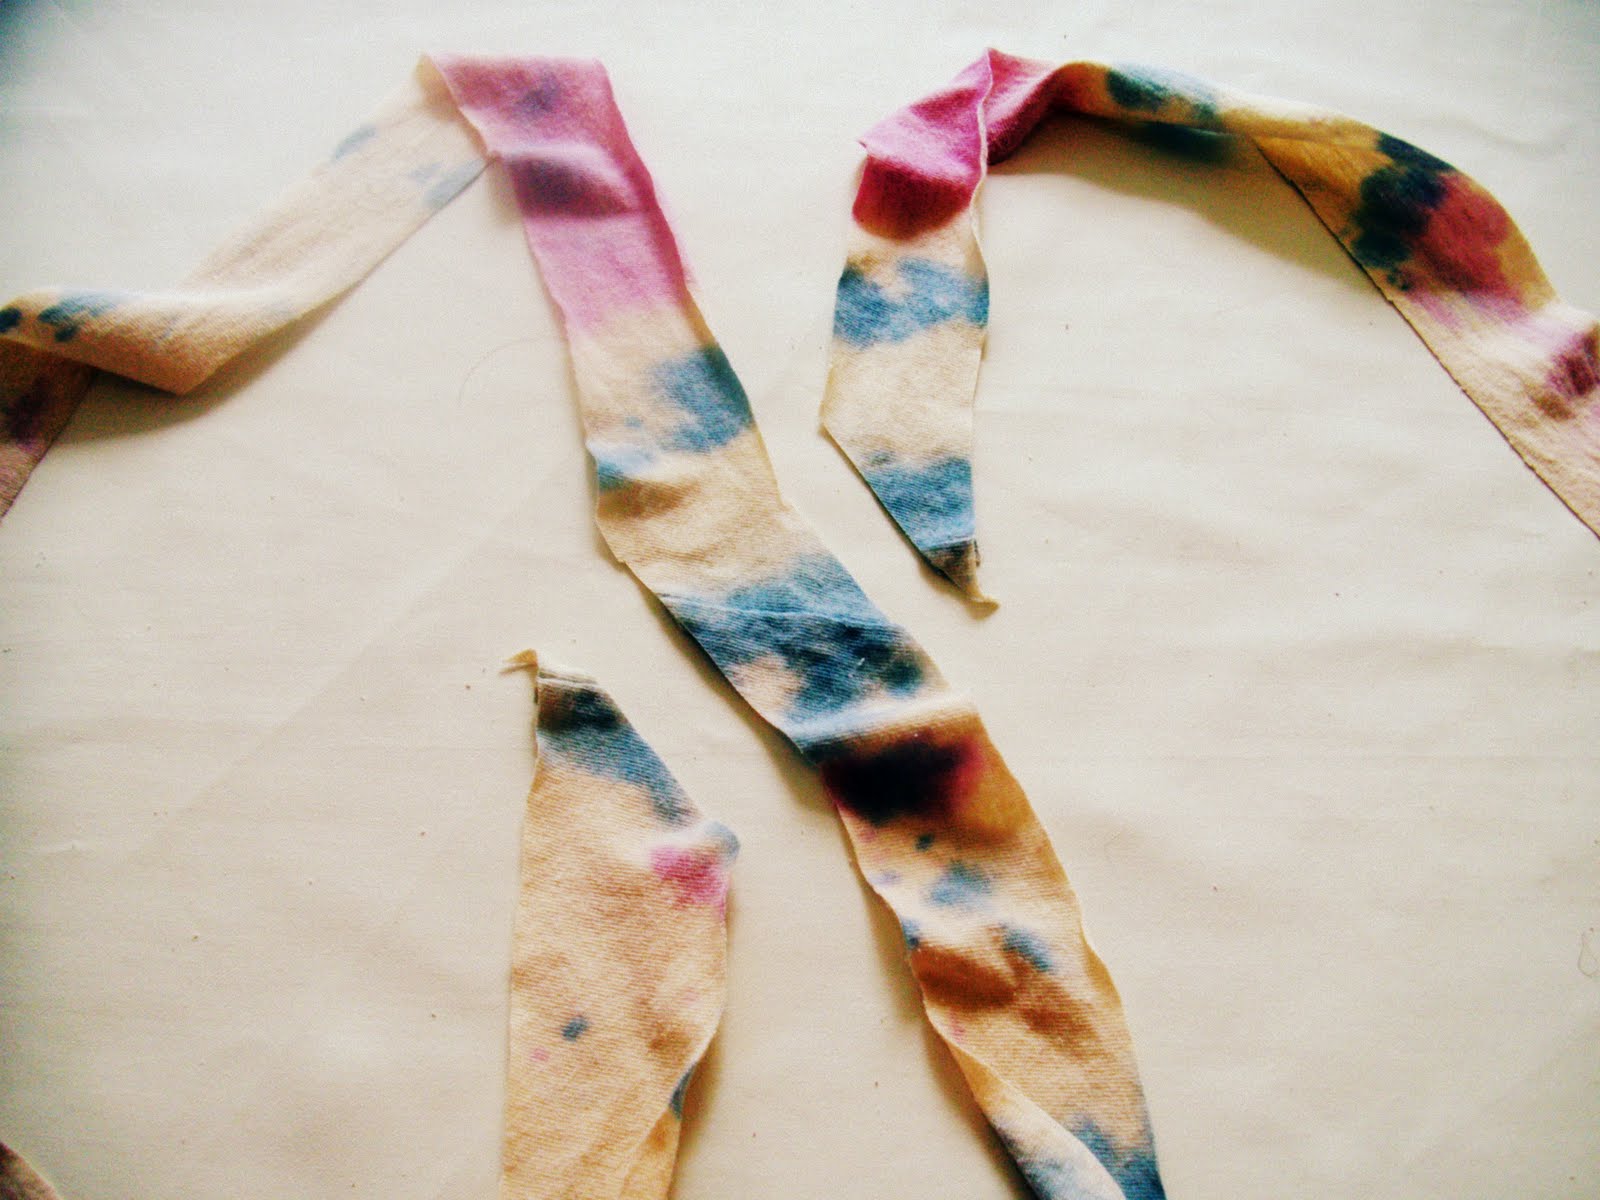
Now you have one long strip.

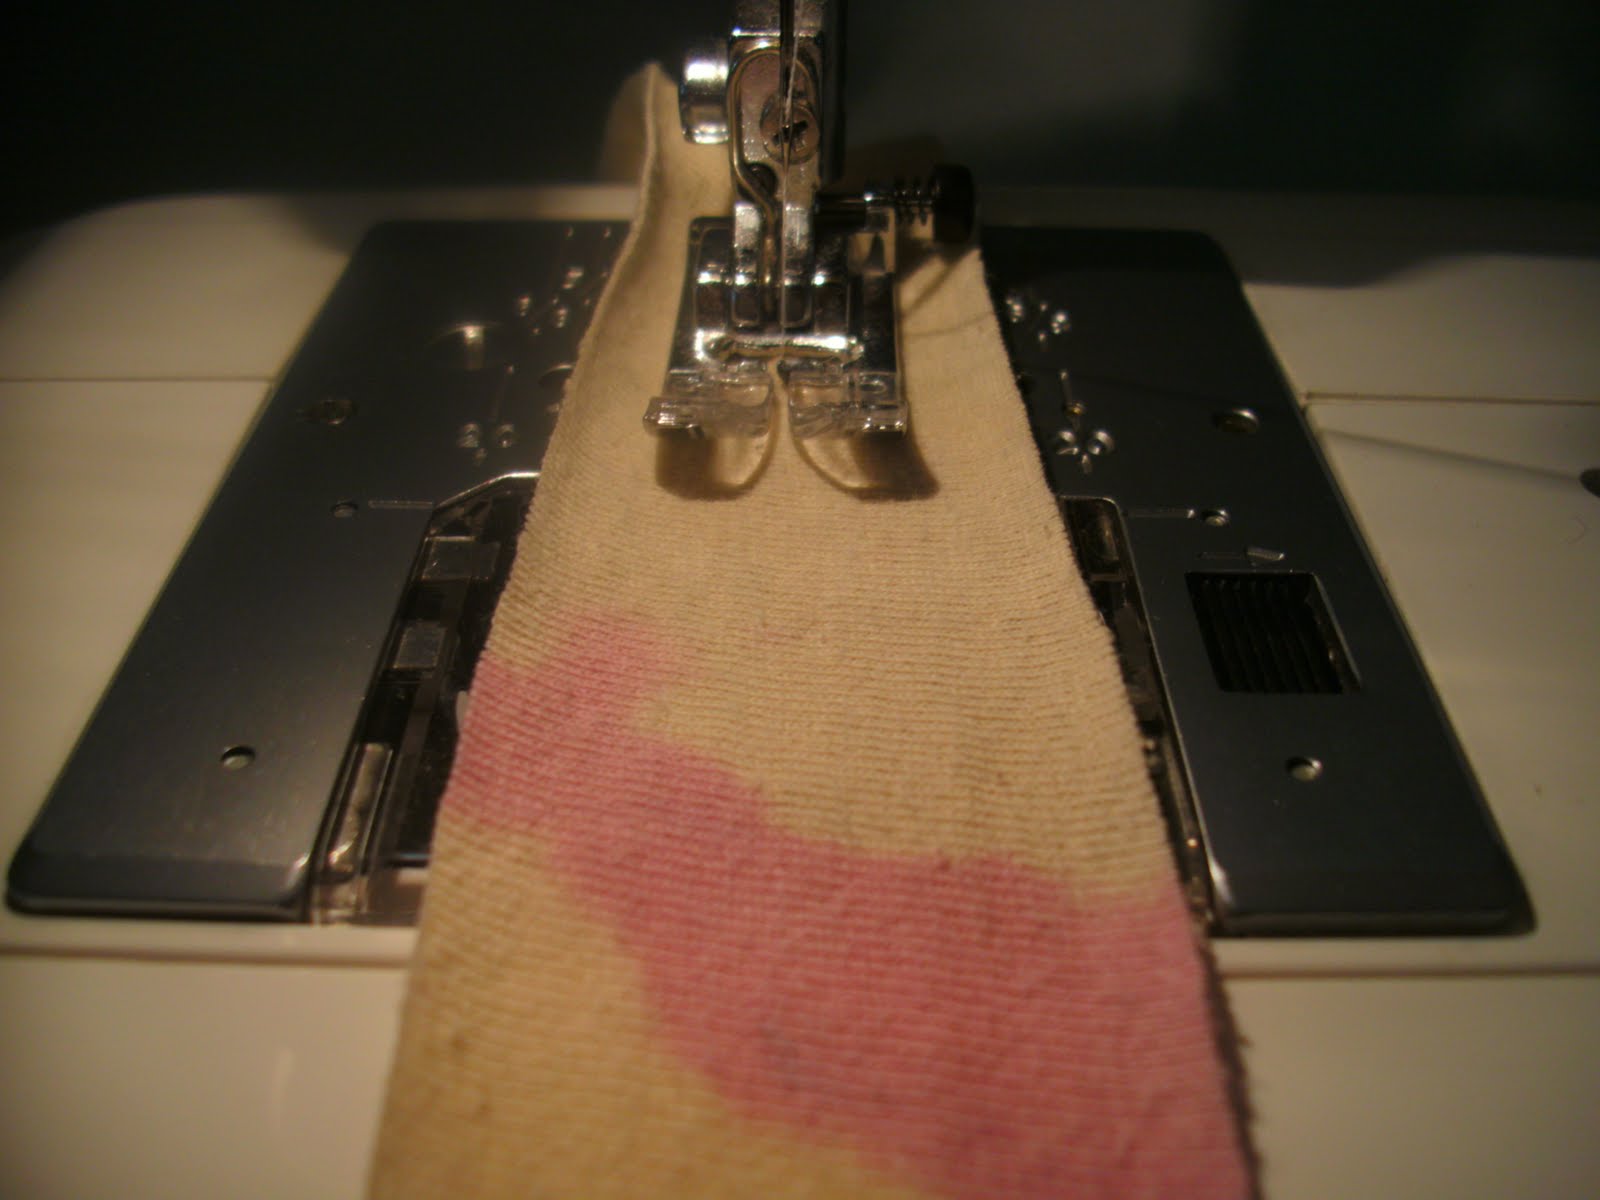
Use the basting stitch on your machine and sew right down the middle of that strip.
Gather it and pin it onto the bottom of the dress.
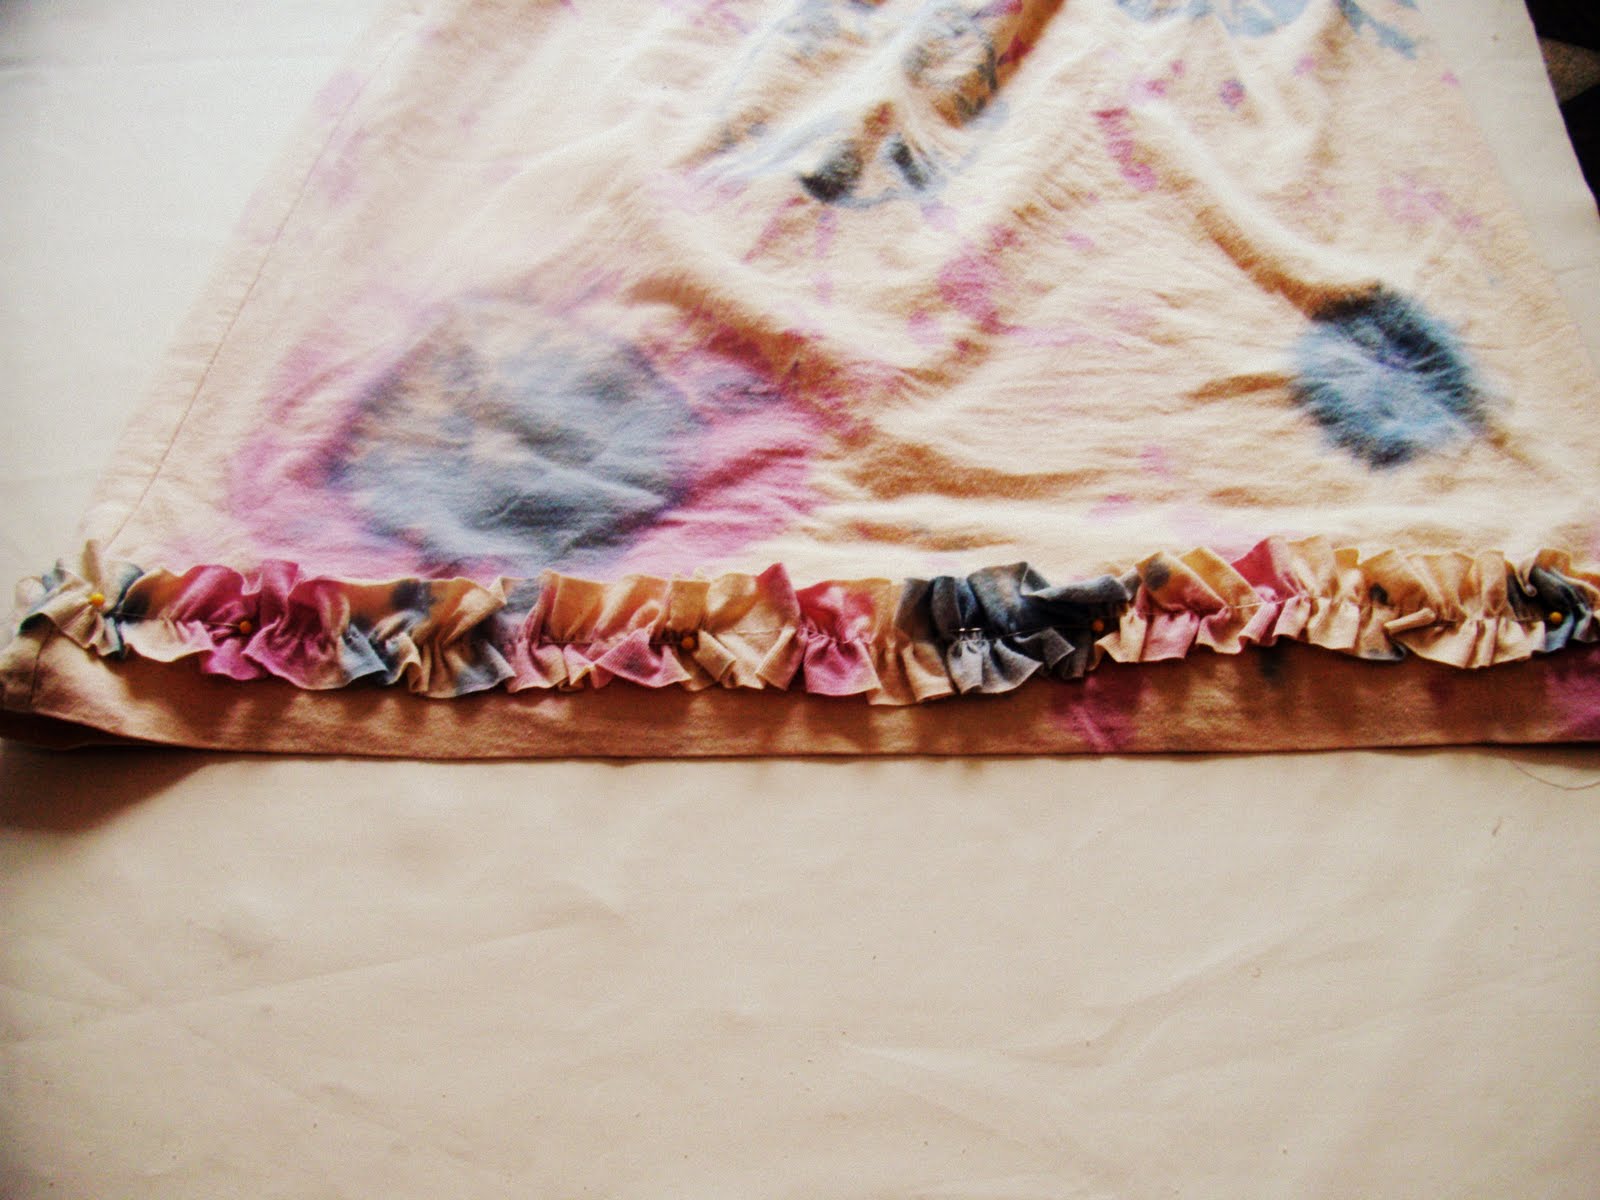
Topstitch it on. Put it on your little sweetheart and enjoy the fabulous weather!
happy sewing and if anyone wants to suggest a DIY please do so!
jessica -